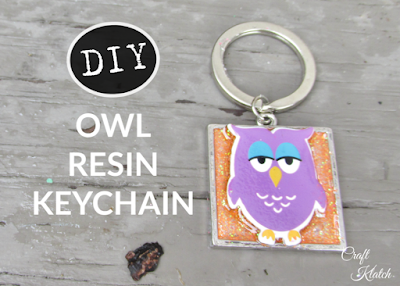
Learn how to make an easy Owl Resin Keychain! This is a great project is you have a little resin left over from another project, or if you are starting out and want to dip your toe into a small project.

You will need:
Keychain: https://amzn.to/2WxDeoo
Glitter: https://amzn.to/30T22Xc
Owl: check craft stores
Lighter: https://amzn.to/2MmATJp
Resin (use whatever resin brand you like):
Easy Cast: https://amzn.to/2yjYmBC
Art Resin: https://amzn.to/2yk9X3z
Clear Cast: https://amzn.to/2z4rxGw
FX Poxy: https://amzn.to/2AF3Pkk ~ According to the manufacturer, this one is heat resistant to 500 degrees F.
1. I had some resin mixed with orange glitter left over from another project.

2. I dripped the resin into the keychain.

3. I used my stir stick to move it to the edges.

4. I have this metal owl from a previous craft and thought it would be a fun addition.

5. I placed the owl into the resin. The owl is larger than the opening, which I liked.

6. I took my lighter and quickly popped the bubbles. I let it cure for a minimum of 12 hours.


Thanks for stopping by! Remember: Life’s too short not to shimmer, so grab your glue gun and your glitter!™ Stay safe!
Mona


