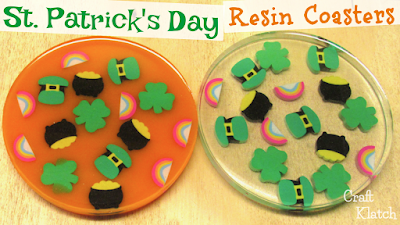
Celebrate St. Patrick’s Day in style with these resin coasters!
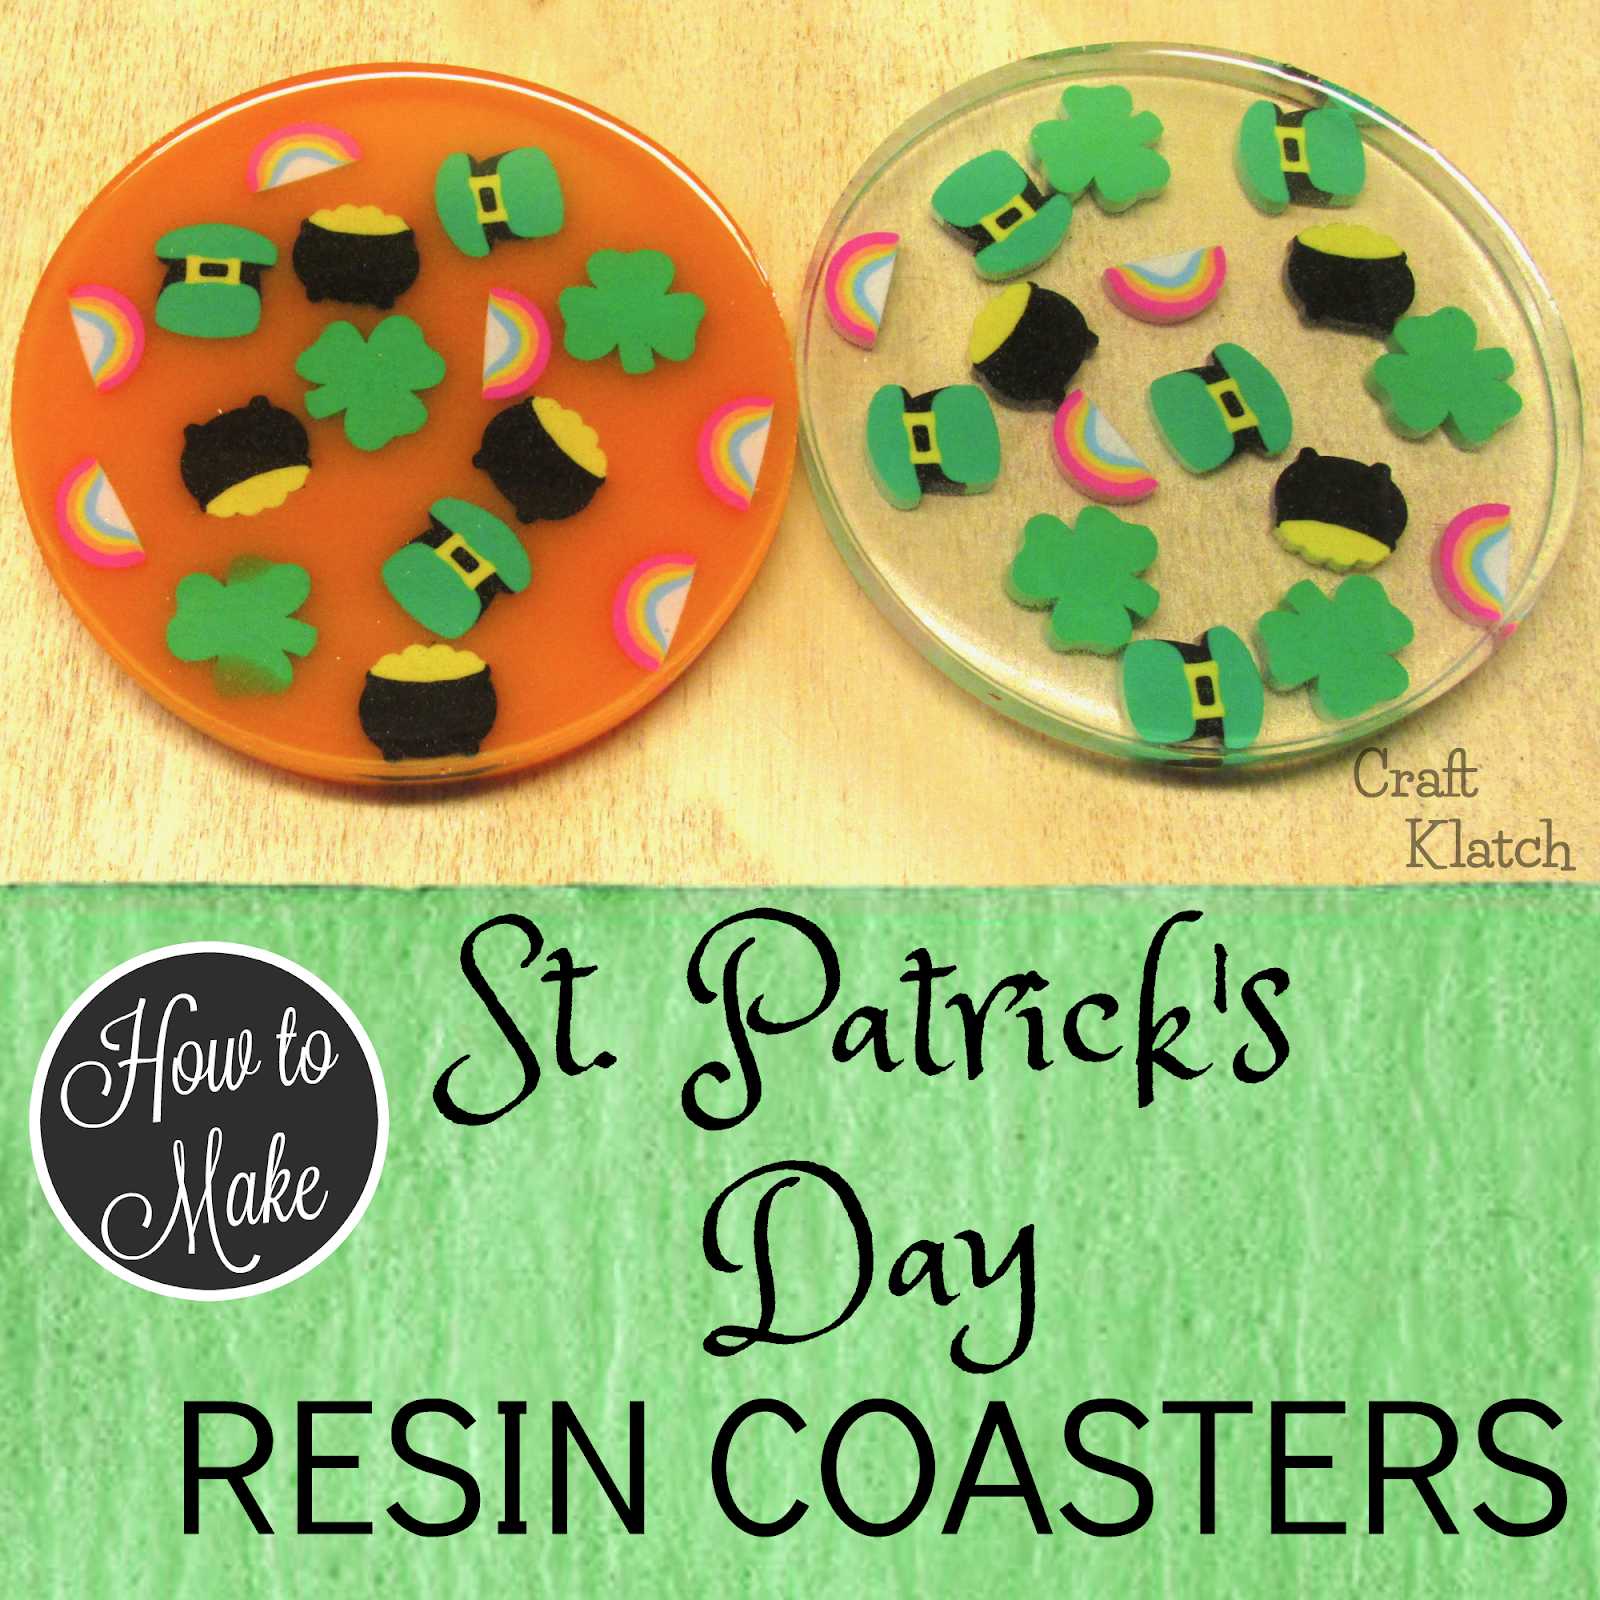
You will need:
The links below help support this channel, as I may earn a small commission at no extra cost to you.
You will need:
Mold: https://amzn.to/2FcRd7J
Erasers: https://amzn.to/2u16KTz
Orange pigment: https://amzn.to/2IKKFD6
Lighter: https://amzn.to/2NQusts
Resin (use whatever resin brand you like):
Easy Cast: https://amzn.to/2yjYmBC
Art Resin: https://amzn.to/2yk9X3z
Clear Cast: https://amzn.to/2z4rxGw
This is the resin I used for this project:
FX Poxy: https://amzn.to/2AF3Pkk ~ According to the manufacturer, this one is heat resistant to 500 degrees F.
Here is quick video tutorial, so you can see exactly how I made them:
Directions:
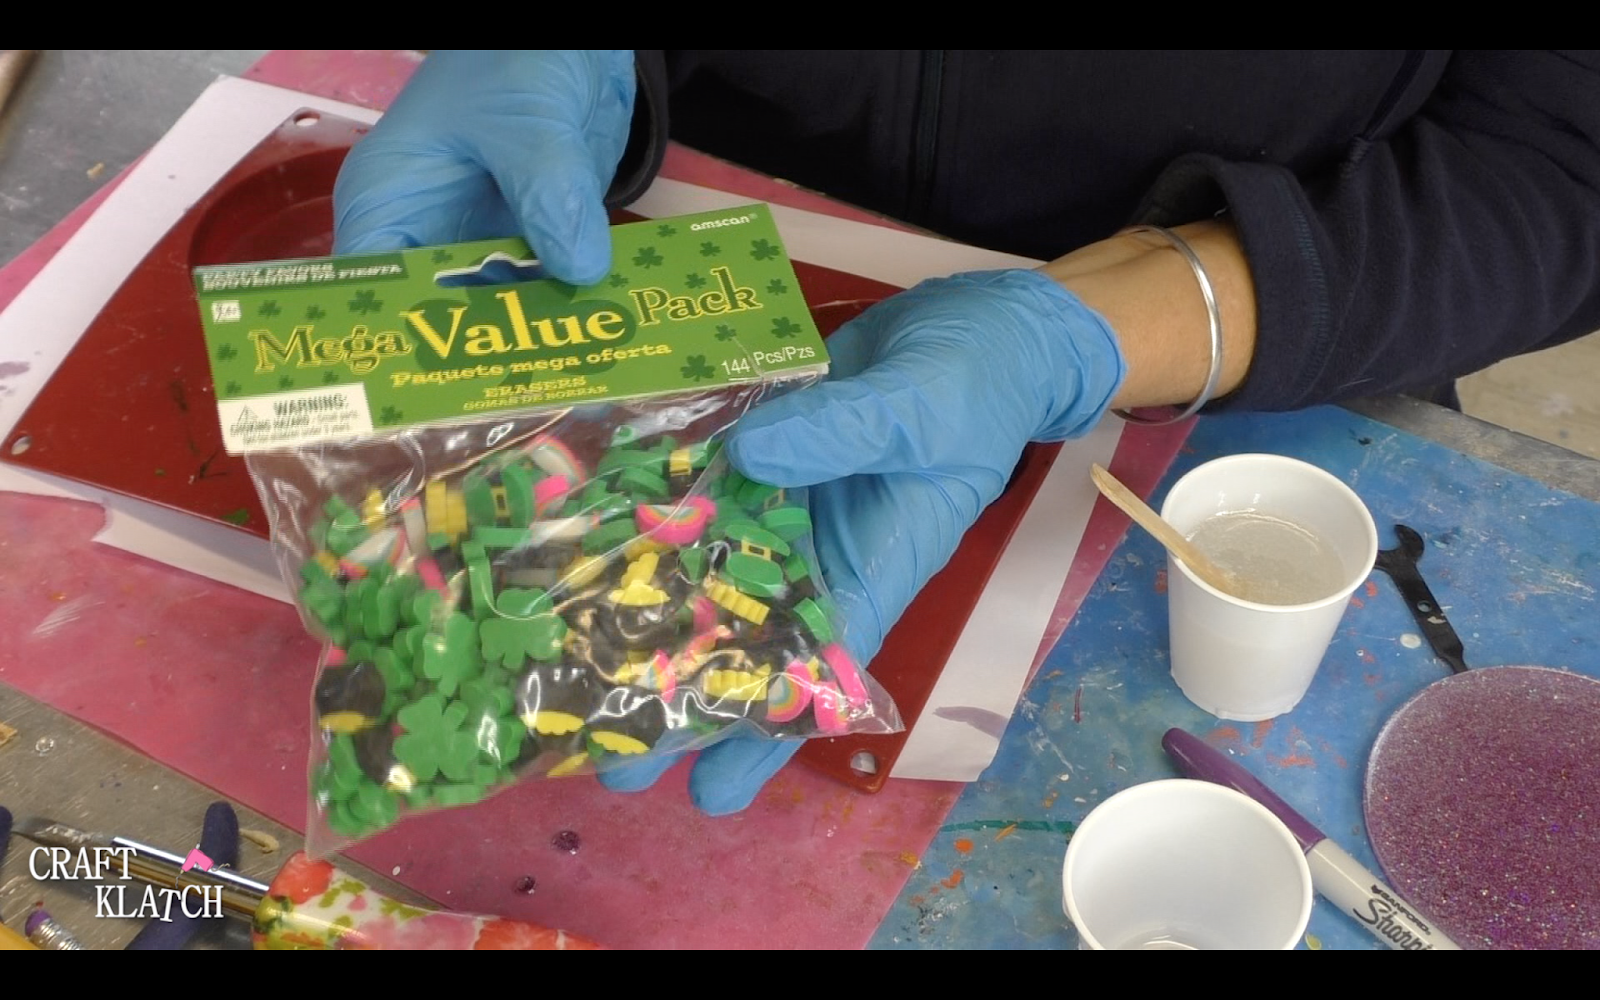
1. I found these super cute erasers at the party store.
2. I mixed two ounces of resin and split them into two cups.
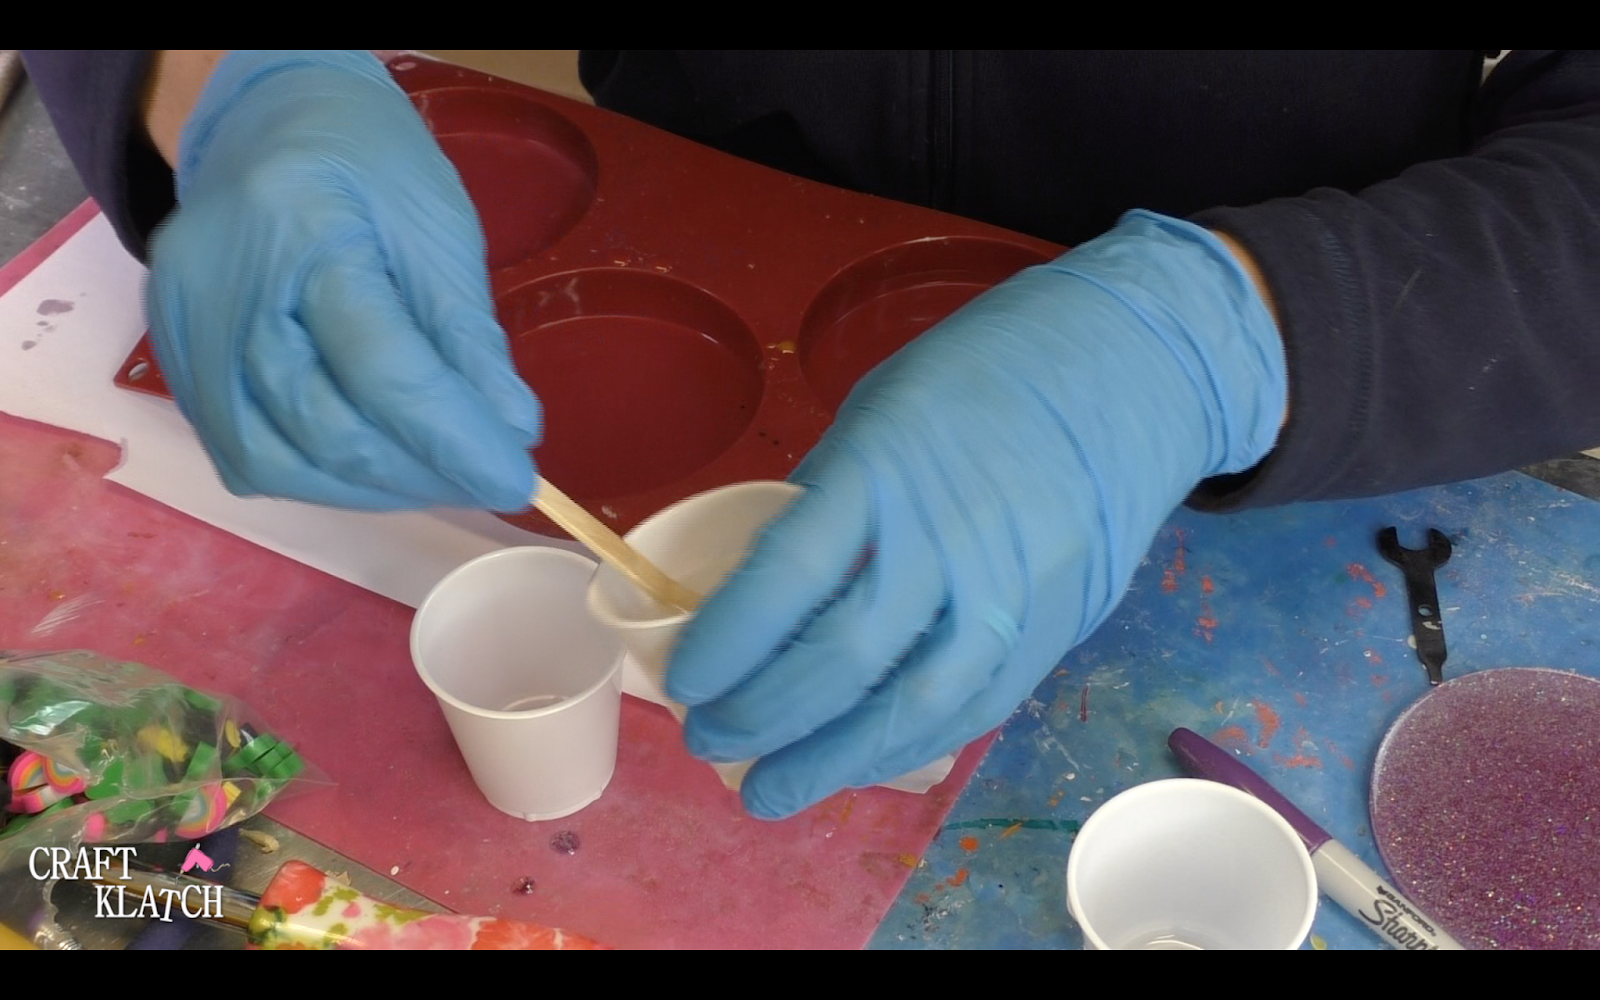
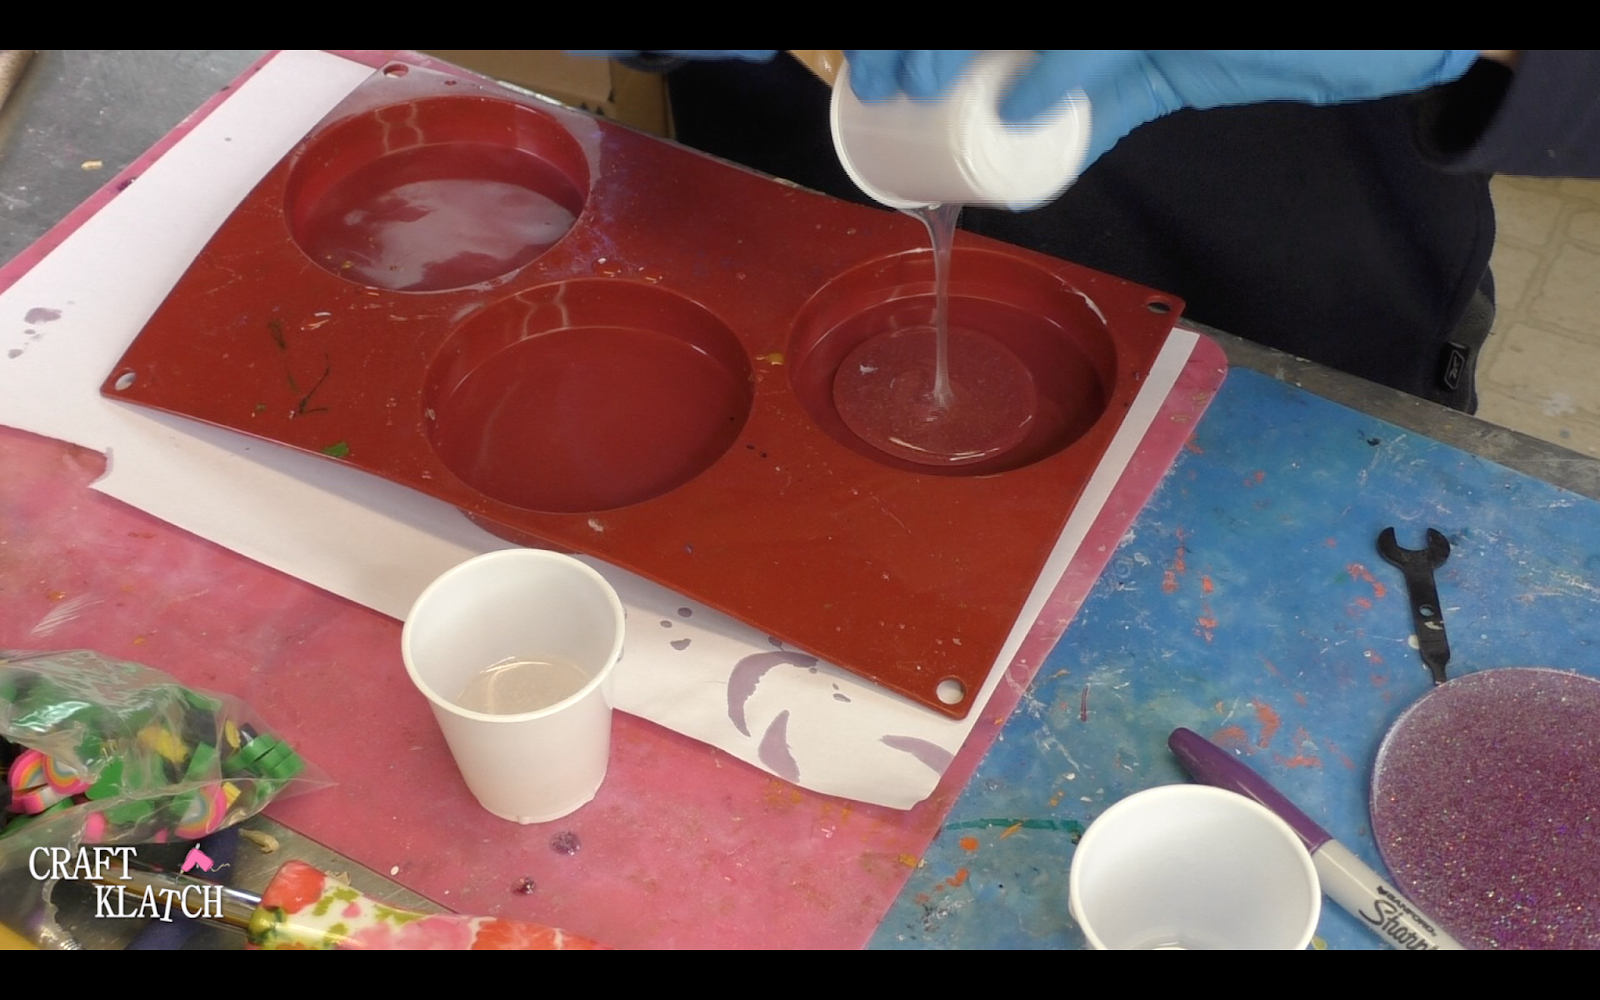
3. I poured the clear cup into one of the cavities in the mold.
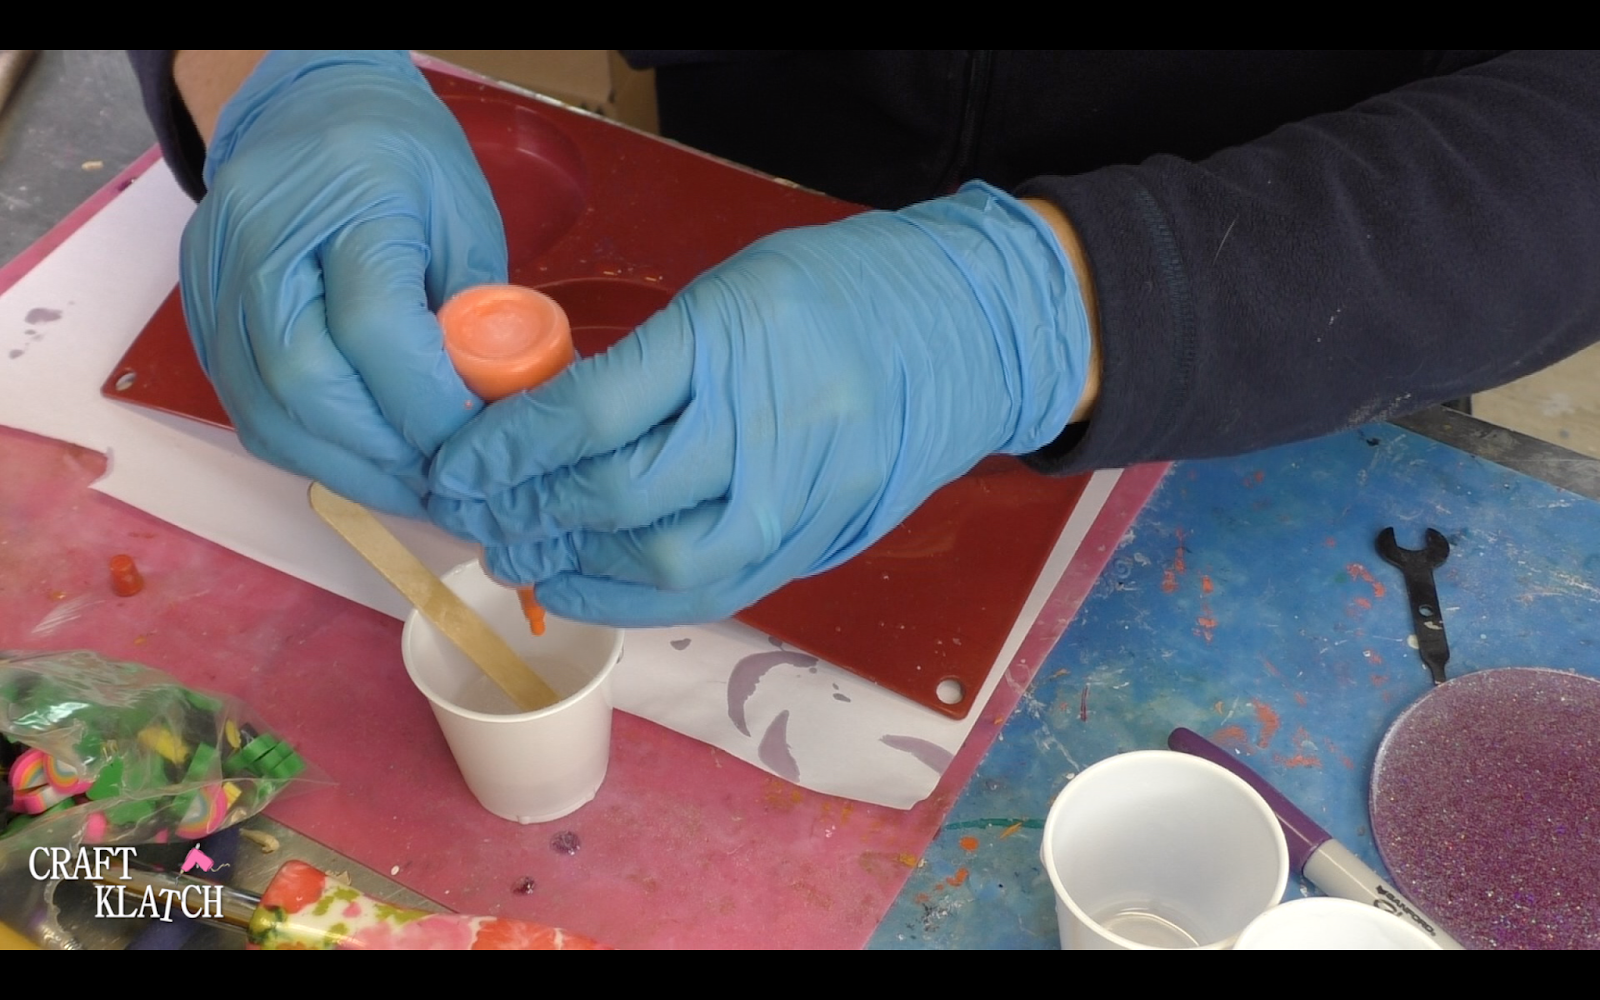
4. I added a small amount of orange pigment to the second cup.
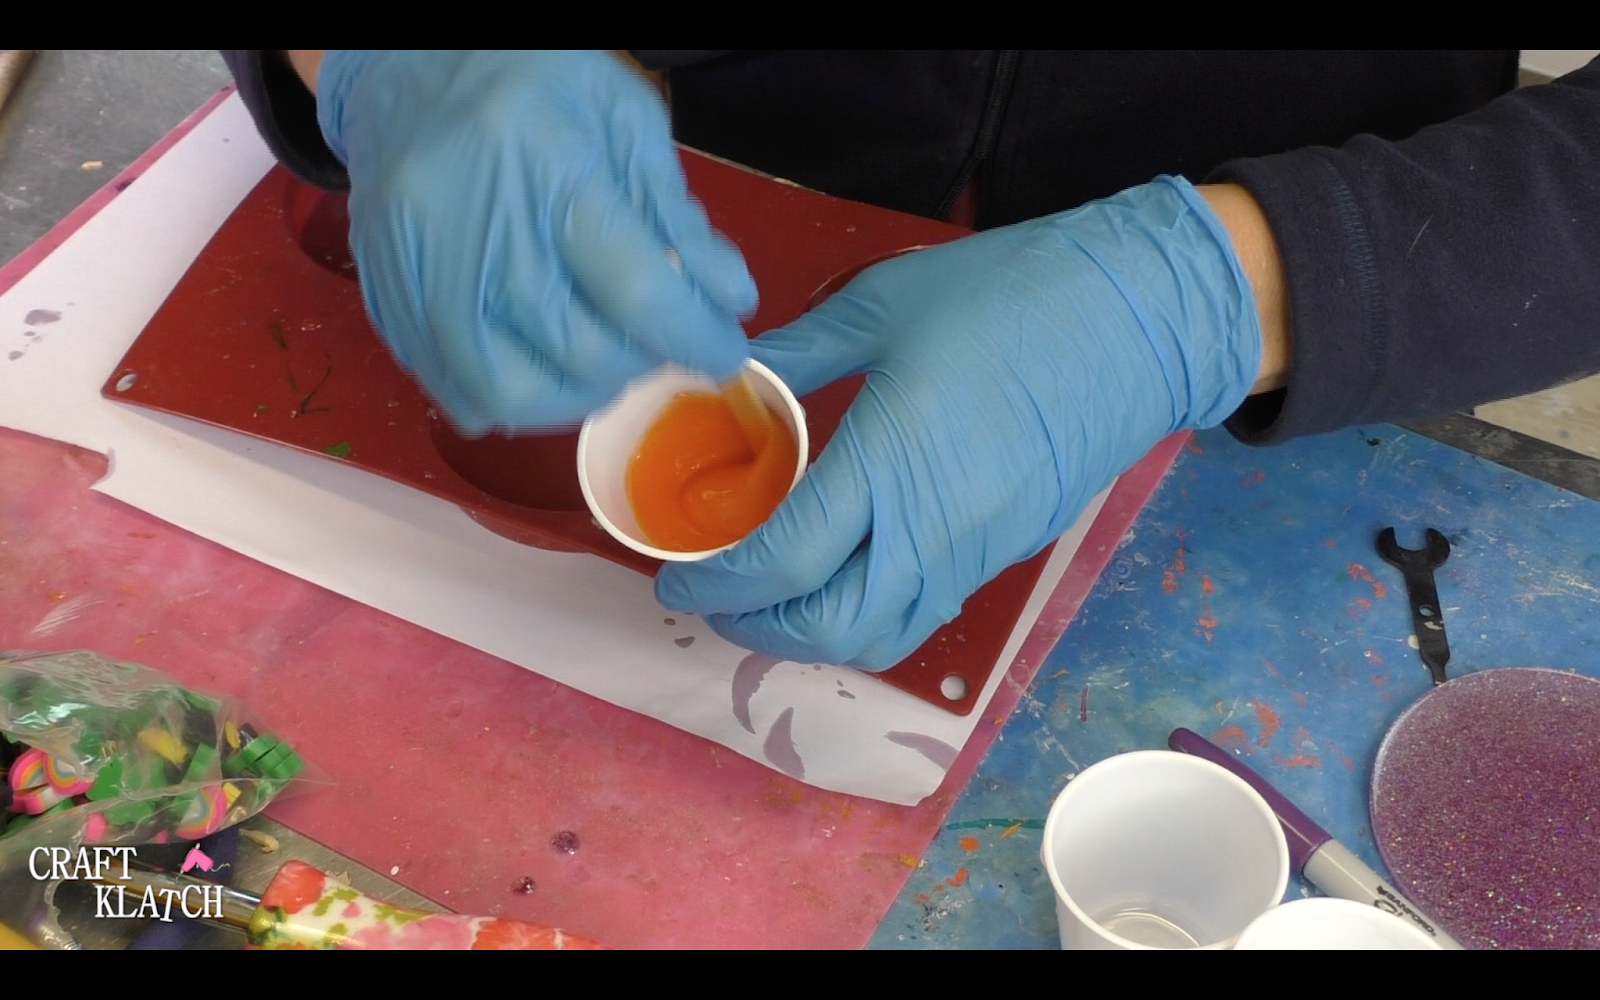
5. I mixed it really well.
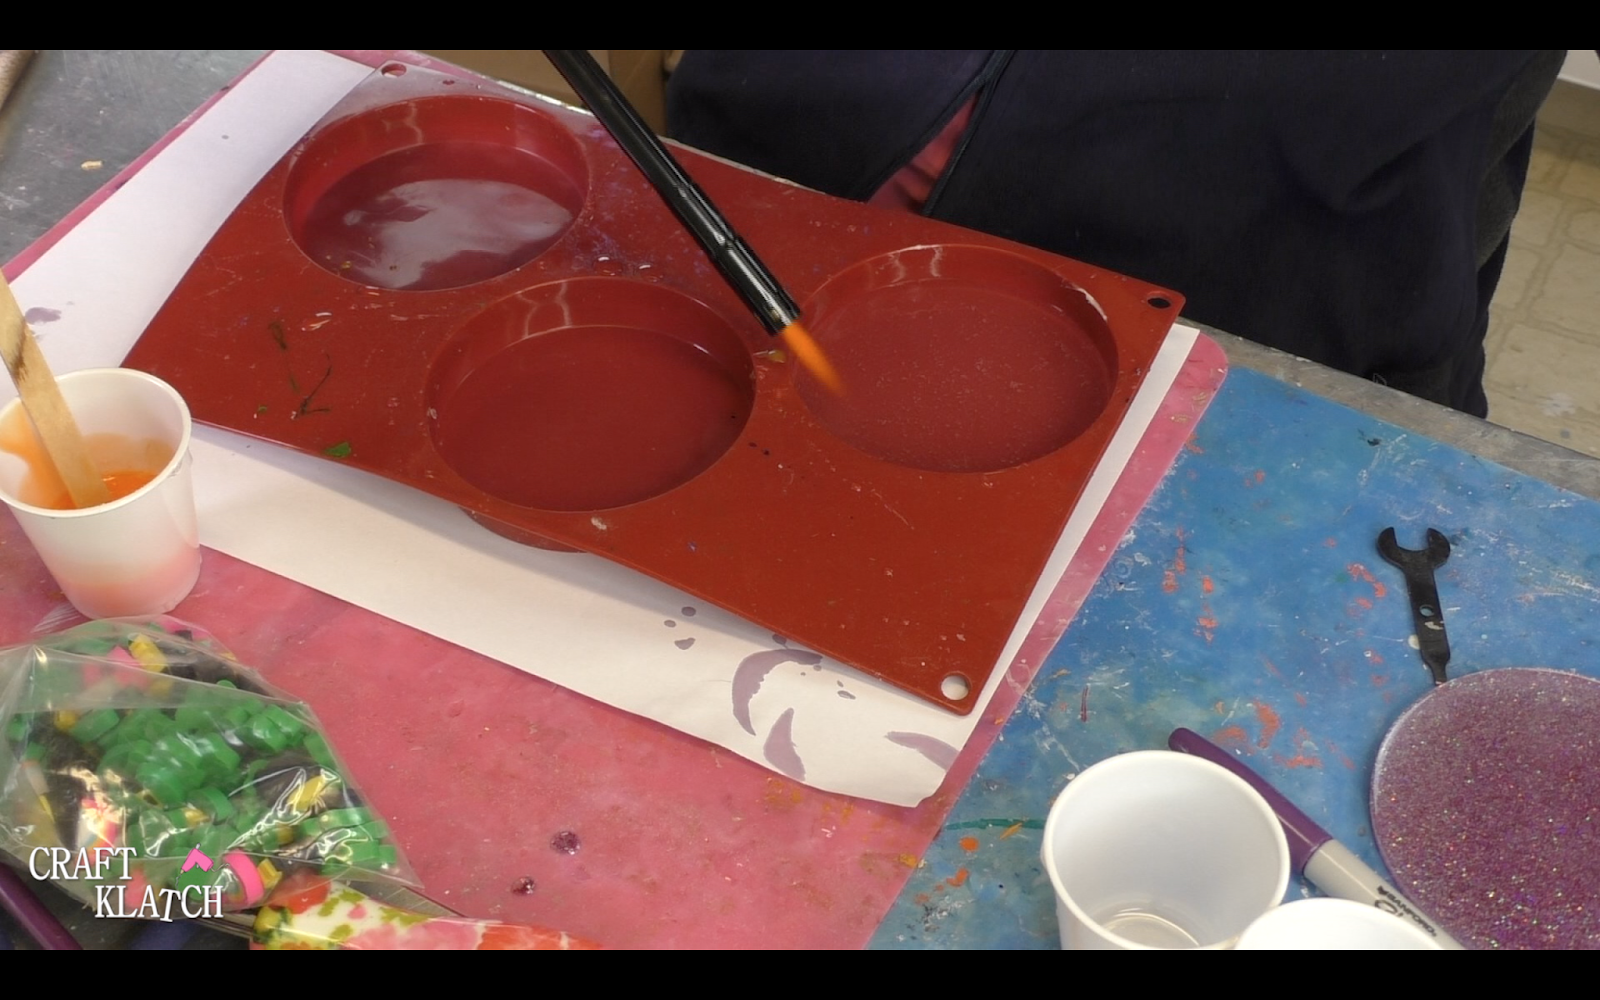
6. I used my lighter to pop the bubbles.
7. I began adding the erasers.
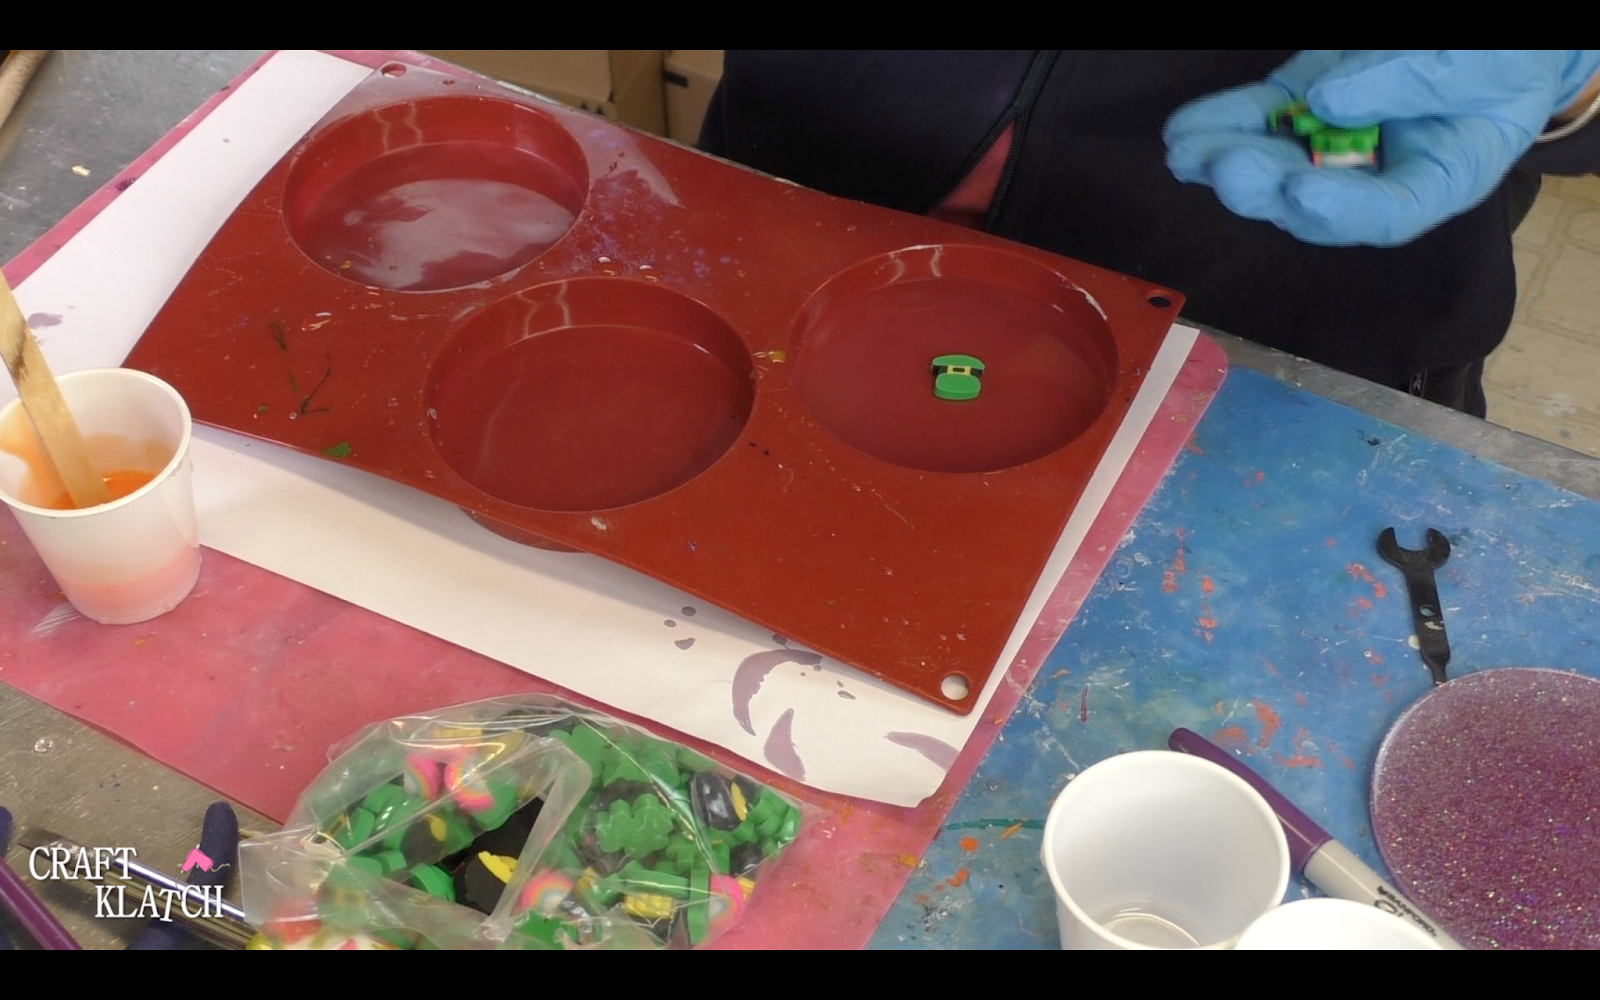
8. I then poured the orange into the mold.
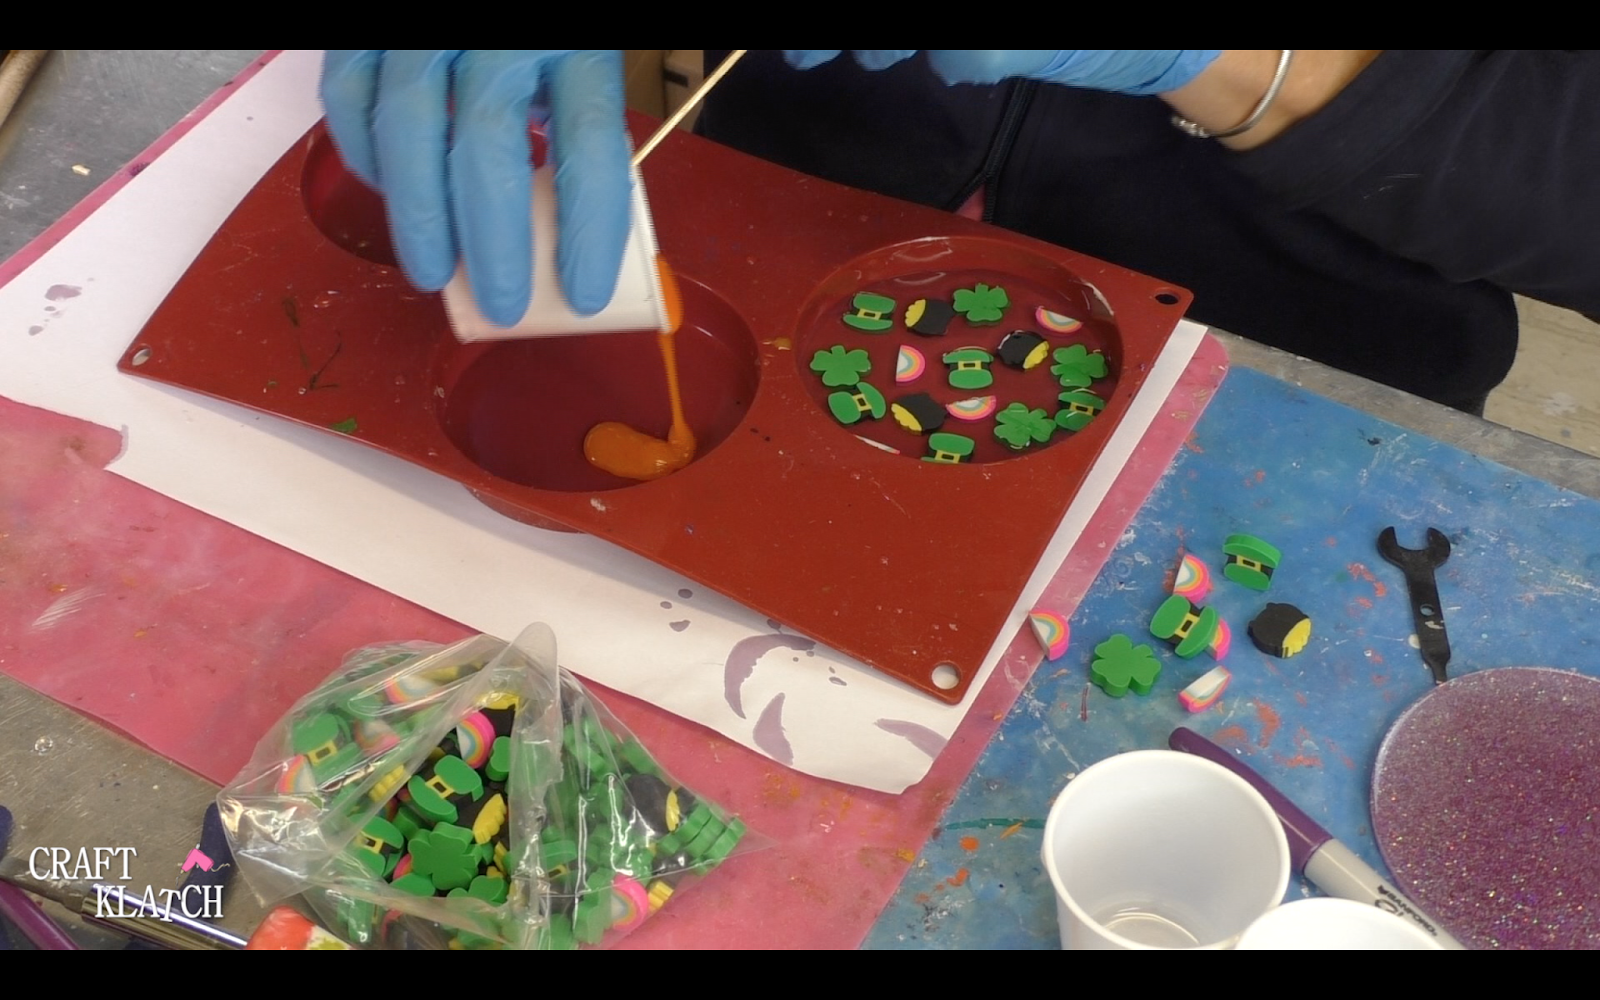
9. I popped the bubbles with the lighter.
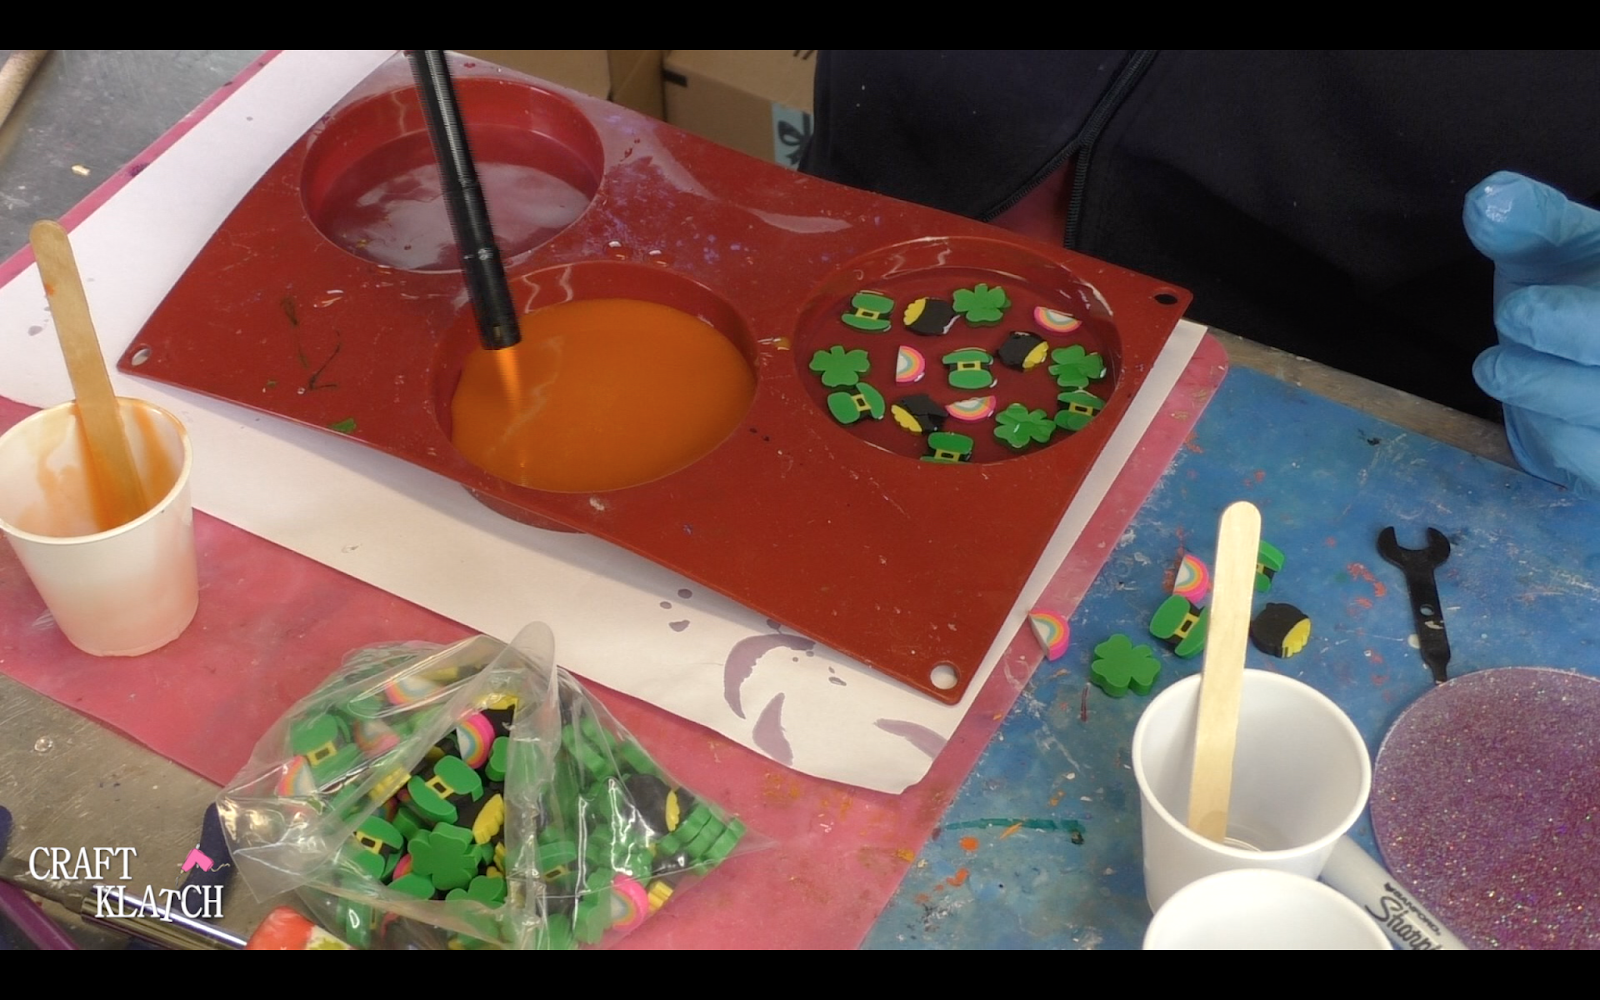
10. I began adding the erasers to the resin. Be careful because you don’t want to have to move any in the orange resin around.
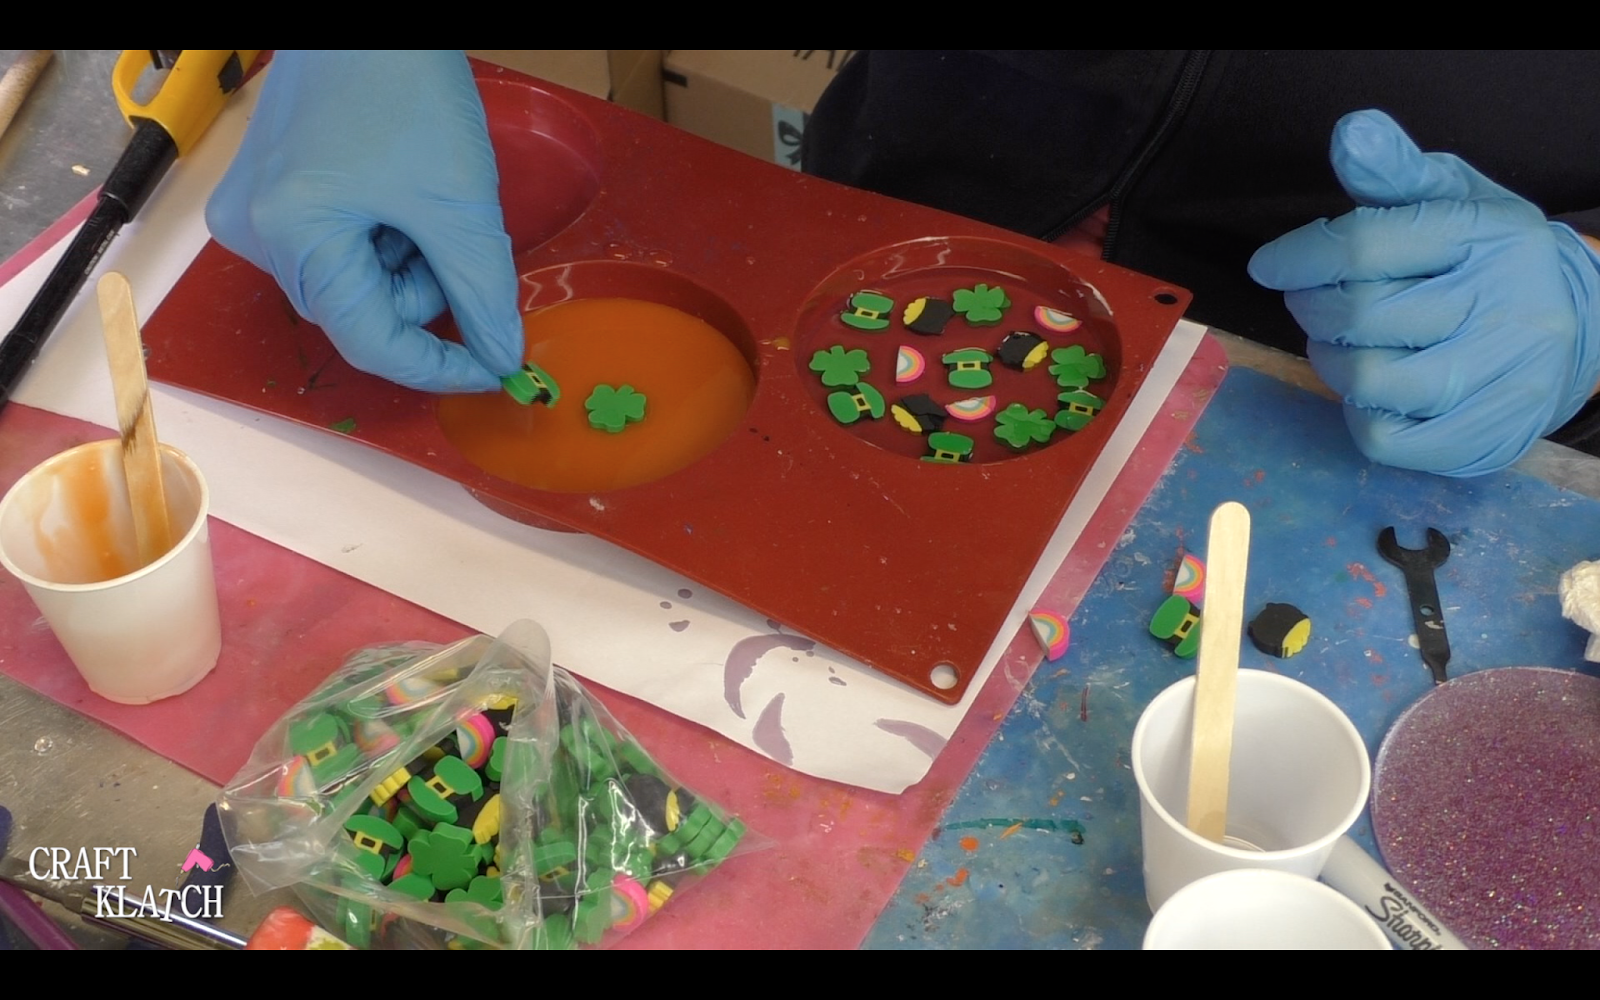
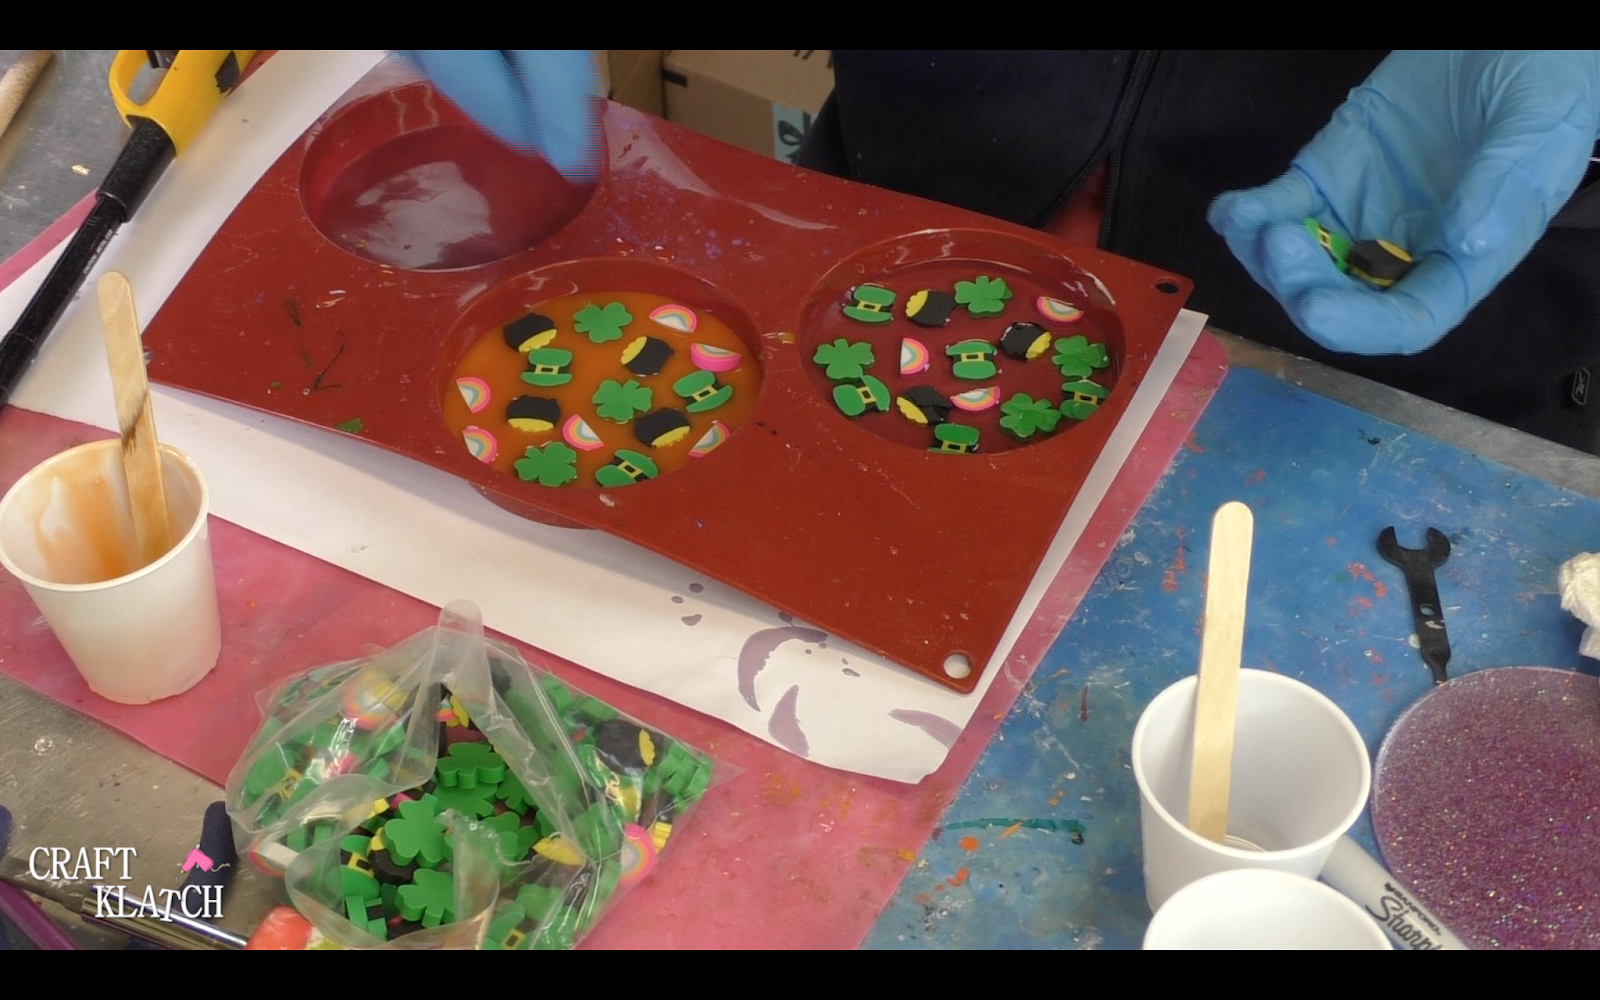
11. I quickly popped the bubbles. Don’t stay in one place too long, you don’t want to melt the erasers. I let it cure for a minimum of 12 hours.
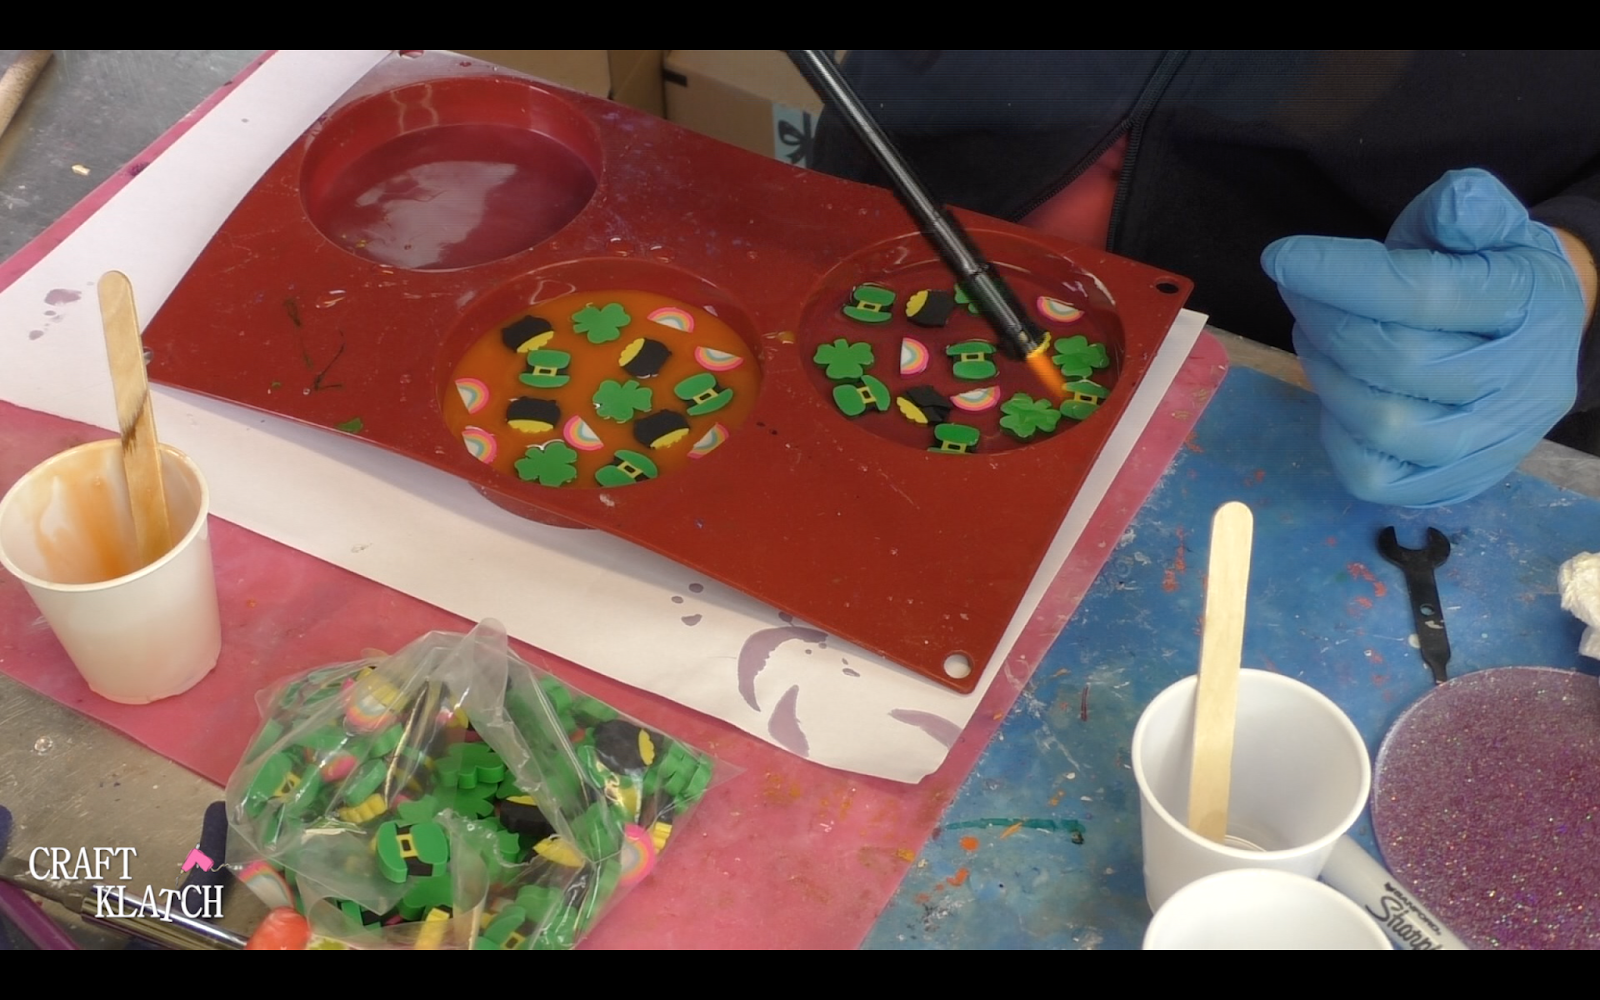
12. I mixed two more ounces of resin and poured it over the coasters.
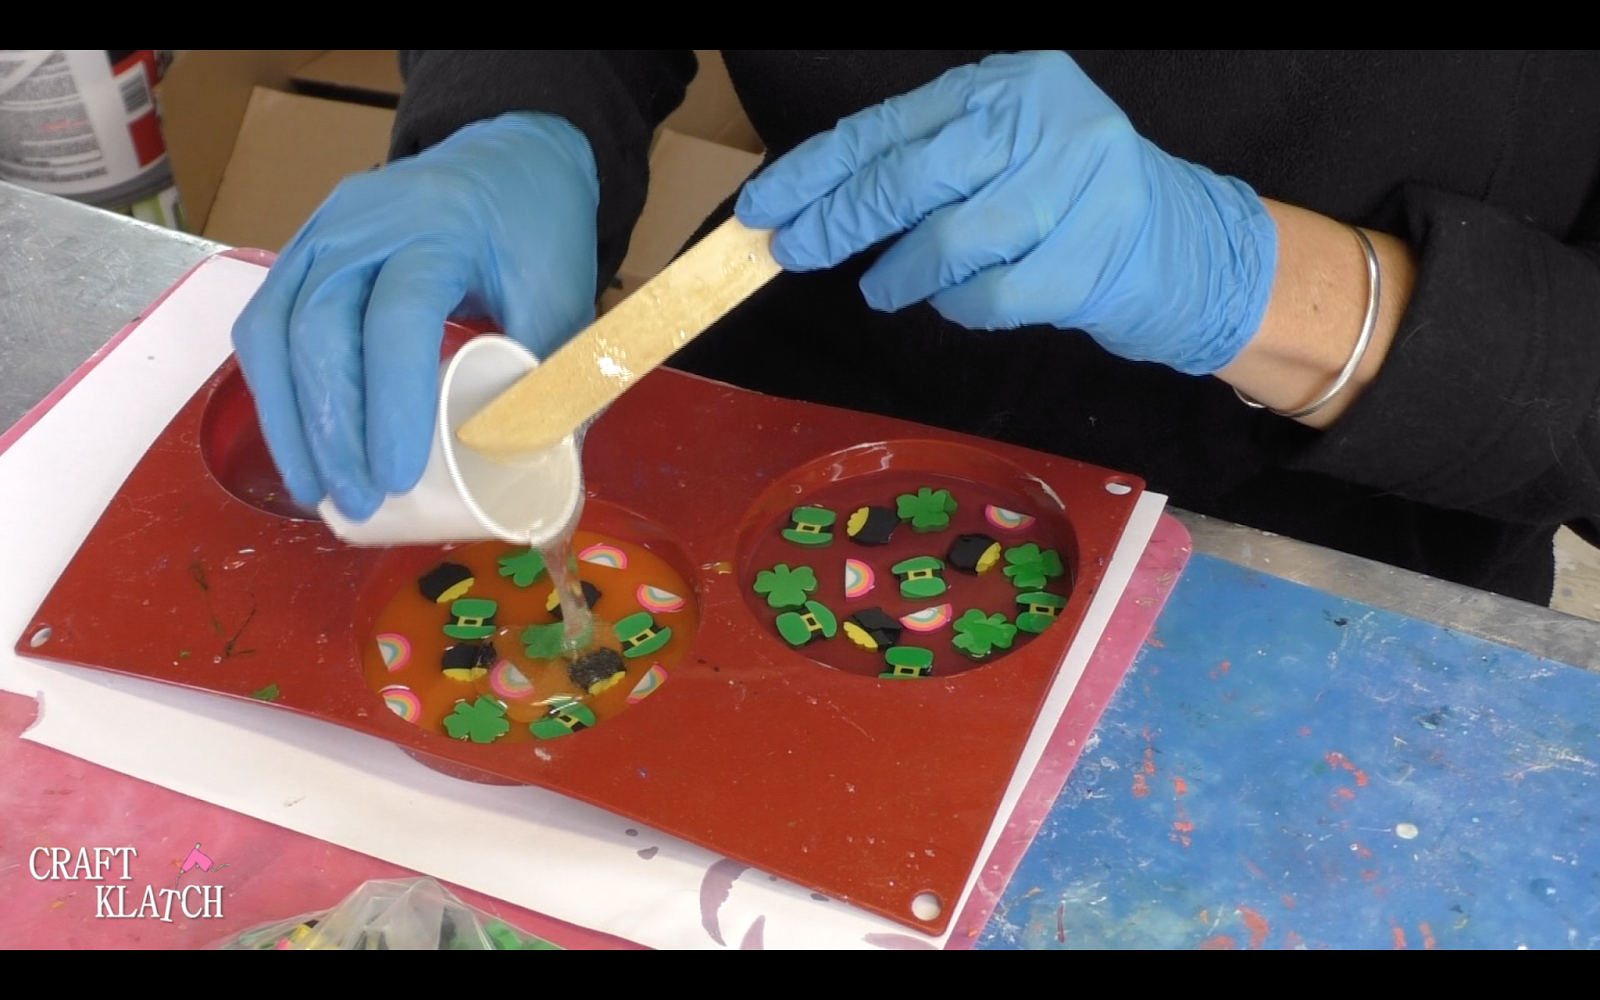
13. I popped the bubbles with my lighter and let them sit for a minimum of 12 hours.
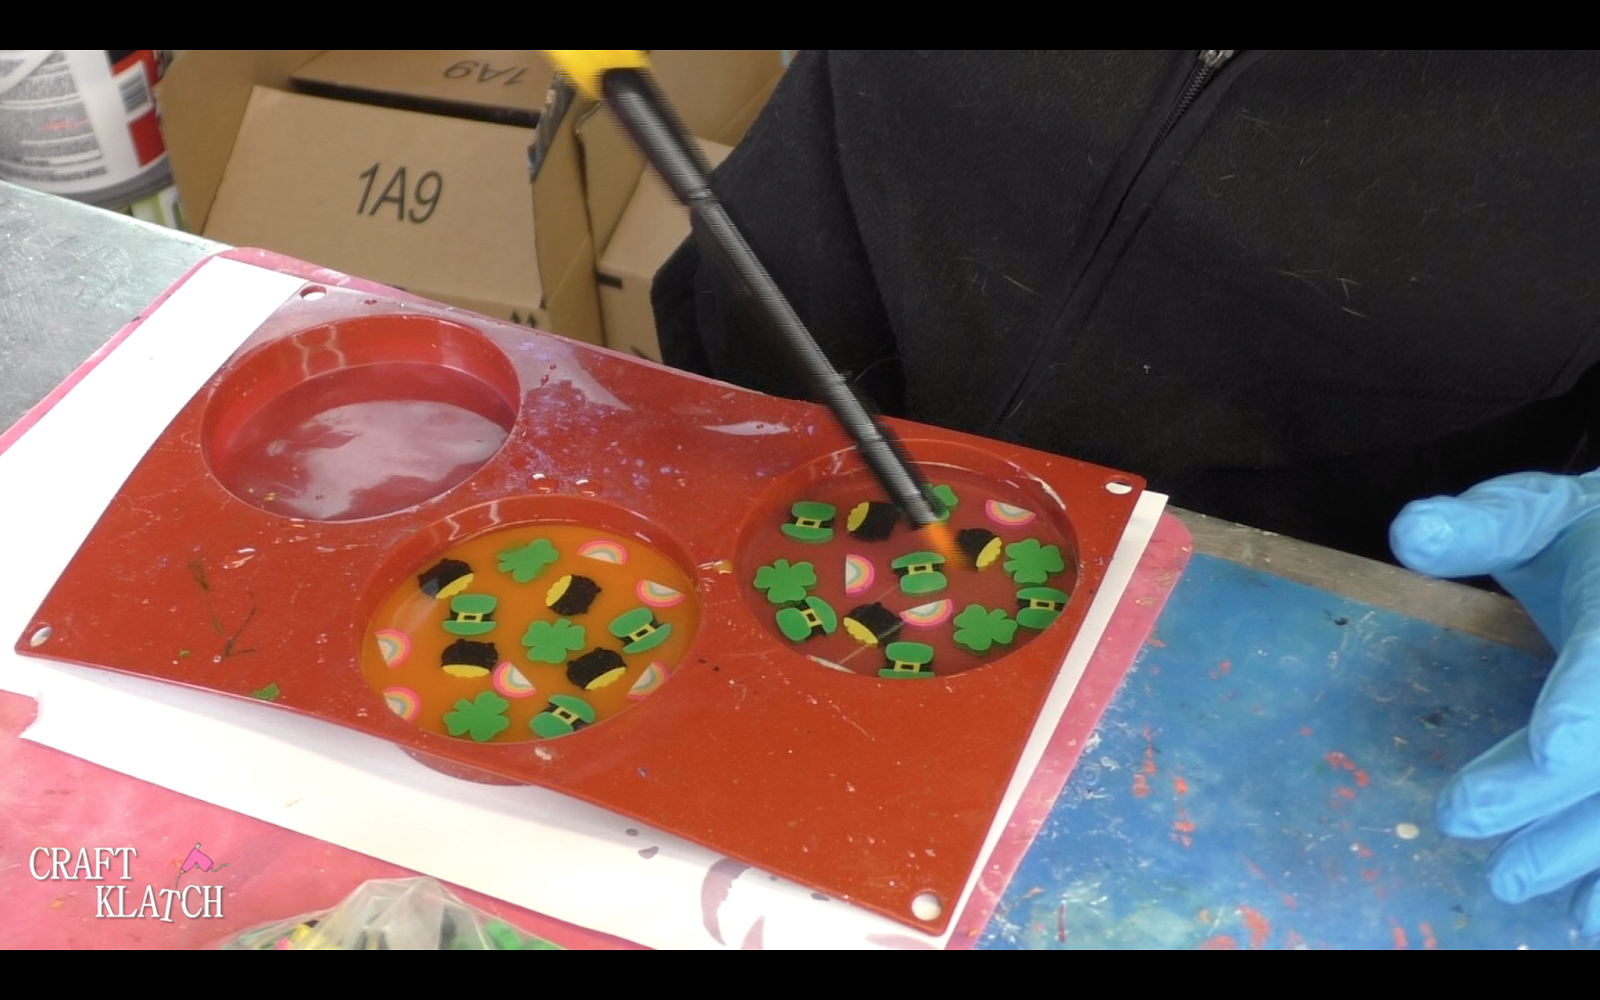
14. When cured, I removed them from their mold.
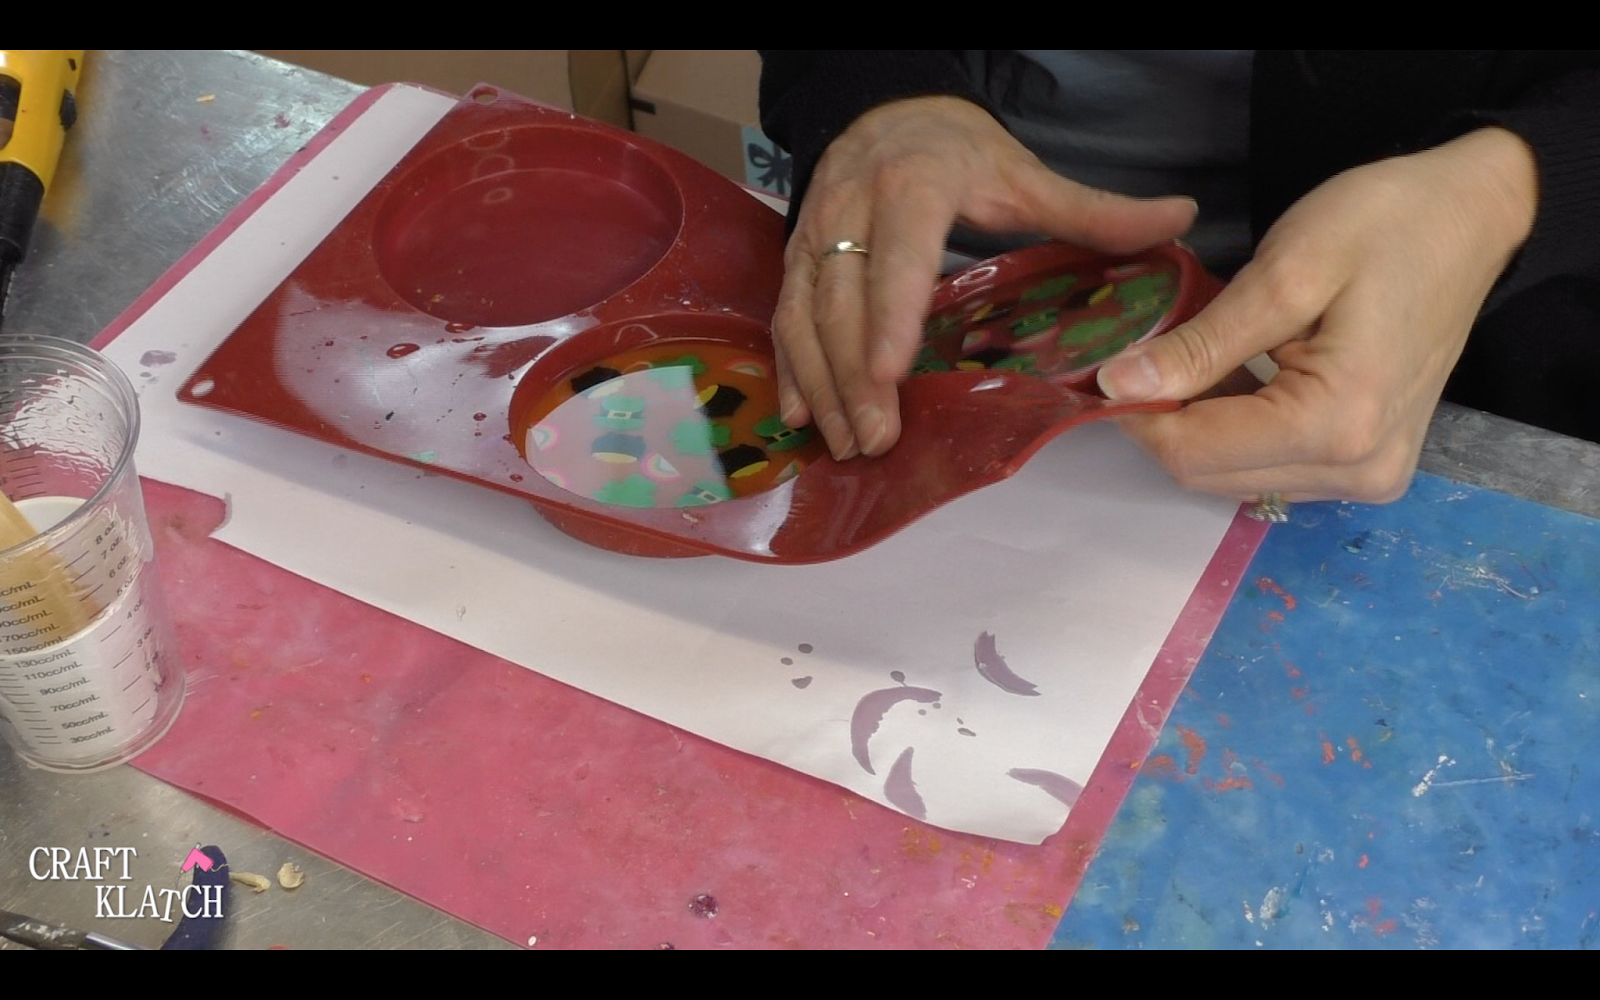
Now I have a couple of cute and festive resin coasters!
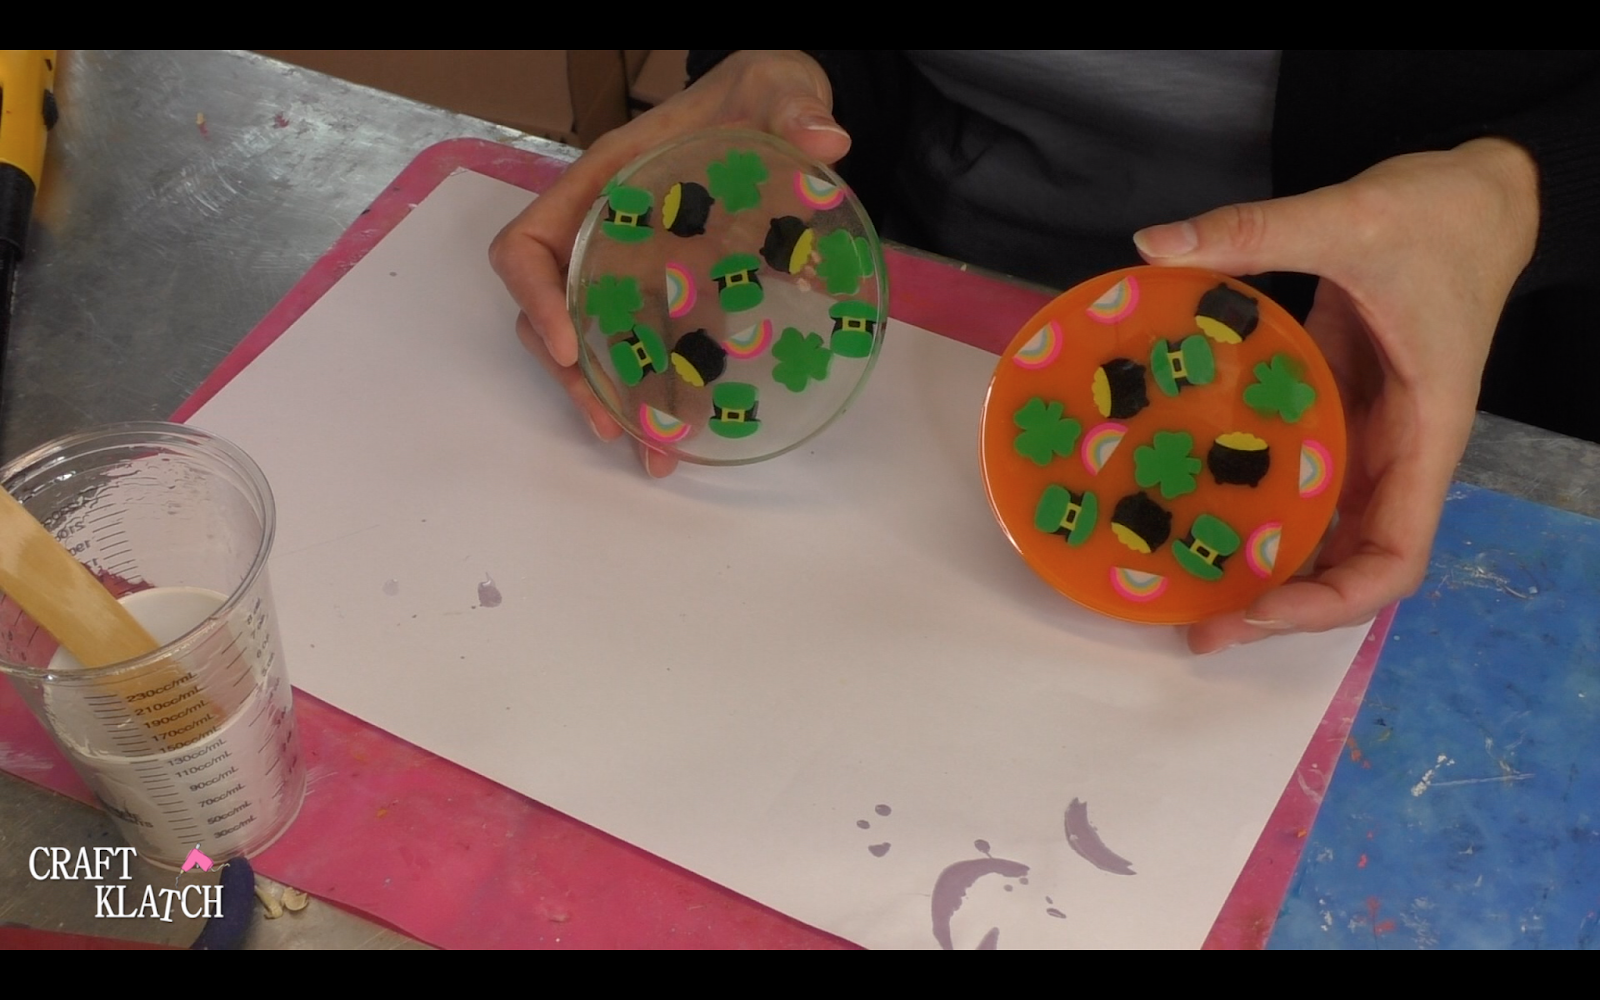
That’s it! Thanks for stopping by! Remember: Life’s too short not to shimmer, so grab your glue gun and your glitter!™ Stay safe!
Mona
