
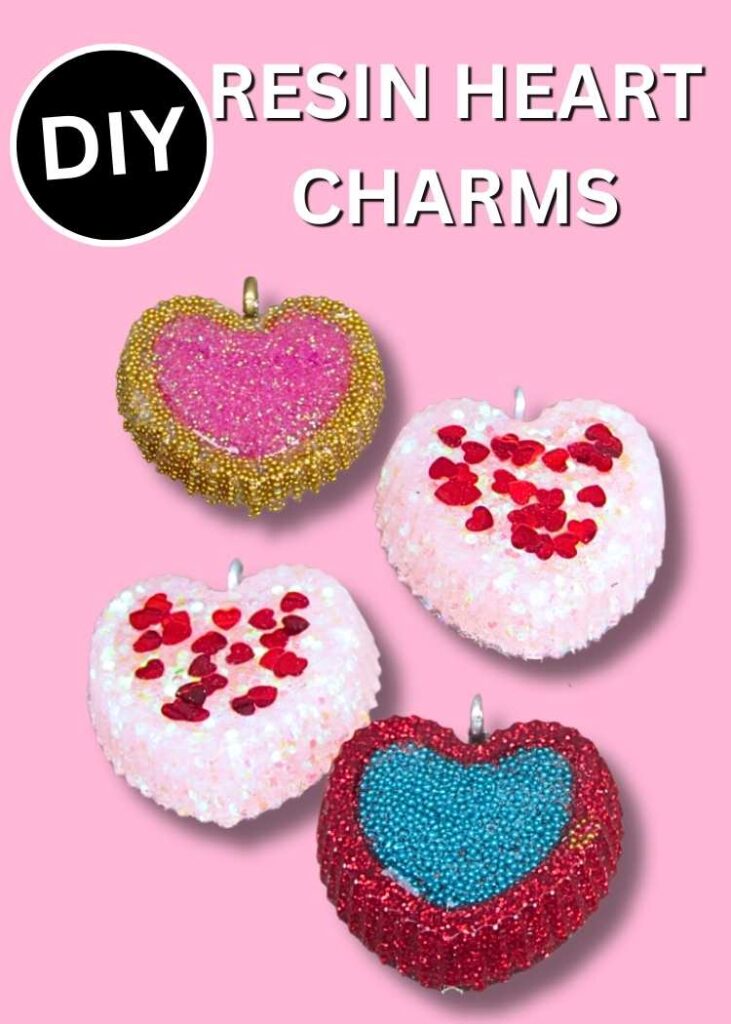
Make heart resin charms as the perfect Valentine’s Day DIY gift! Follow this easy tutorial to create personalized Valentine’s Day jewelry everyone will love!
Heart resin charms are a fun and easy Valentine’s Day gift. These charms aren’t just for Valentine’s Day – they also make great party favors, wedding favors, and thoughtful gifts for the little ones.
Here is the Resin Heart Charm Video Tutorial
Check out the video below to see exactly how these resin charms come together.
Materials You’ll Need to Make the Valentine’s DIY Gift!
*Disclosure: This blog uses affiliate links from Amazon and other retailers. I earn a small amount from qualifying purchases at no additional cost to you.
- Heart molds
- Another heart mold option
- Bigger heart mold option
- Fine glitter
- Microbeads
- Chunky glitter
- Heart glitter
- Eyescrews
- Resin:
- When deciding on which resin to use, there are a lot of qualities that might be appealing, UV resistant, price, heat resistance, etc. Just make sure to select a resin that fits your needs.
- Use whatever brand you like:
- Easy Cast
- Art Resin
- Let’s Resin
- Promise Epoxy
- These are heat resistant resins:
- FX Poxy
- Stone Coat
Valentine’s Day DIY Gift Directions in 5 Easy Steps
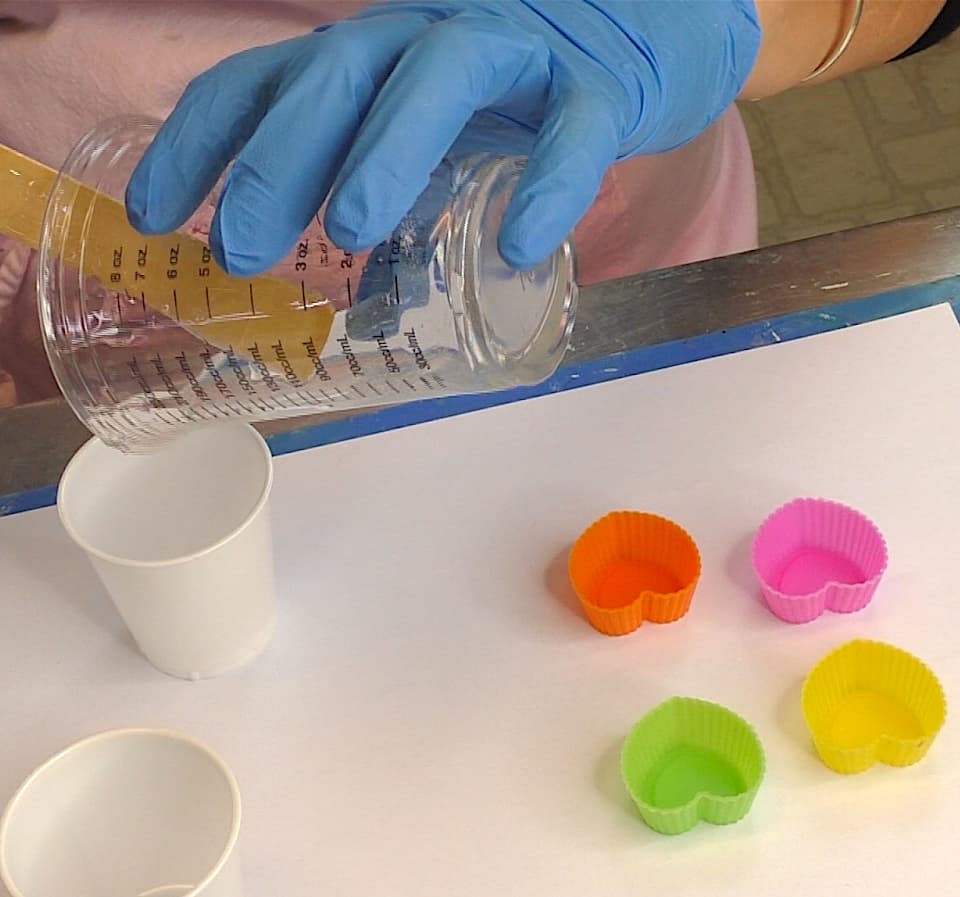
Step 1: Prepare Your Molds and Resin Mixtures
Make sure your molds are dust-free. Mix one ounce of resin because a little goes a long way. I separated the resin batch into three cups. In the first cup, I added chunky pink glitter. In the second cup, I added fine red glitter. In the third cup, I added gold microbeads.
Step 2: Pour Resin into Molds
Slowly pour the resin mixtures into the heart molds. Use a toothpick to guide the resin into tight areas, if that is a problem. Use a lighter to pop any bubbles.
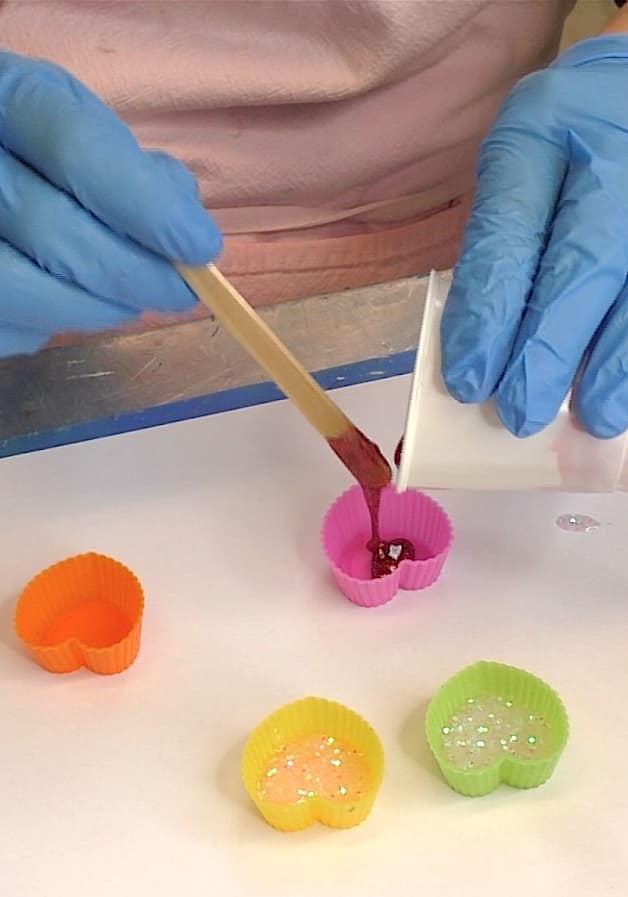
Let this layer cure for a minimum of 12 hours.
Step 3: Add the Decorative Layers
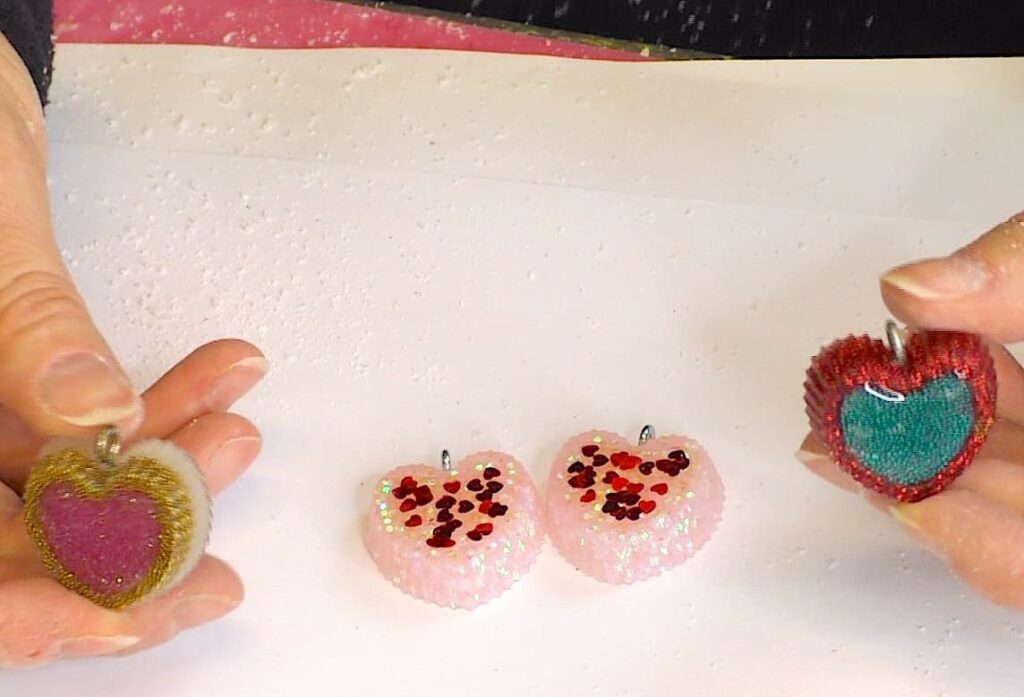
Once the pieces have cured, pop them out of the molds and have them sitting on your workspace with the indented side up.
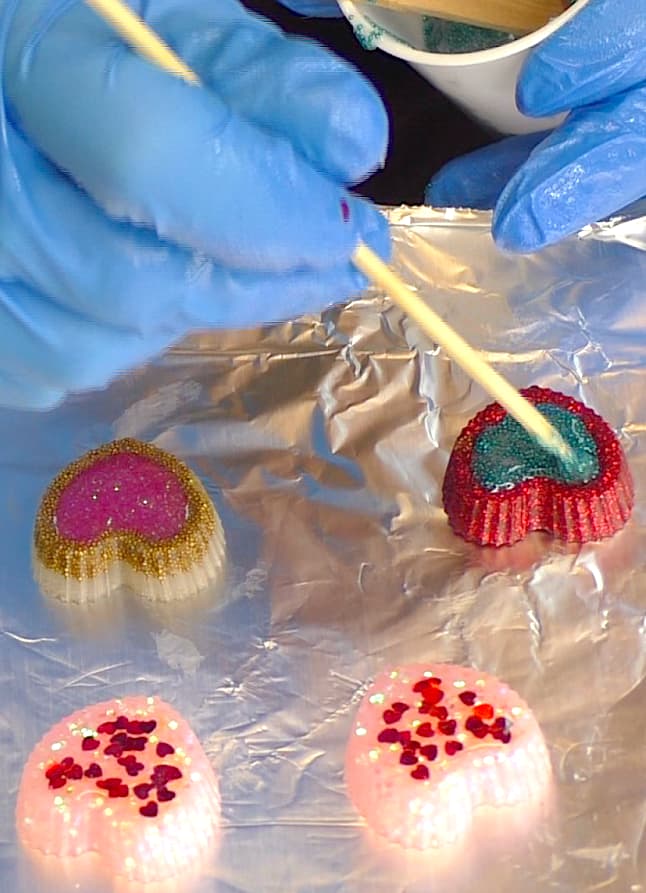
Mix a small amount of resin with heart glitter and carefully drip it into the recessed areas of the hearts. Other options are fine pink glitter or microbeads, depending on your design. Use a skewer stick or toothpick to spread the resin to the edges.
Step 4: Cure Completely
Pop bubbles with your lighter. Allow the resin to cure for another 12 hours or until fully hardened.

Step 5: Add Eye Screws and Finishing Touches
Once cured, remove the charms from the molds. Drill small holes into the tops of the hearts and screw in the eye screws. Attach chains, ribbons, or cords to transform the heart charms into necklaces.
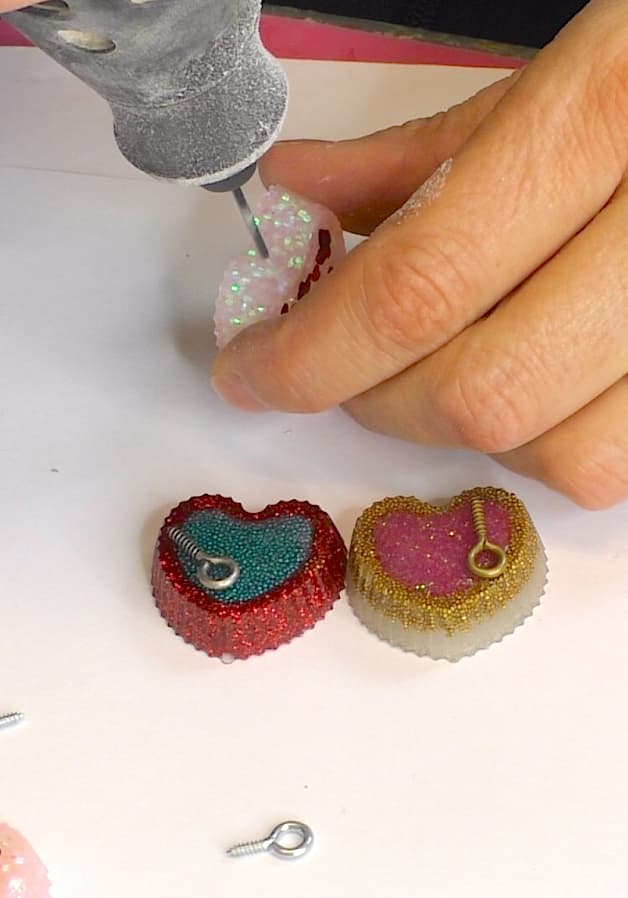
Another option is to attach them to keychains for a versatile Valentine’s Day DIY gift!
More fun Valentine’s Day DIY Gift Ideas and Decorations!
Looking for more Valentine’s Day craft inspiration? Check out these projects:
Be sure to PIN IT for later!
Heart resin charms area thoughtful and creative craft that’s perfect for making a memorable Valentine’s Day DIY gift. These personalized pieces are ideal for jewelry, keychains, or even party favors, allowing you to add a unique touch to your gift giving. With a few materials and a little imagination, you can craft something truly special for your friends and family, so get started on the project today!
Thanks for stopping by and remember: Life’s too short not to shimmer, so grab your glue gun and your glitter!™
Mona