Learn how to make Resin Heart Art in this Valentine’s Day Craft Tutorial! It easy and a perfect way to add a little Valentine to your decor.
I was asked if I had any ideas on how to combine a wood heart, letters, and resin. At the time, I didn’t. But, I collected the items and this is what I came up with!
Here is a quickie video tutorial so you can see exactly how I made it!
You can find the full video at the end of this post!
Be sure to follow me on Instagram @CraftKlatch
More Valentine’s Day Crafts!
If you enjoy making and displaying Valentine’s Day decor, I have so many projects to share with you! Here are a few:
- Resin Heart Valentine Decor DIY
- Valentine’s Day Wood and Resin Heart Coasters
- Valentine’s Day String Heart
- Love Sign DIY
- 35 Valentine’s Day Crafts and DIY Projects
*This blog uses affiliate links. As an Amazon Associate I earn from qualifying purchases, at no additional cost to you.
Materials you will need to make the Valentine’s Day Heart Art
- Wood heart: I found mine at Hobby Lobby, but here are two potential alternatives:
- Heart #1: https://amzn.to/2WDvY7Q
- Heart #2: https://amzn.to/2TwnWvm
- Love chip art: I found it at Hobby Lobby, but here are alternatives:
- https://amzn.to/2Tr114x
- Gold paint: https://amzn.to/2WFAxOY
- White paint: https://amzn.to/2Go5NvZ
- Black ribbon: https://amzn.to/2t2pQIu
- Torch: https://amzn.to/2LXulgd
- White resin pigment: https://amzn.to/2GiX0M2
- Red resin pigment: https://amzn.to/2MN5350
- Resin:
- When deciding on which resin to use, there are a lot of qualities that might be appealing, UV resistant, price, heat resistance, etc. Just make sure to select a resin that fits your needs.
- Use whatever brand you like:
- Easy Cast
- Art Resin
- Let’s Resin
- Promise Epoxy
- These are heat resistant resins:
- FX Poxy
- Stone Coat
Directions:
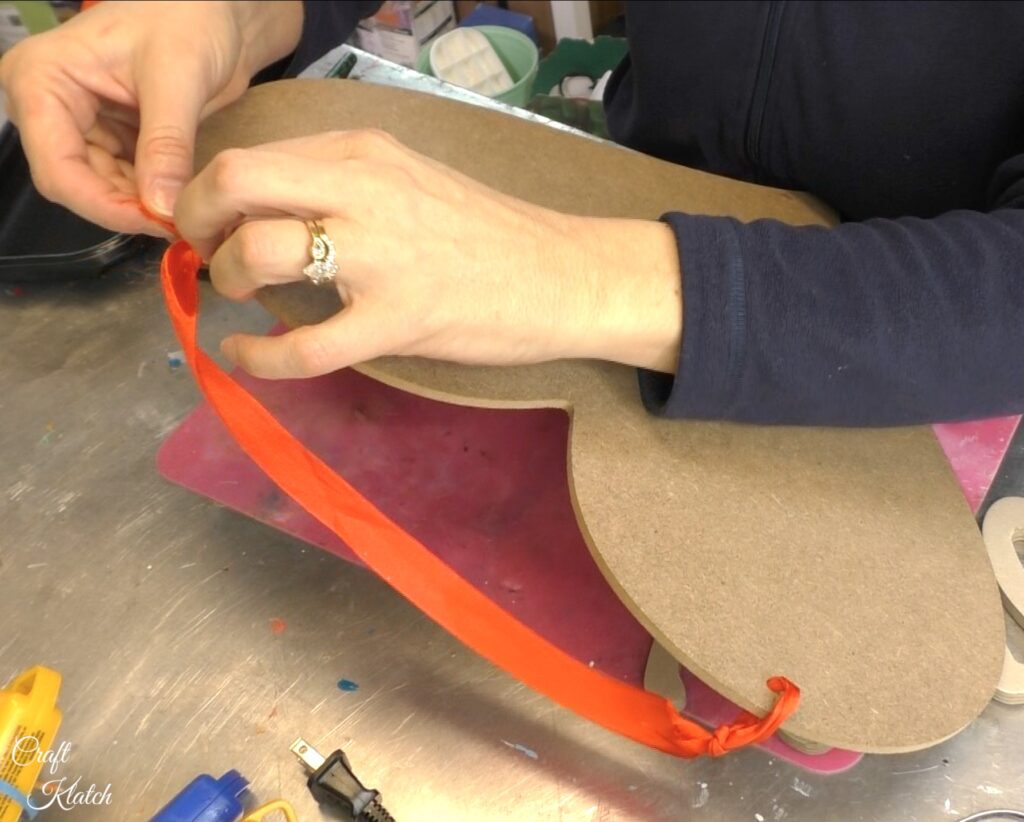
- Remove the ribbon. Keep the ribbon and use it to measure a replacement ribbon.
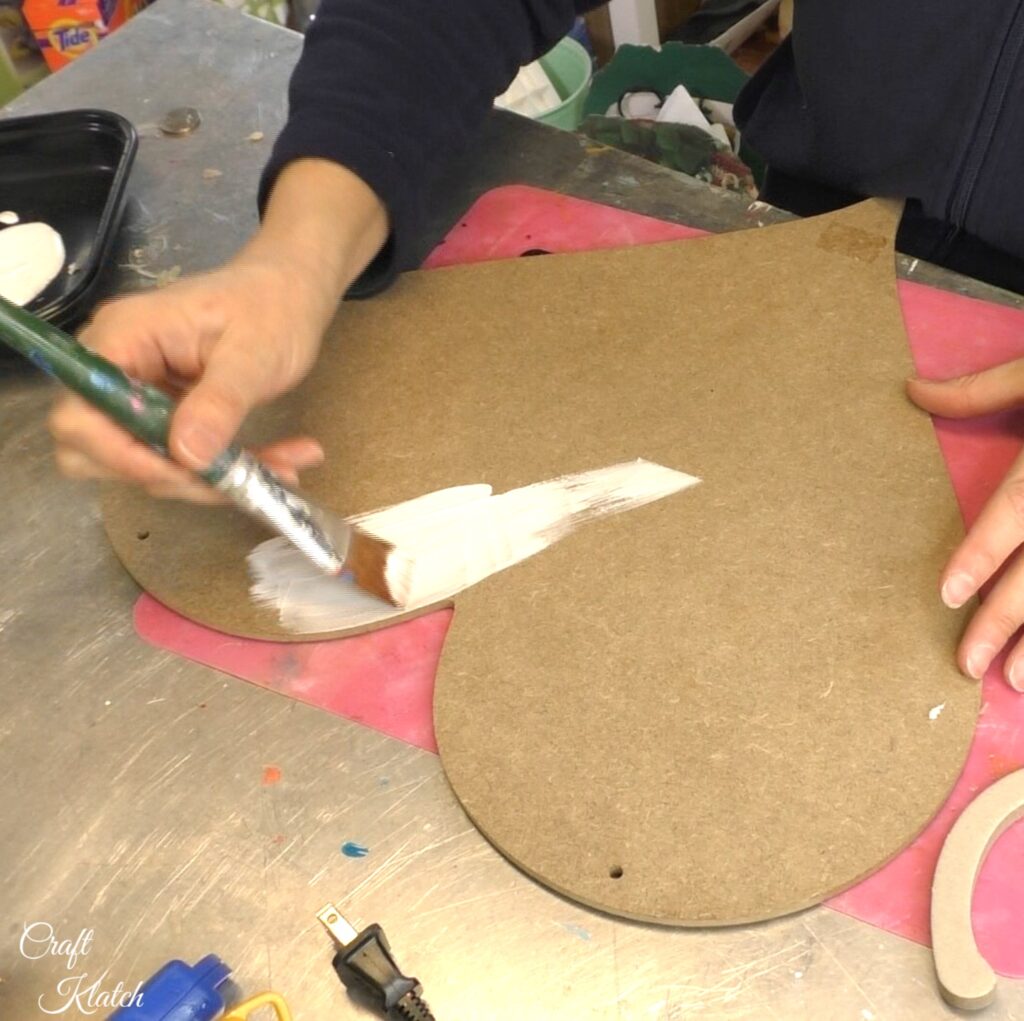
2. Paint the heart white, so the resin has a nice neutral base and won’t have any dark colors showing through.
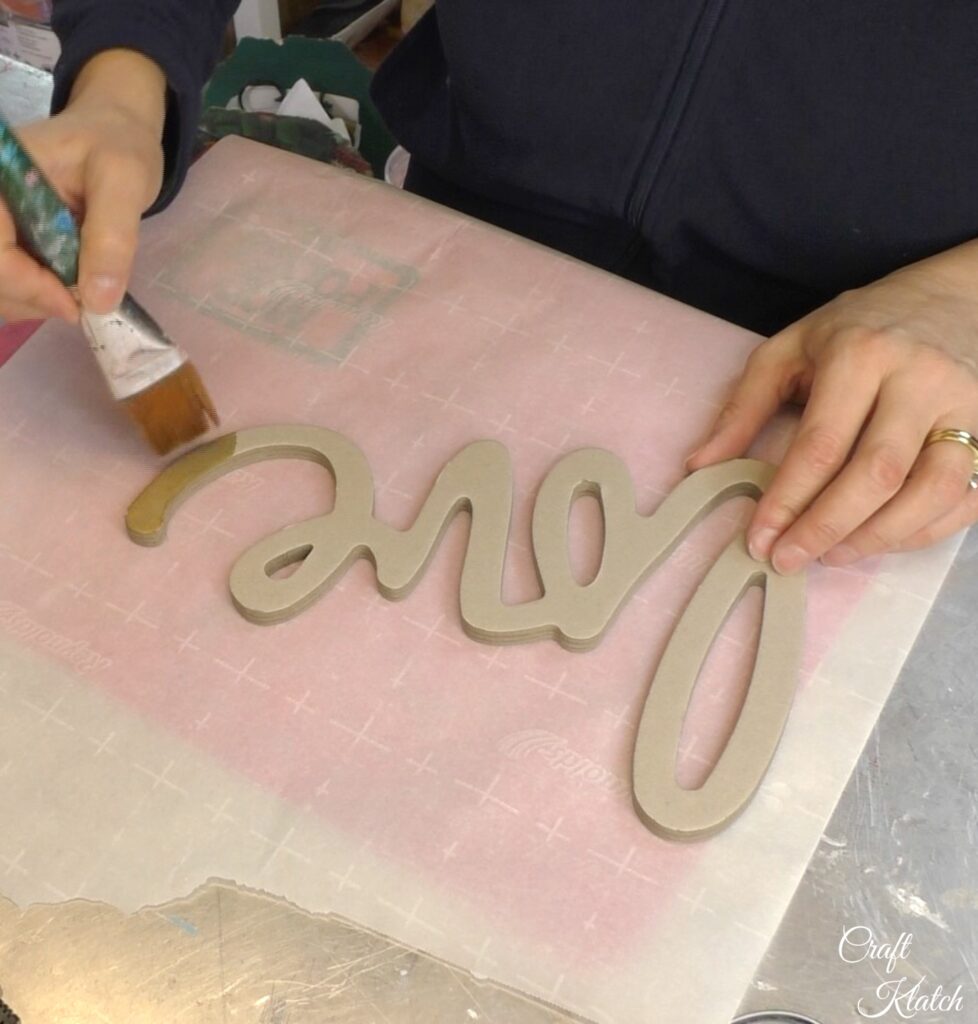
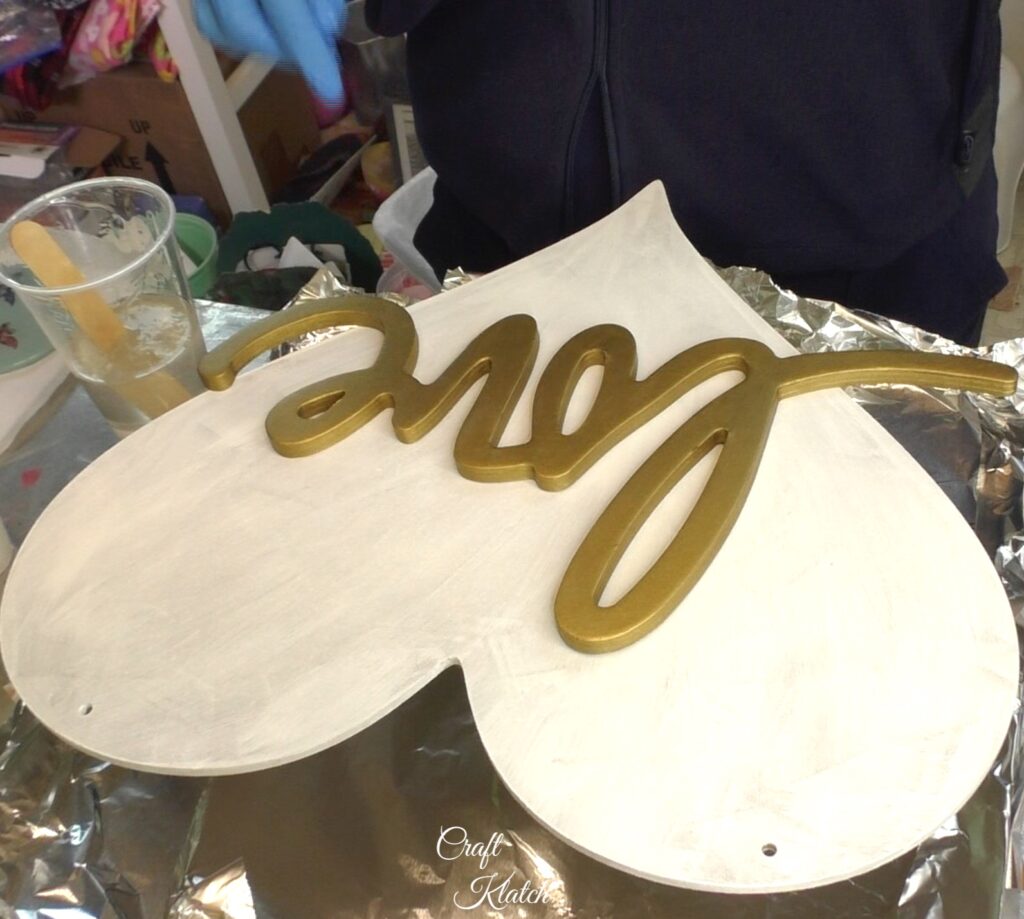
3. Paint the love wording with gold acrylic paint.
4. Mix six ounces of resin and split it into three cups and reserve some too.
5. Add pigments to resin. First, mix white and red to make pink and the others are just plain red and plain white.
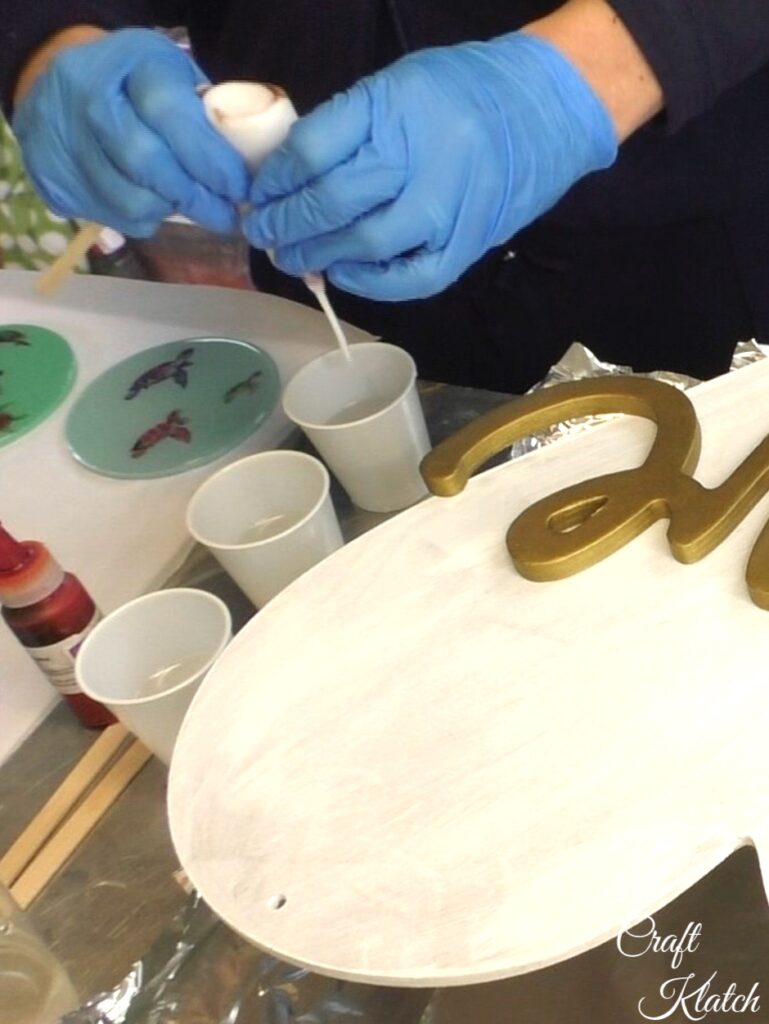
6. Begin pouring the resins onto the heart, in no particular pattern or order.
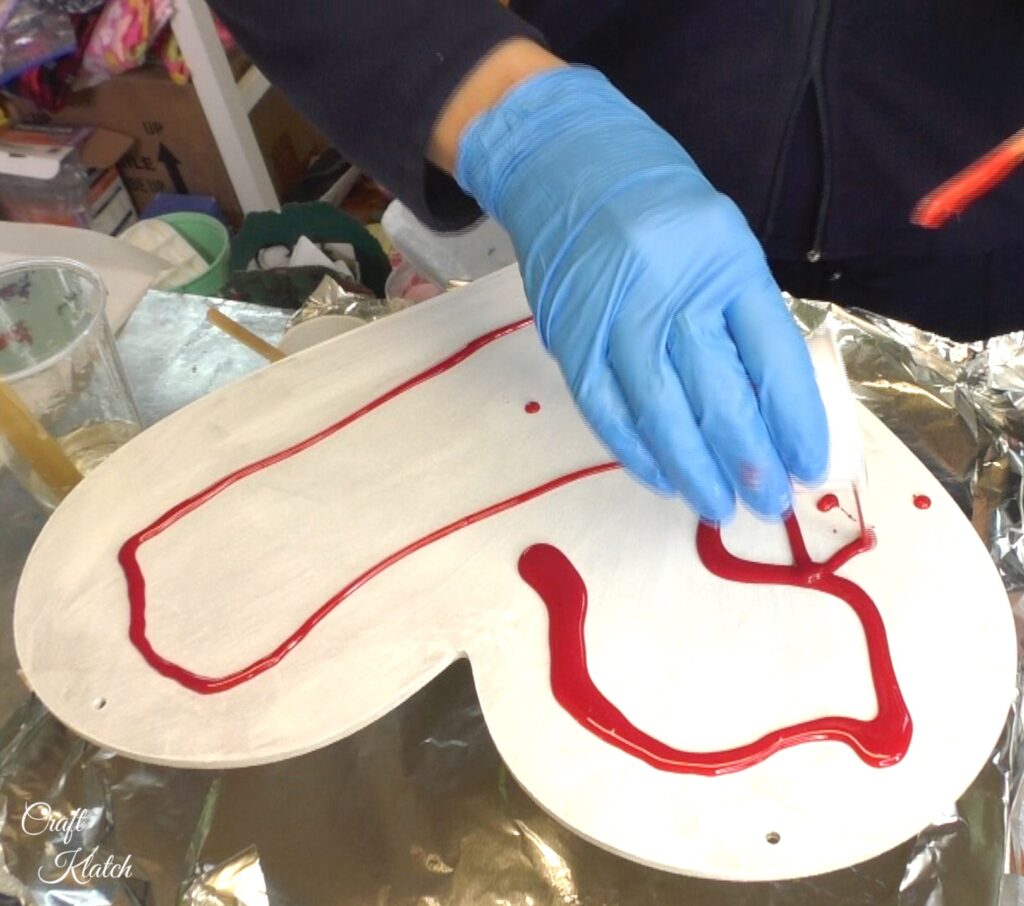
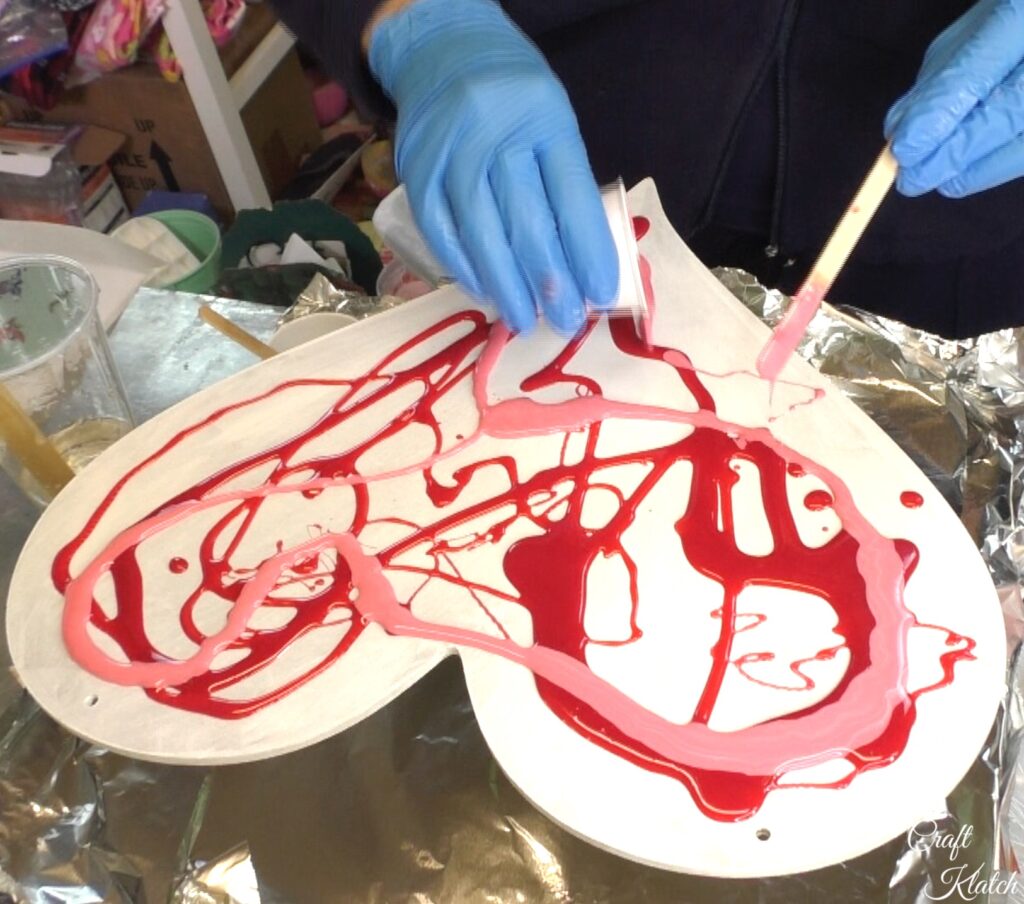
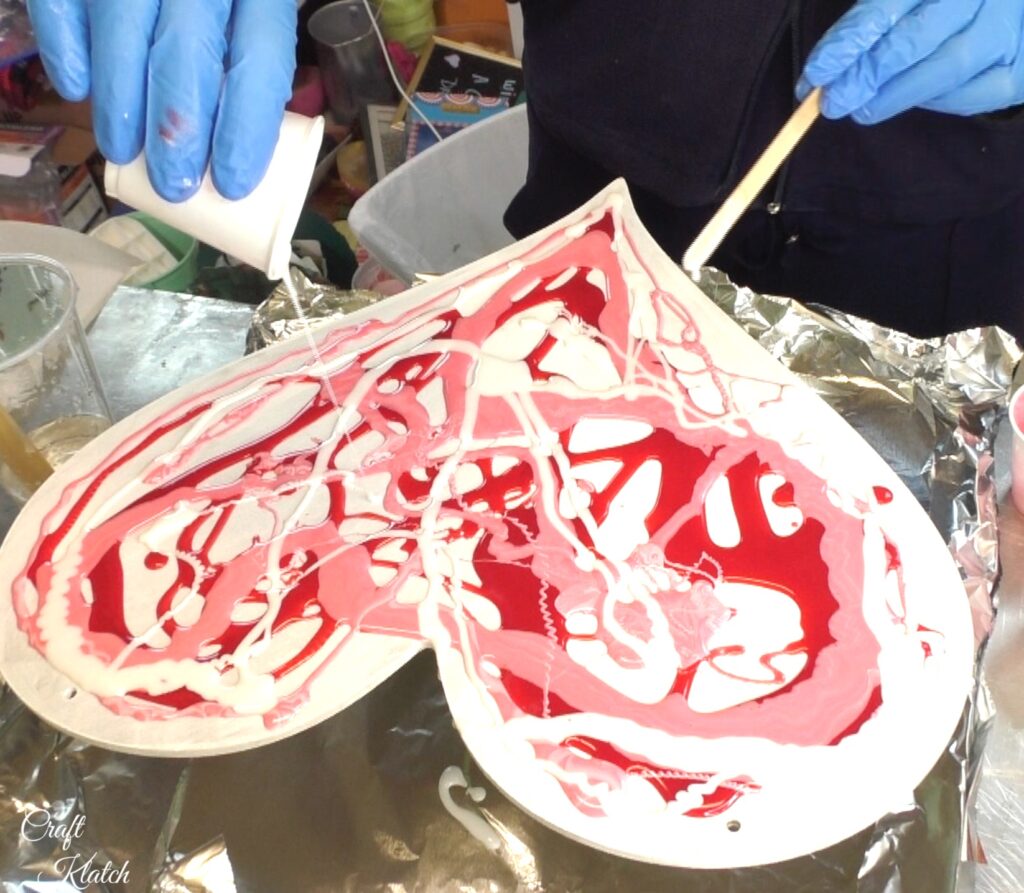
7. Once all the resin is on the heart, pick it up and lean it from side to side, so it can cover more of the heart.
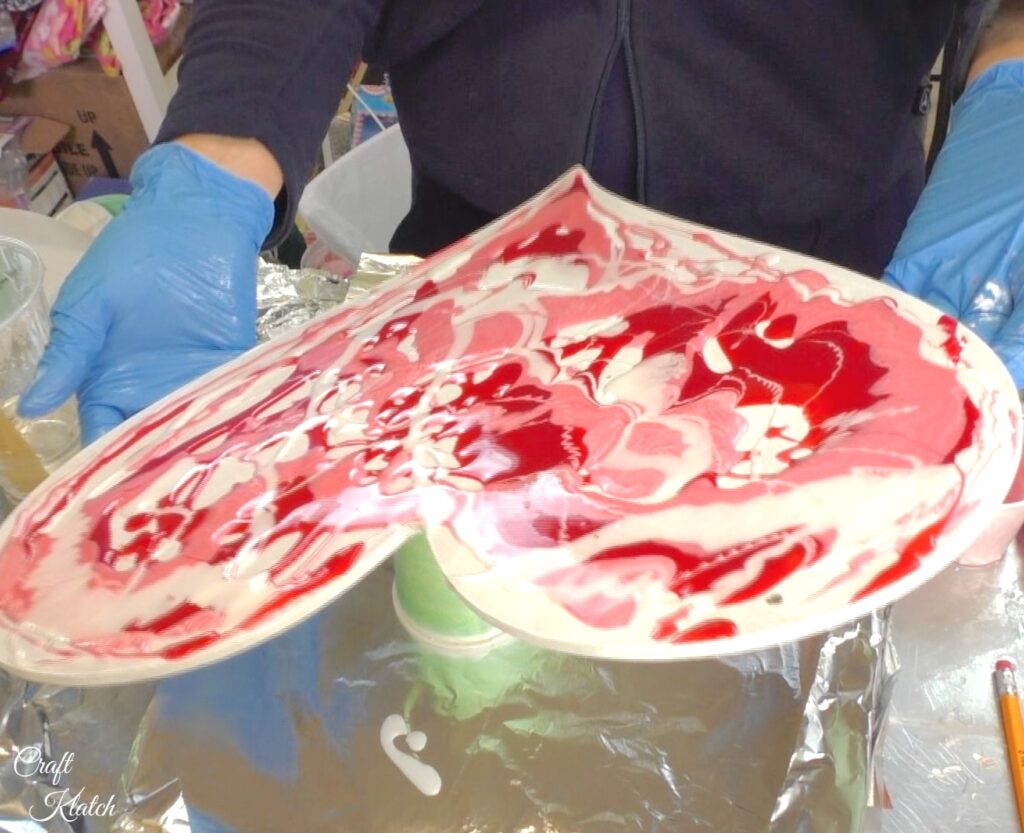
8. I used my stir stick to move the resin to the edges.
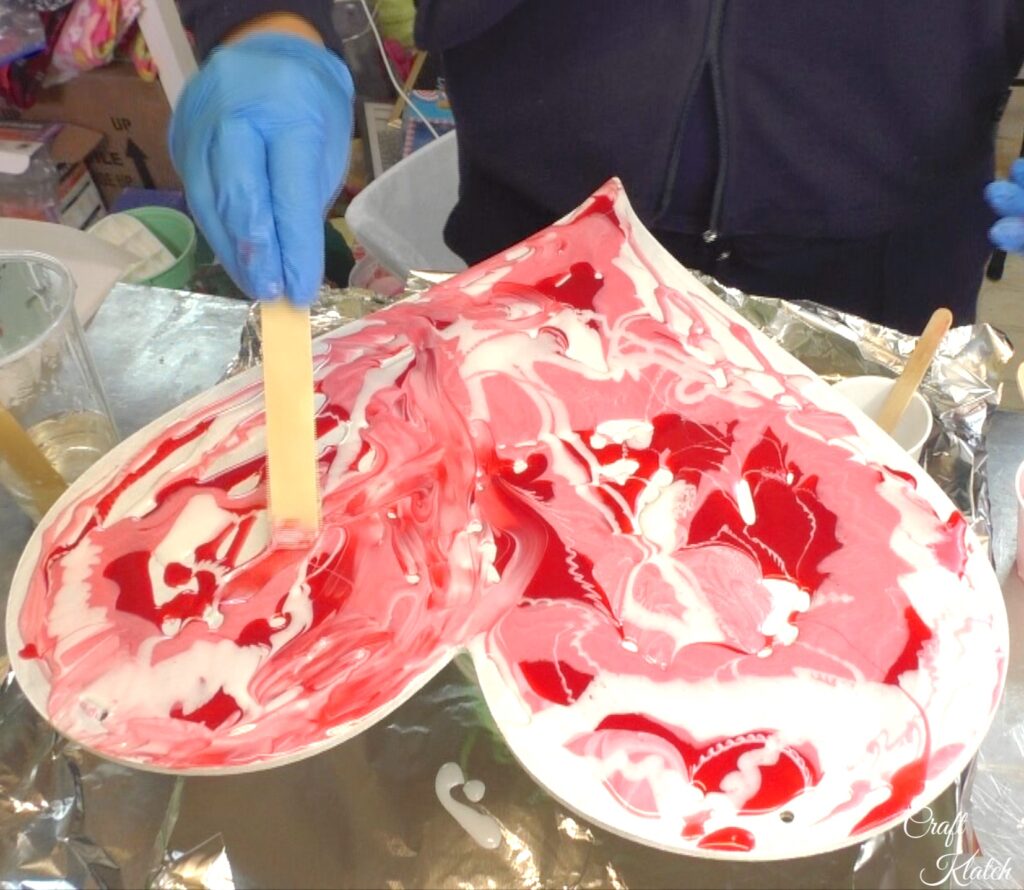
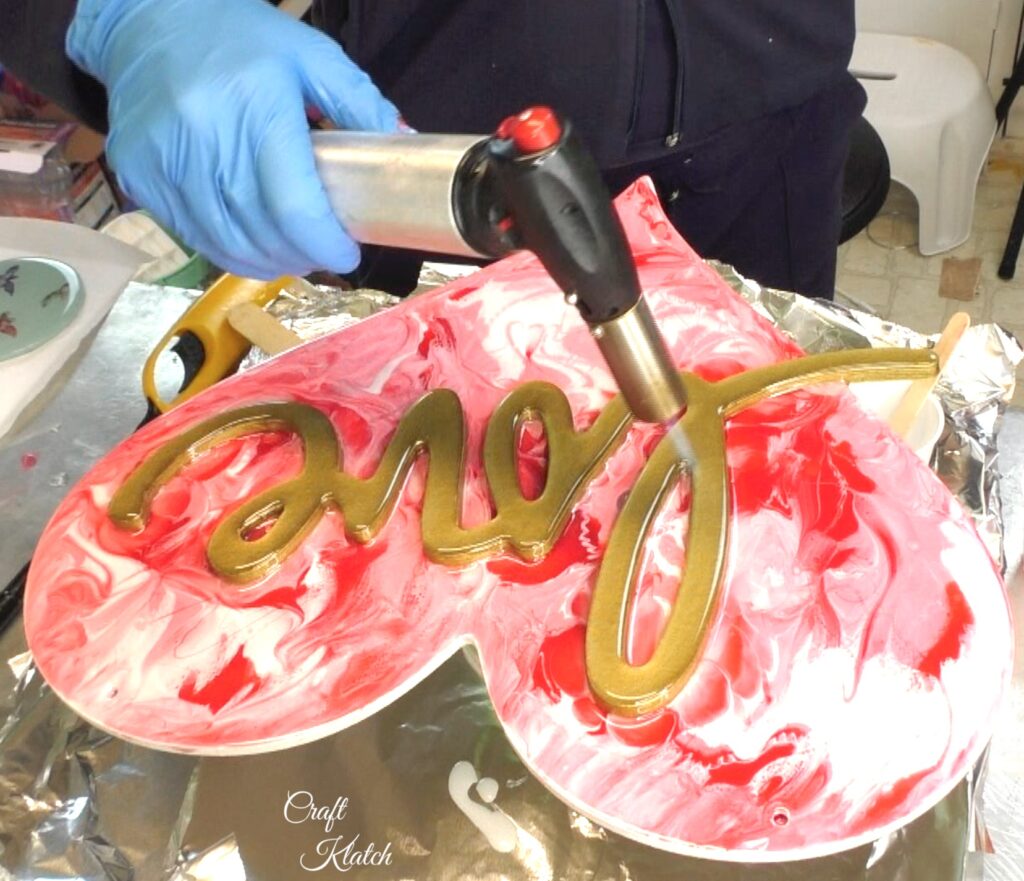
9. Use a torch or lighter to pop any bubbles in the resin.
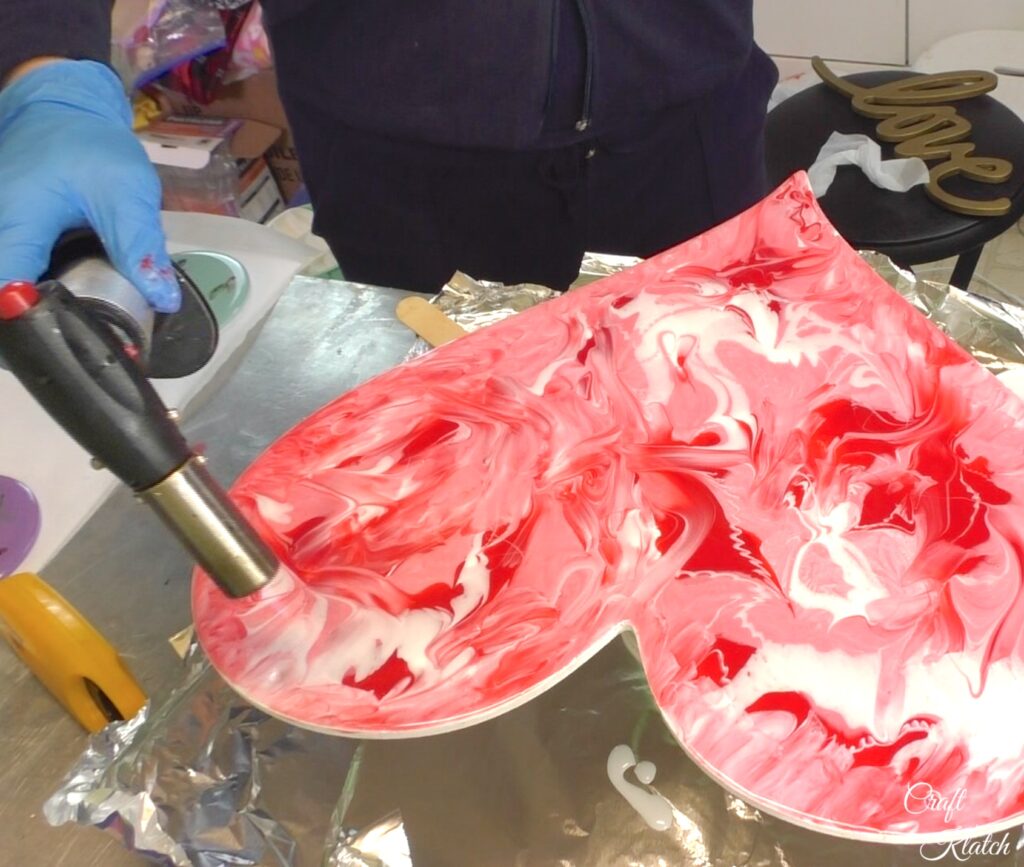
10. Carefully drop the love into the wet resin.
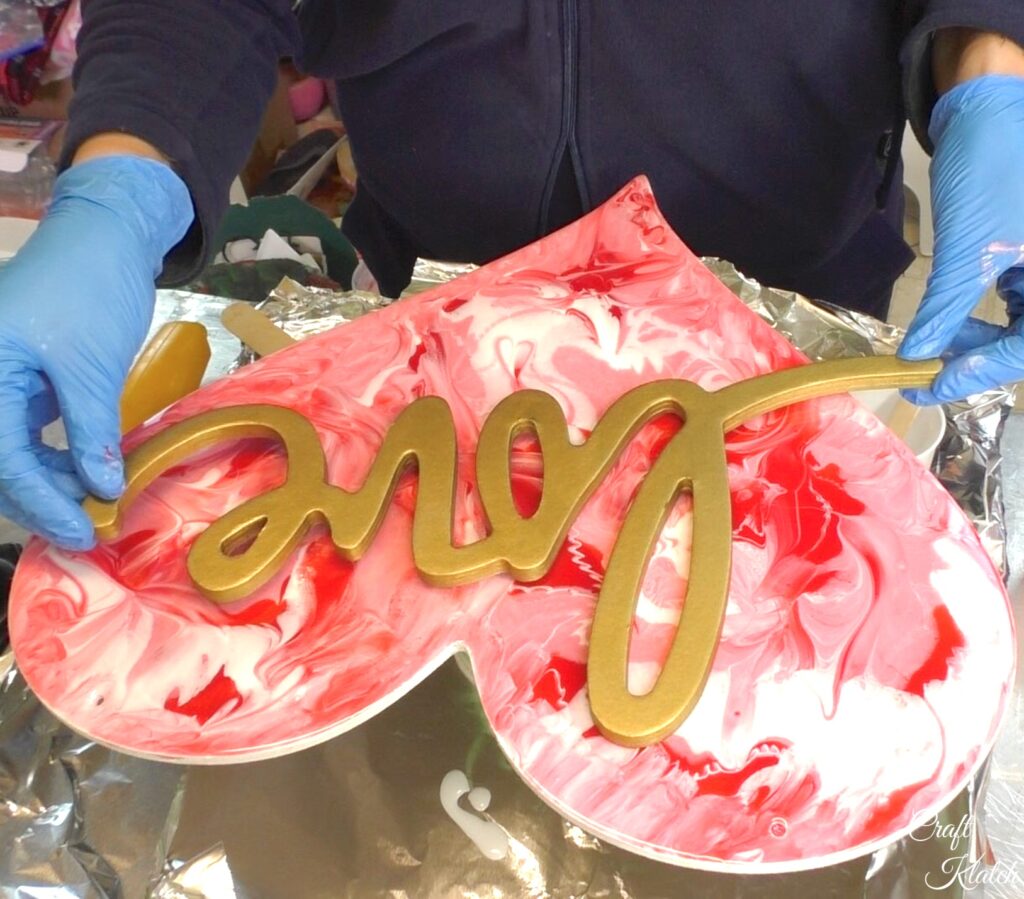
11. Then, use the reserved clear resin and drip it all over the love. Move it around with your stir stick until it is completely covered and running into the resin on the heart.
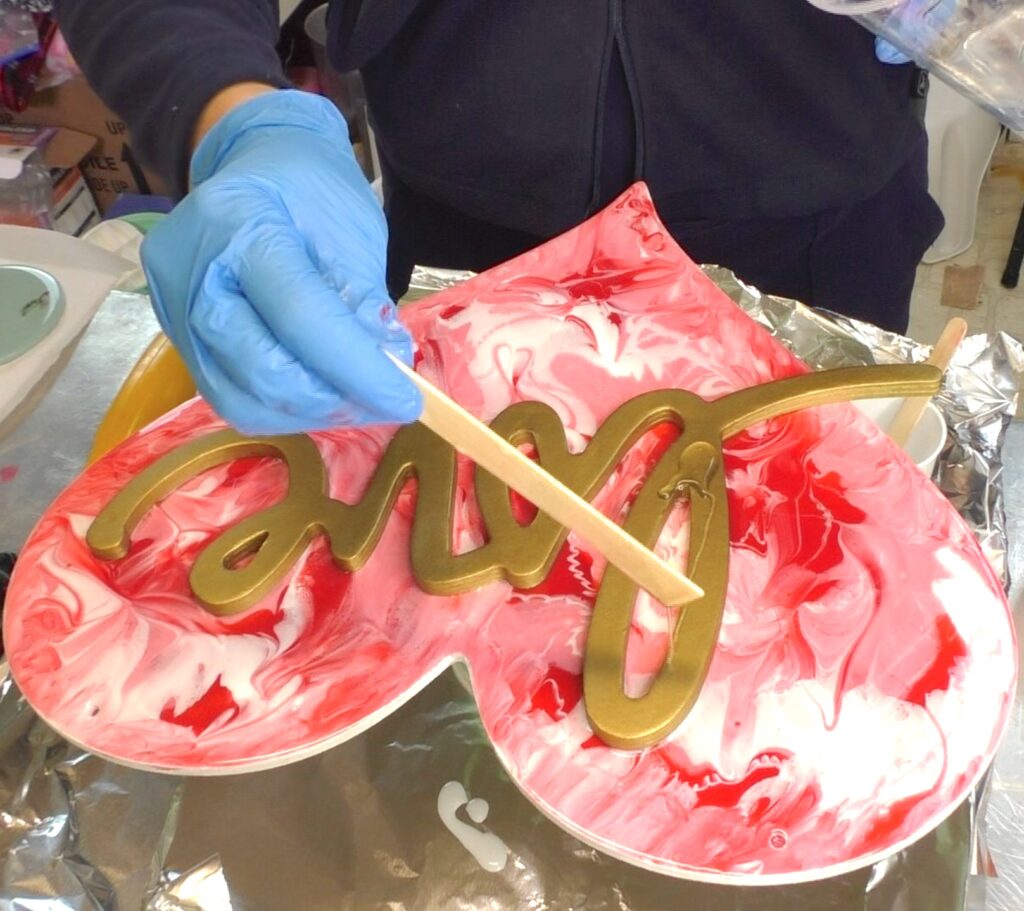
12. Use a torch or a lighter to pop the bubbles. Then, let it sit for a minimum of 12 hours to cure.
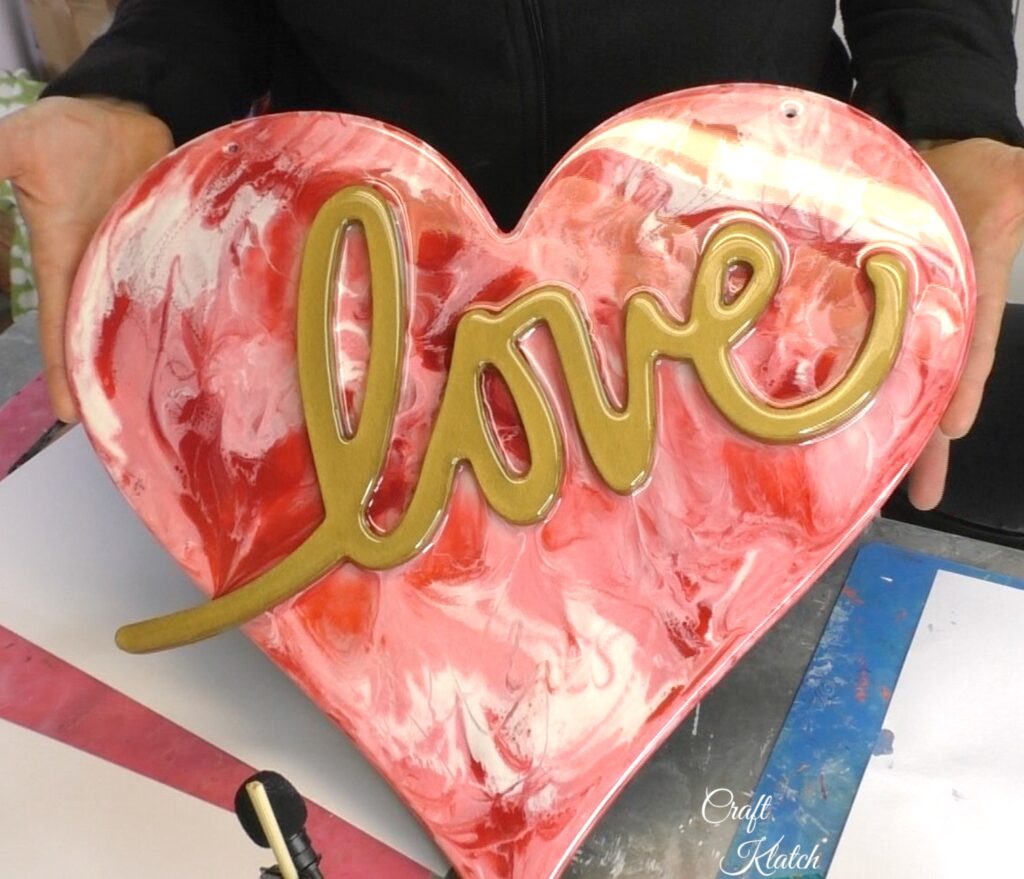
There it is, all cured, but is lacking a ribbon!
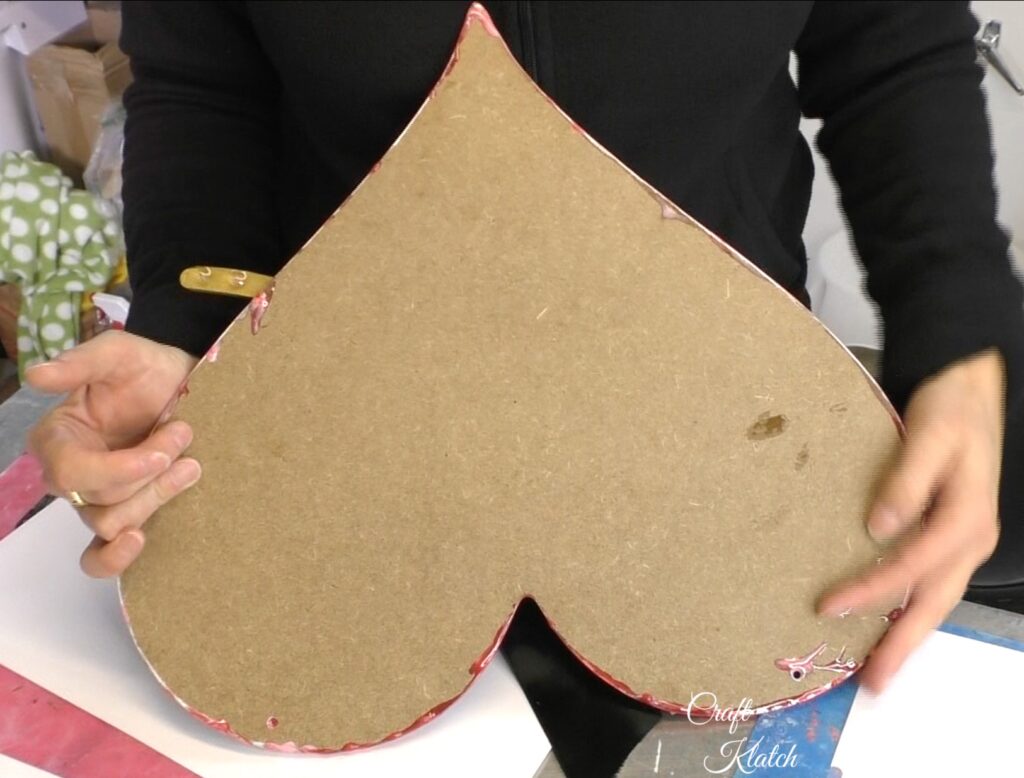
You can paint the back any color you want because it will be against the wall.
13. Take a wide black ribbon and add it to the Valentine’s Day heart art!
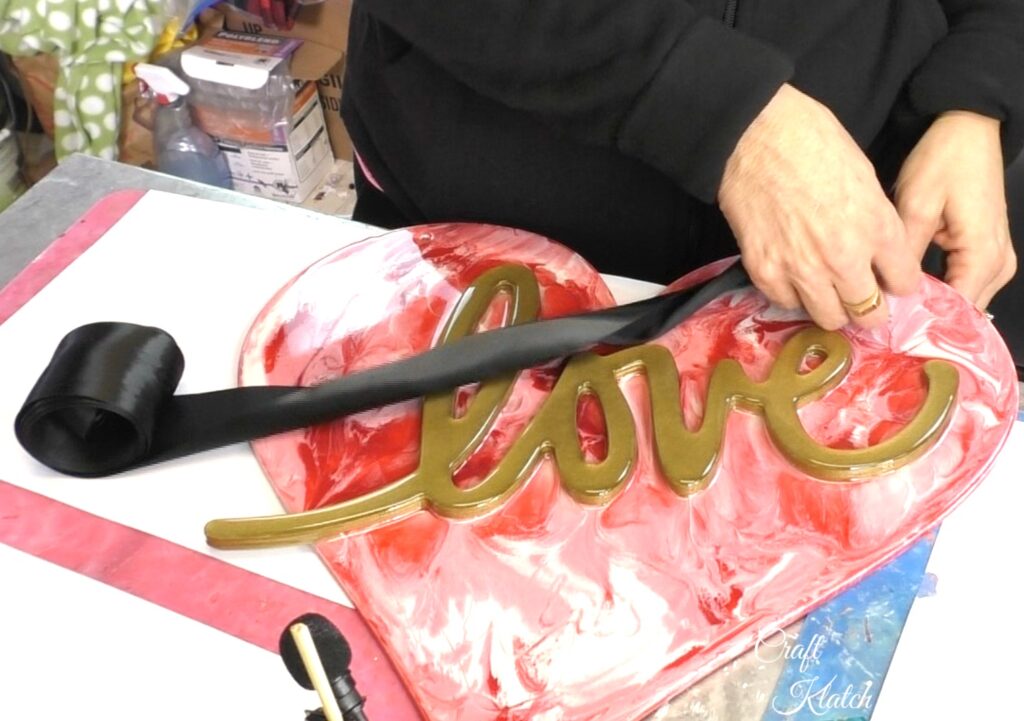
You can make a version of this in any size. I like that it is pretty big.
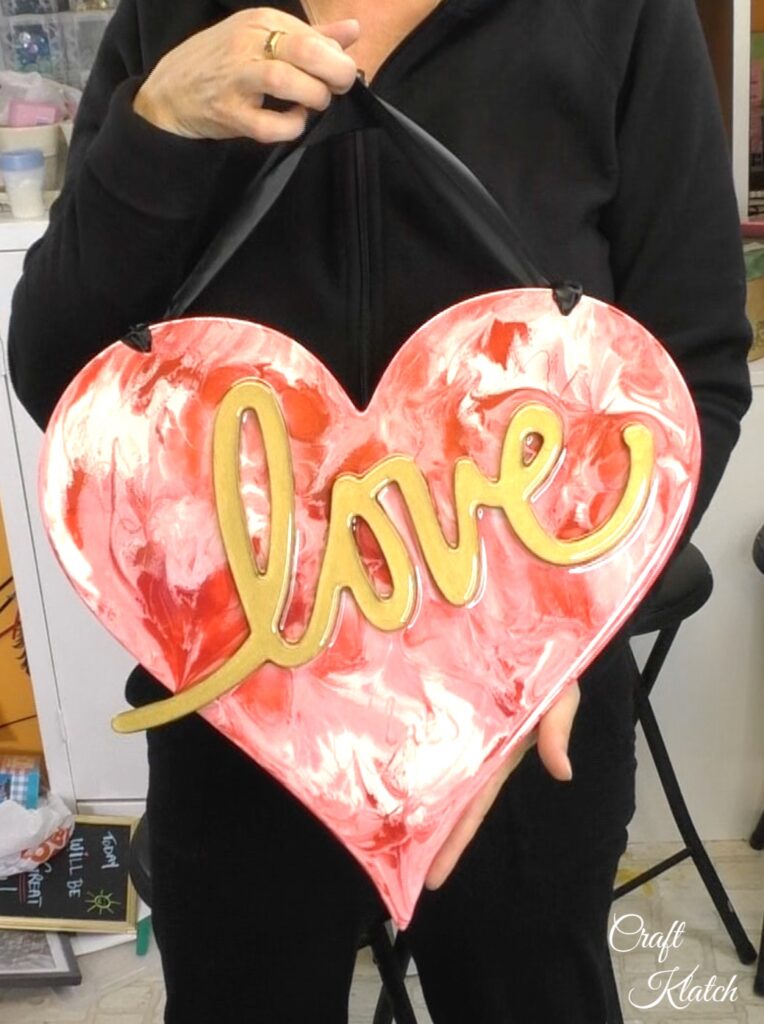
That’s it! Now you can hang it up!
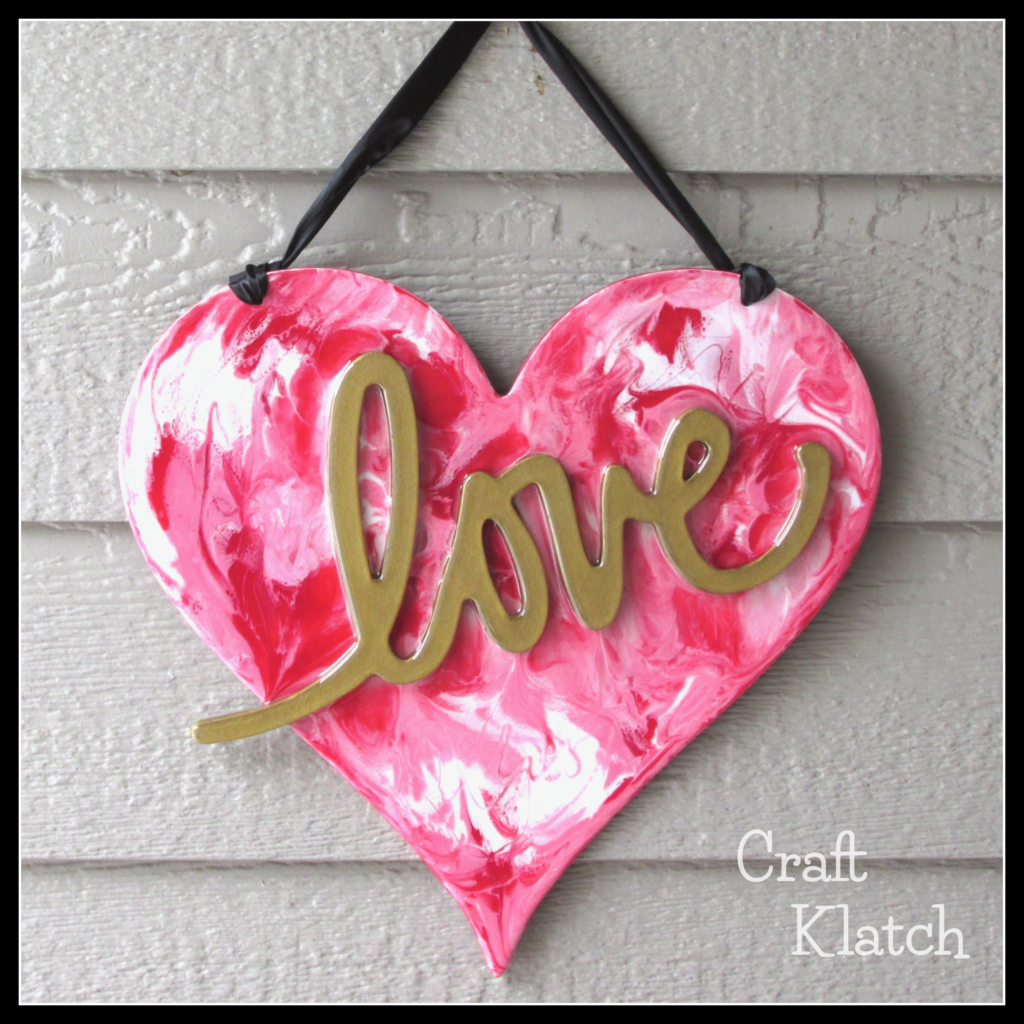
Beautiful Valentine’s Day Decor
Maybe you love Valentine’s Day decorations but might not want to jump into making the Heart Art. That’s okay! There are so many beautiful Valentine decorations available!
Here is the full video tutorial!
That’s it! Thanks for stopping by! Remember: Life’s too short not to shimmer, so grab your glue gun and your glitter!™ Stay safe!
Mona


Hi just wanting to know what resin did you use for the valentine love heart?
I used the Countertop Epoxy.
Beautiful! Getting ready to do a paint pour Valentine’s project today and will remember epoxy for next time!
Thanks Carol! I hope the pour went well!