Learn how to craft enchanting Halloween resin coasters featuring a witch silhouette and a Frankenstein silhouette. Perfect for adding a touch of magic to your spooky season decor!
These resin coasters are so easy and fun to make!
What screams Halloween more than monsters, specifically a witch and Frankenstein?
Materials for Frankenstein and Witch Silhouette Coasters
To cast your spellbinding coasters, you’ll need the following ingredients:
- Mold: http://amzn.to/2FcRd7J
- Circle Cutter: https://amzn.to/2LEBSjR
- Laser Transparency Film: http://amzn.to/2EjhvUz
- Alcohol Inks: https://amzn.to/2OlqUn4
- Resin (Your favorite brand):
- Easy Cast: http://amzn.to/2yjYmBC
- Art Resin: http://amzn.to/2yk9X3z
- Clear Cast: http://amzn.to/2z4rxGw
- FX Poxy (Heat resistant): http://amzn.to/2AF3Pkk
- Fast Cast Resin (Optional for white background): https://amzn.to/2wTZ6wc
- White Pigment (Optional): https://amzn.to/2QbPRiU
- Witch Silhouette: http://www.clker.com/clipart-witch-6.html
- Frankenstein Silhouette: http://www.clker.com/clipart-frankenstein.html
Video Tutorial for Frankenstein and Witch Silhouette Coasters
Casting Your Spooky Frankenstein and Witch Silhouette Coasters: Step-by-Step Instructions
Step 1: The Base Layer
Mix two ounces of resin. You can use either:
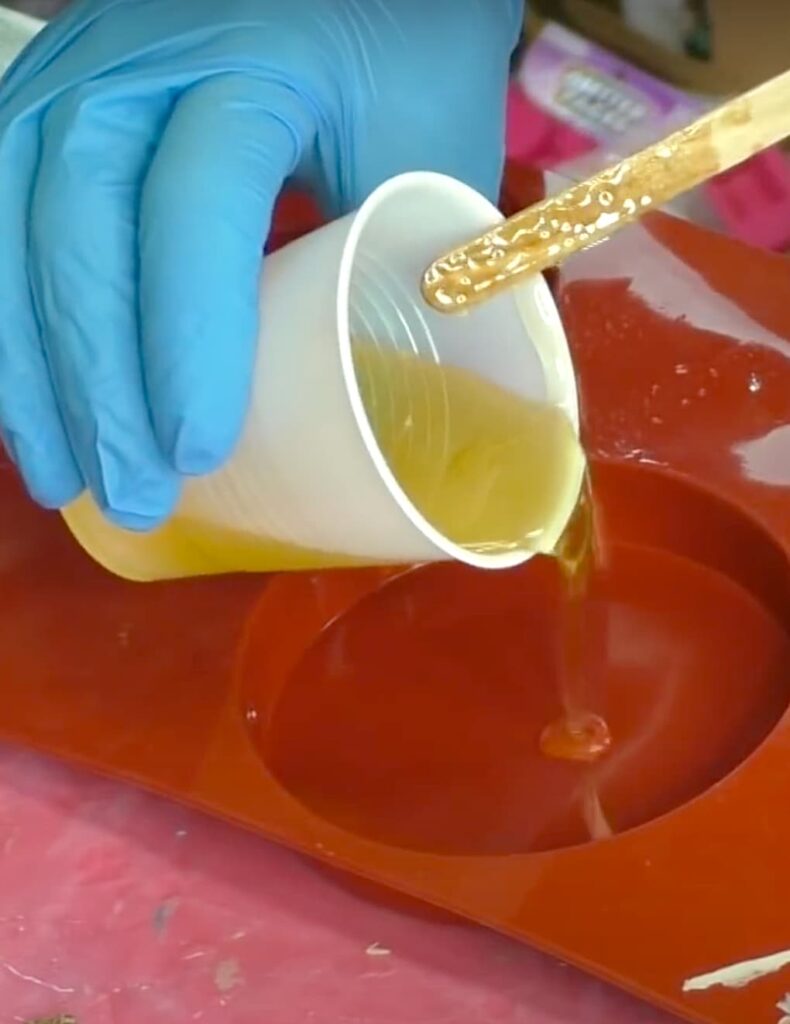
Clear resin with white pigment (allow to cure) or fast-curing white resin (cures in about 15 minutes). Either will work fine!
Pour one ounce of resin into each coaster cavity. Allow the resin to cure completely.
Step 2: Prepare Your Witch and Frankenstein Silhouettes
While the resin cures, print out your witch silhouette, Frankenstein figure, or any other spooky images. I printed on transparency film using a laser printer. I have been told it works with inkjet printed on transparency film too but I have not tried it.
TIP: If you are going to print on transparency film, just make sure you get the film that goes with the type of printer you have.
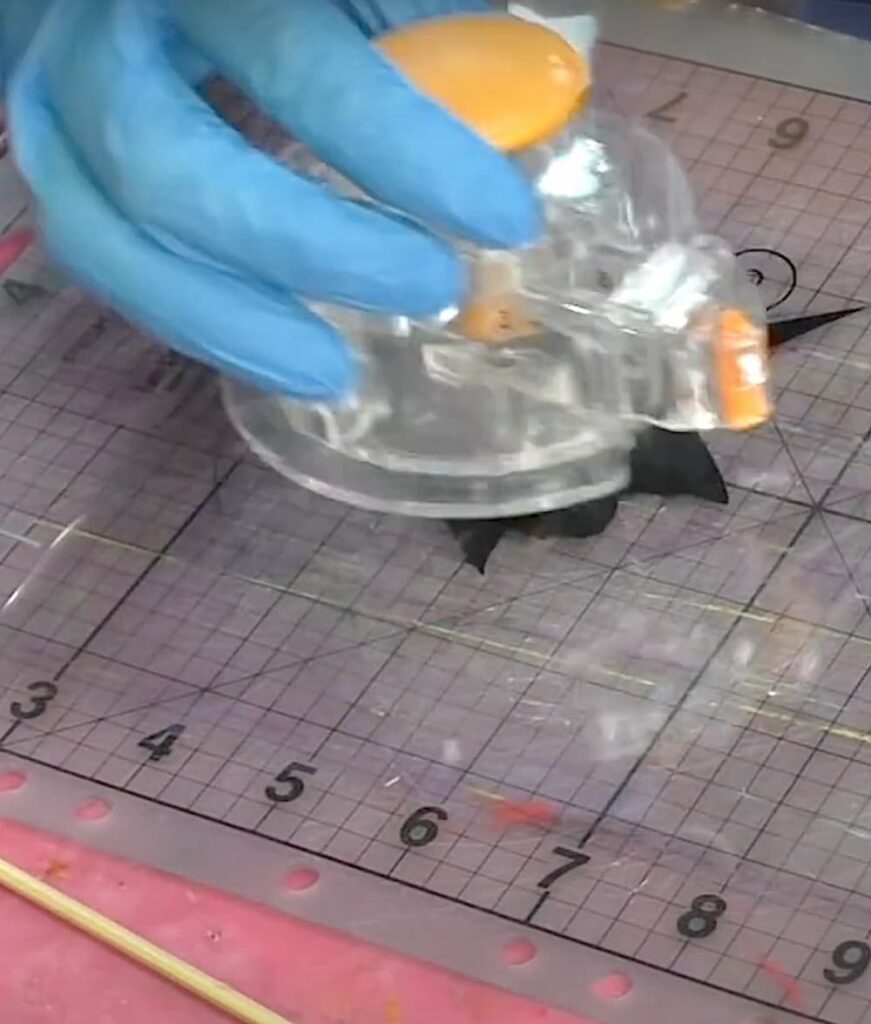
Use a circle cutter to carefully cut out the images. Make sure you set it to cut slightly smaller than the actual coaster size.
Tip: Cut on the unprinted side to avoid scratches.
Step 3: Infuse with Eerie Inks
Once the base resin layer is cured, add alcohol inks to your liking.
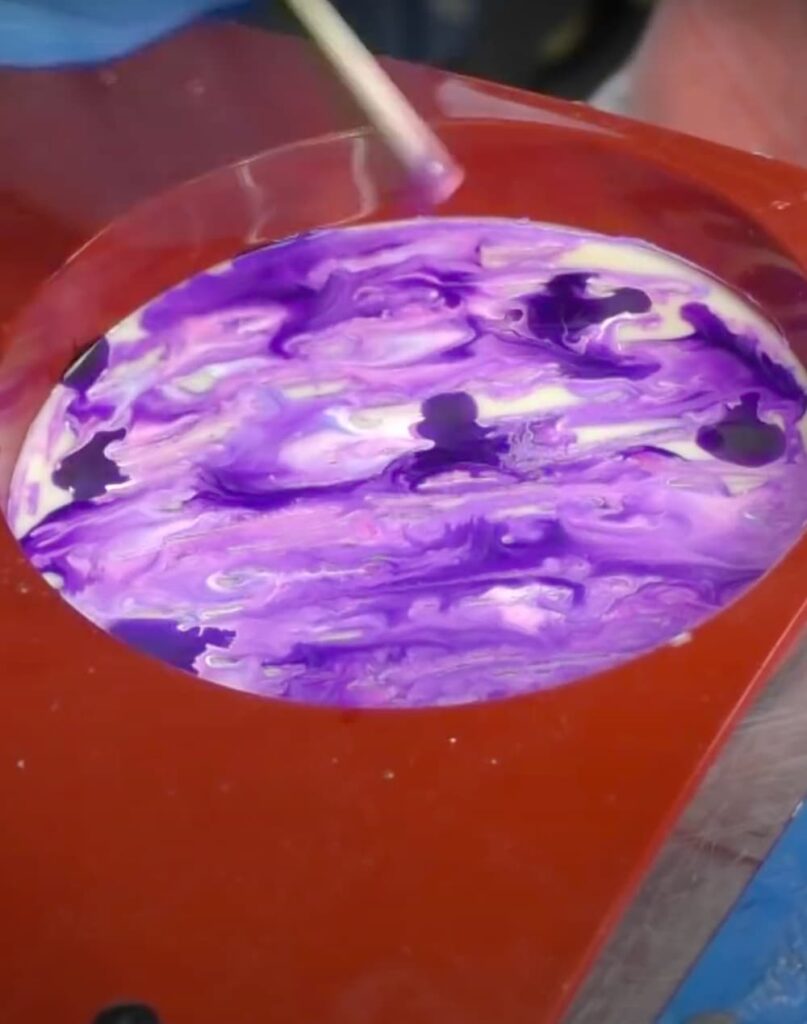
Create swirling patterns or eerie designs using a skewer.
Allow the inks to dry completely.
Step 4: The Final Enchantment
Mix another two ounces of resin.
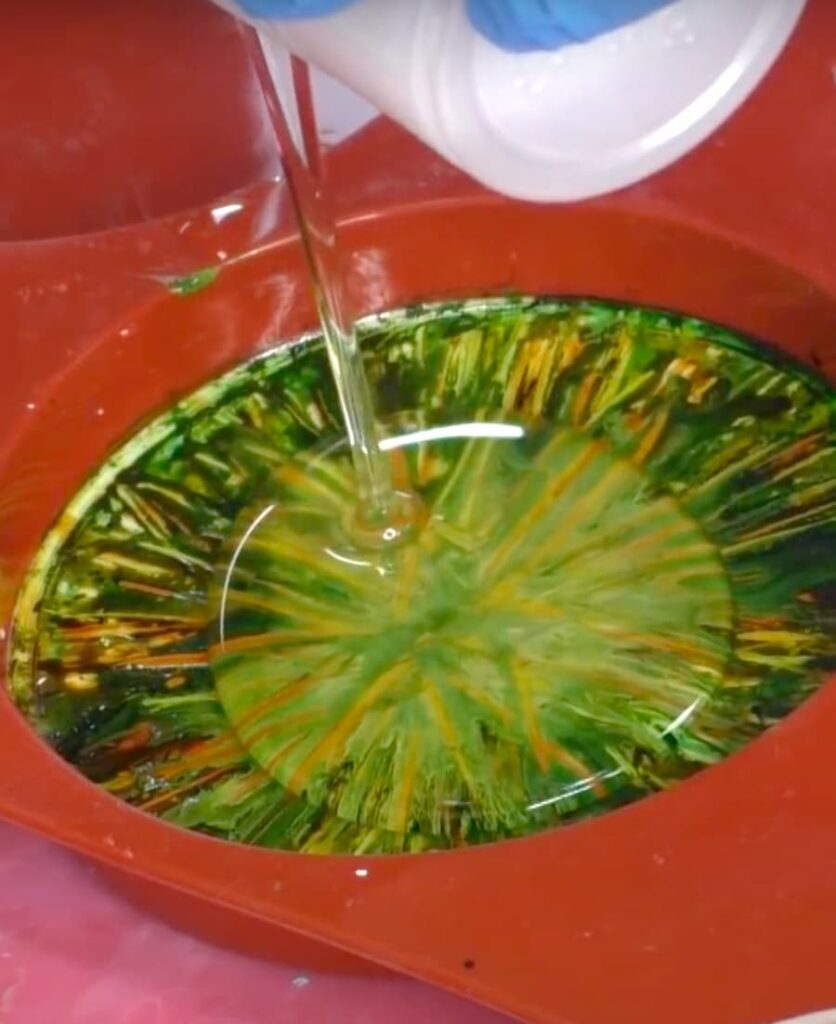
Pour the resin into the molds and pop any bubbles with a lighter.
Gently slide in your transparency images.
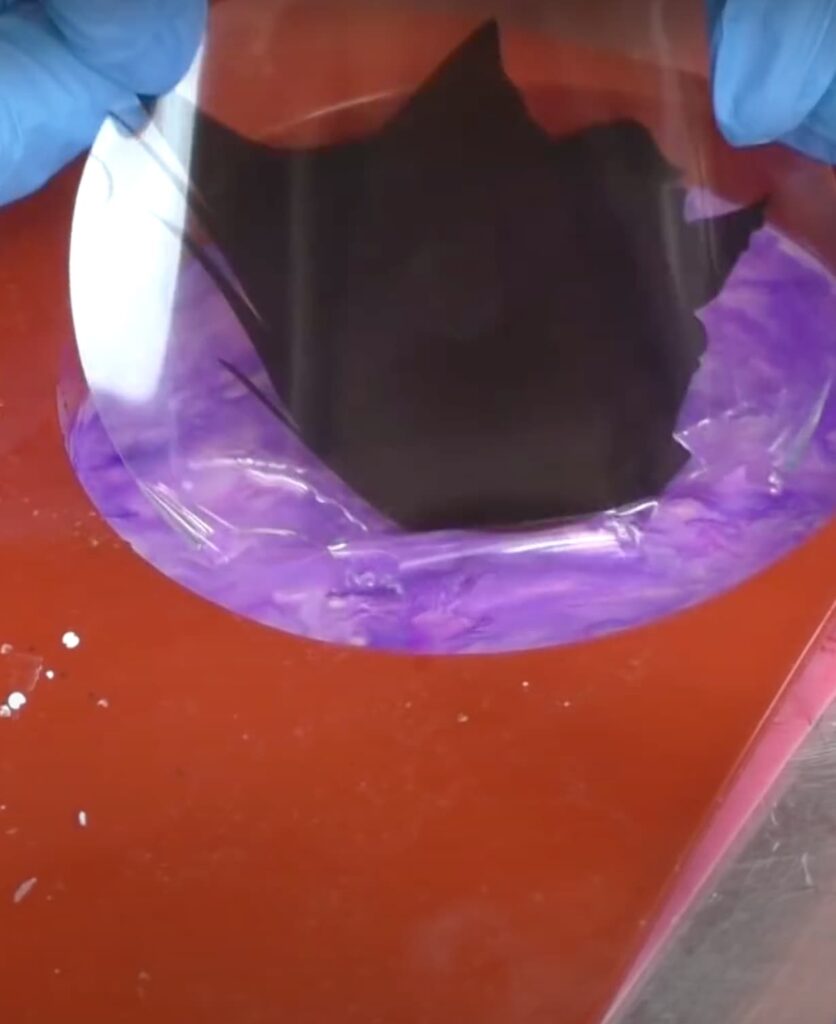
Press them down with a stir stick, pop any remaining bubbles, and let the coasters cure for at least 12 hours.
Step 5: Unleash Your Inner Spellcaster!
Once cured, remove your hauntingly beautiful coasters from the molds. They’ll add a touch of magic to your Halloween decor, perfect for holding potions (or pumpkin spice lattes!).
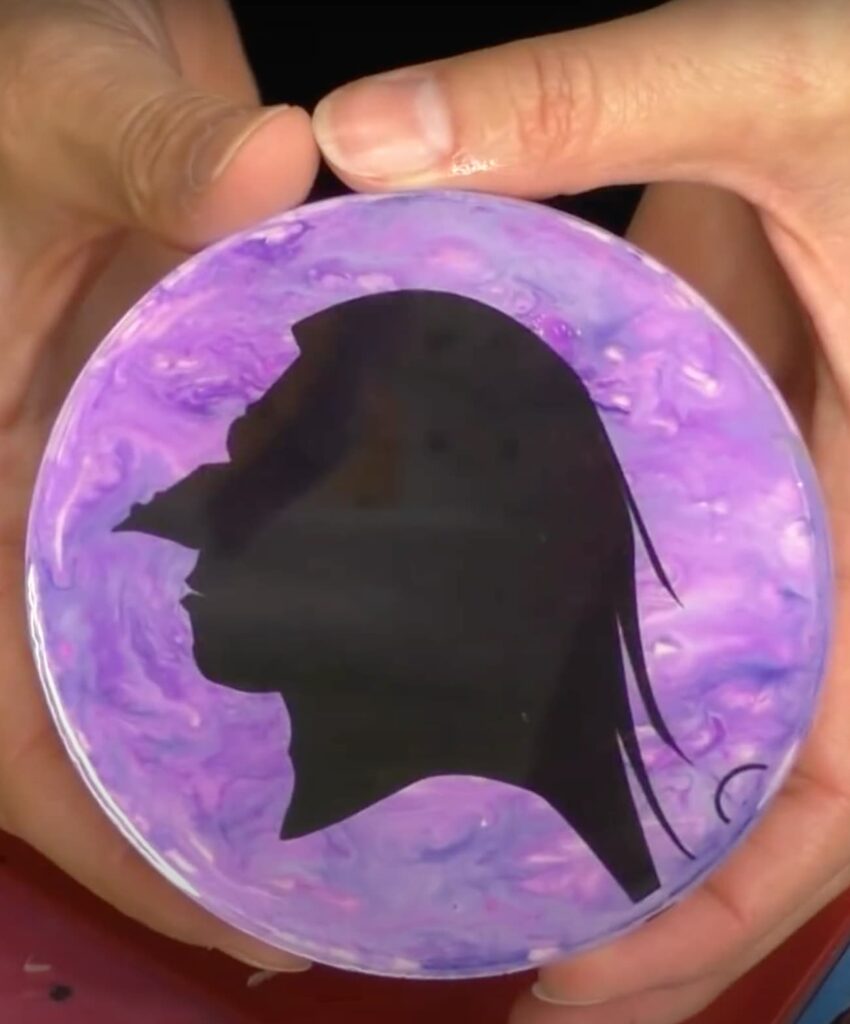
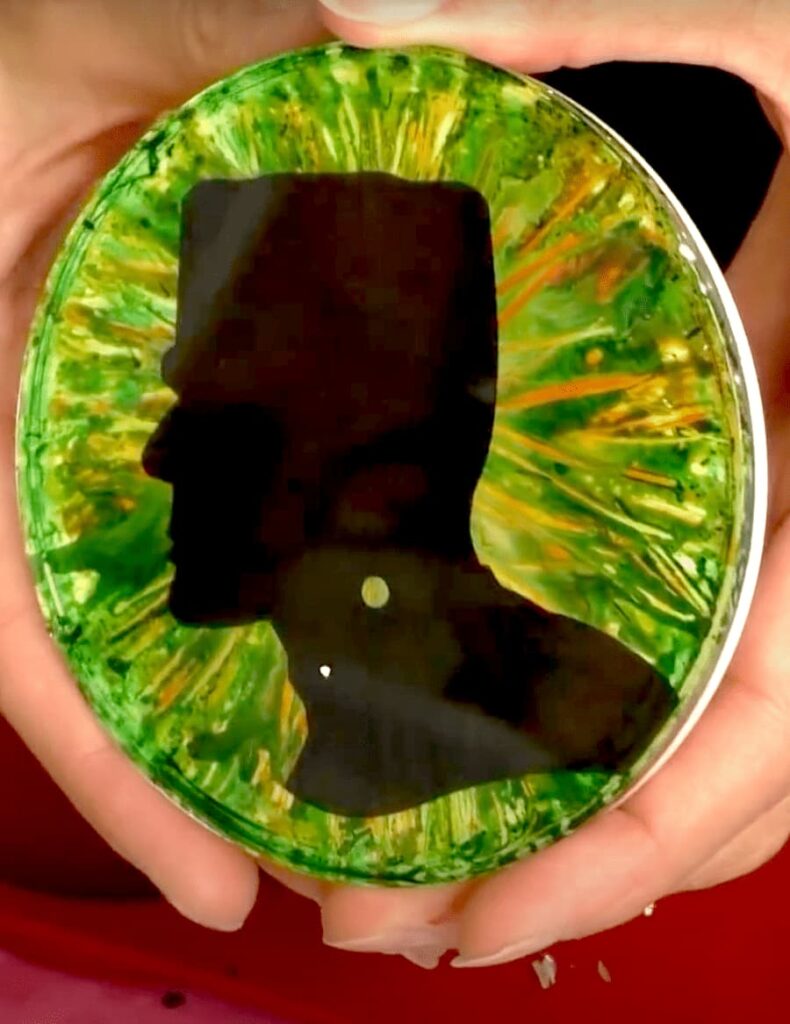
Other Fun Halloween Coasters
If you enjoyed the witch silhouette and Frankenstein silhouette coasters, you are going to LOVE these!
- Halloween Coaster DIY
- Halloween Bat Coaster
- Halloween Witch Decor | Hocus Pocus & Other Witch Coasters
- Frankenstein Coaster DIY
Tips and Tricks for Perfect Halloween Resin Coasters
To ensure your Halloween resin coasters turn out perfectly, consider these additional tips:
- Work in a Dust-Free Environment: Resin can attract dust and other particles. Ensure your workspace is clean and dust-free to avoid any imperfections in your coasters.
- Use a Level Surface: Make sure your molds are on a completely level surface to prevent the resin from pooling to one side.
- Measure Accurately: Accurate measurement of resin and hardener is crucial for the resin to cure properly. Use measuring cups and follow the manufacturer’s instructions.
- Experiment with Colors: Don’t be afraid to mix different alcohol ink colors to create unique and eerie effects. Test small amounts first to see how the colors blend.
- Safety First: Always work in a well-ventilated area and use gloves to protect your hands from resin.
Remember: Life’s too short not to shimmer, so grab your glue gun and your glitter!™ Stay safe and have a bewitching Halloween!
Mona

