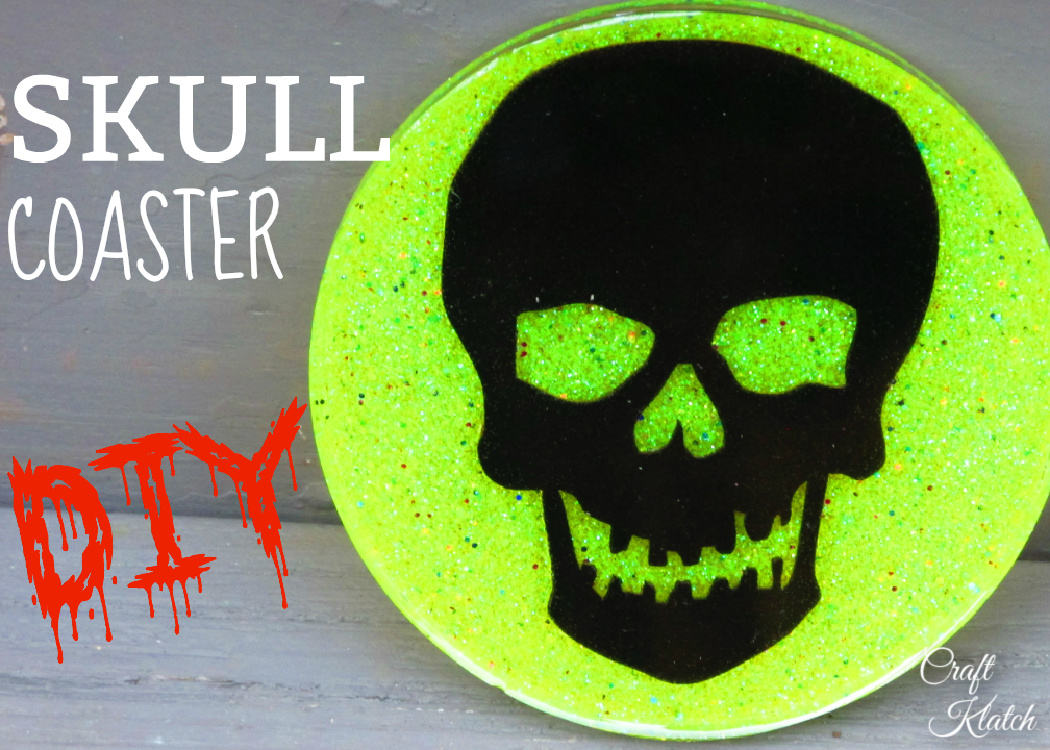
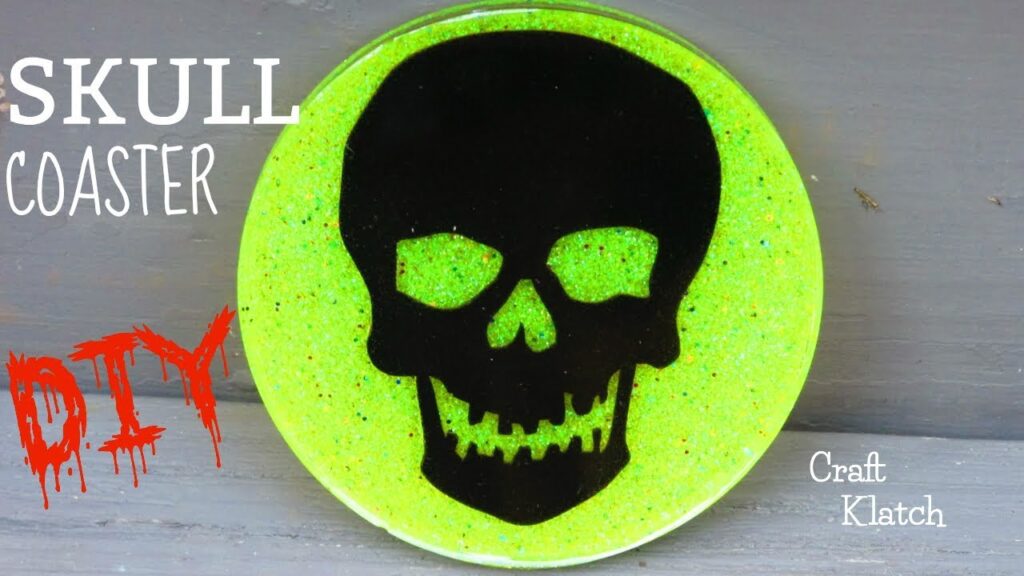
Looking for a Halloween craft? I’ll show you how to make this fun Halloween craft. You’l Learn how to make this spooky skull coaster!
Here is the DIY video tutorial. It’s quick!
Supplies You Will Need
*This blog uses affiliate links. As an Amazon Associate I earn from qualifying purchases.
- Resin
- When deciding on which resin to use for your coasters, you need to keep in mind whether you want it just for cold cups or for hot ones as well.
- If only for cold drinks, you can be flexible and use whatever brand you like:
- If you want it to work for both hot and cold drinks, you need to look for a heat-resistant resin, like these:
- FX Poxy ~ According to the manufacturer, this one is heat resistant to 500° F.
- Stone Coat
Skull Coaster Directions
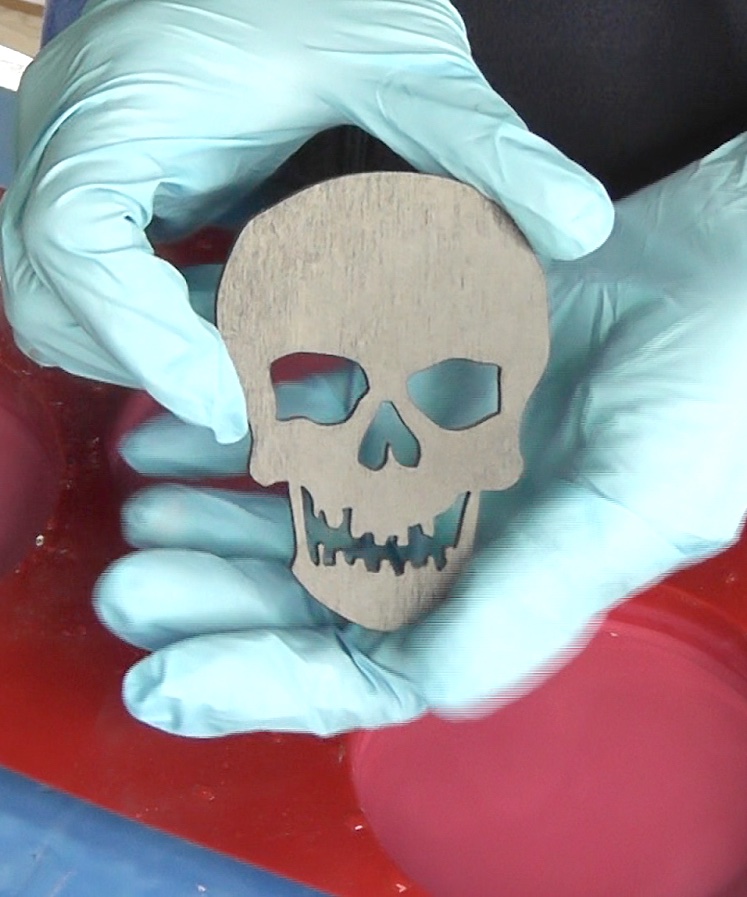
1. The Skull
Find a wood laser cut skull. Mine was already painted black but you can find an unfinished one and paint it with acrylic paint or spray paint.
2. Add a Little Sparkle
Mix yellow glitter into the resin.
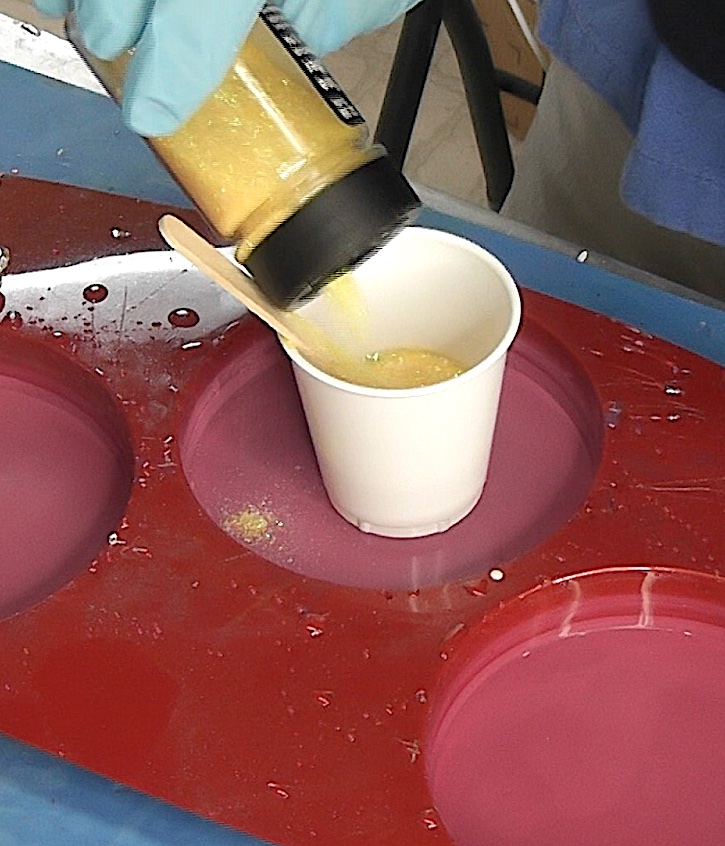
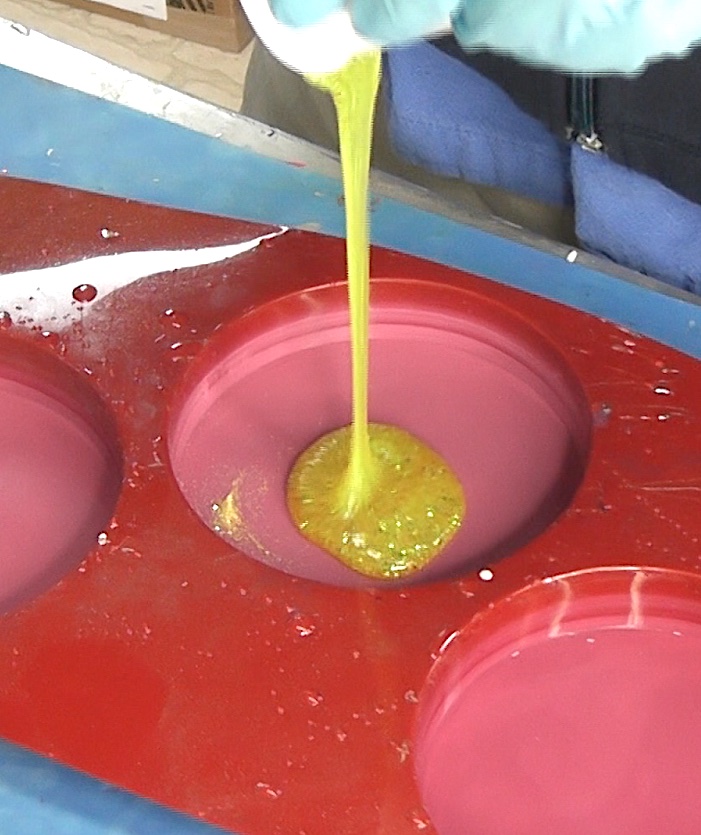
3. Pour It
Pour the glitter and resin mixture into the coaster mold. Mix it really well.
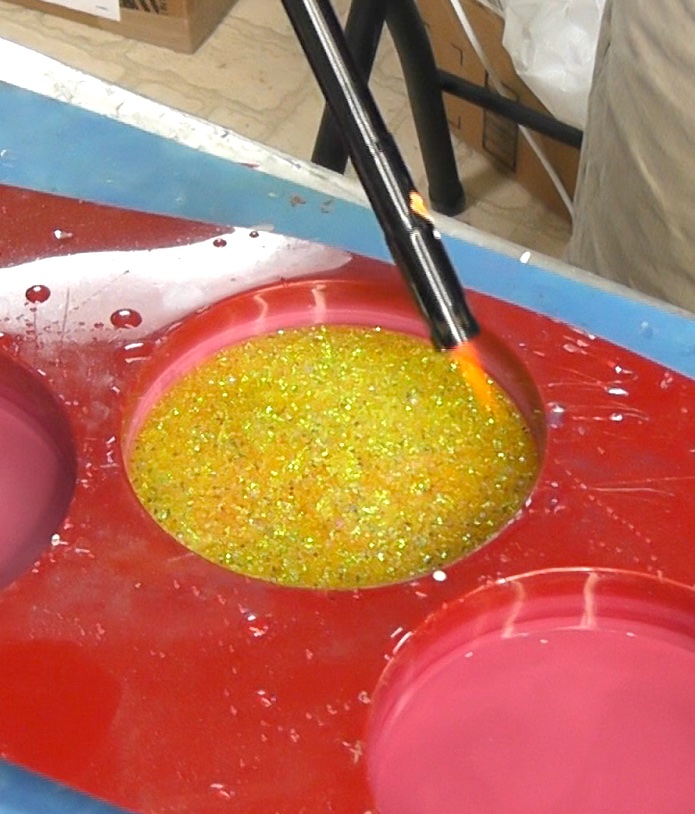
4. Pop the bubbles
Use a ligther and skim it above the resin to pop the bubbles. It should not touch the resin. Let it cure for a minimum of 12 hours.
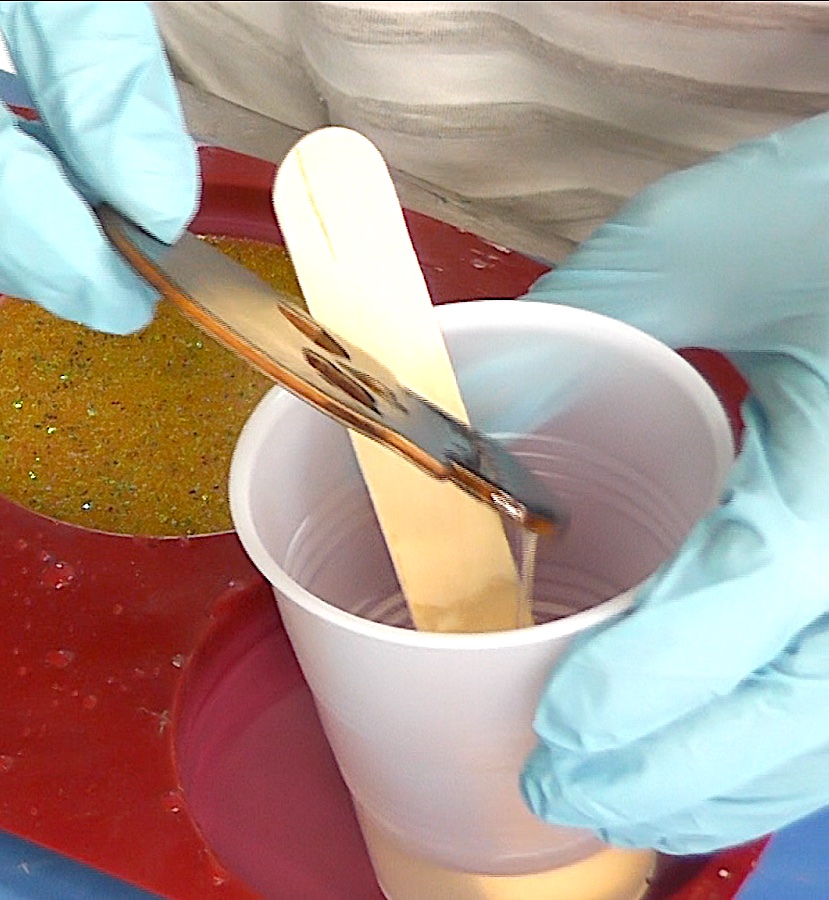
5. Dip the Skull
Mix another batch of resin. Dip the skull in the the resin cup and make sure it is completely covered.
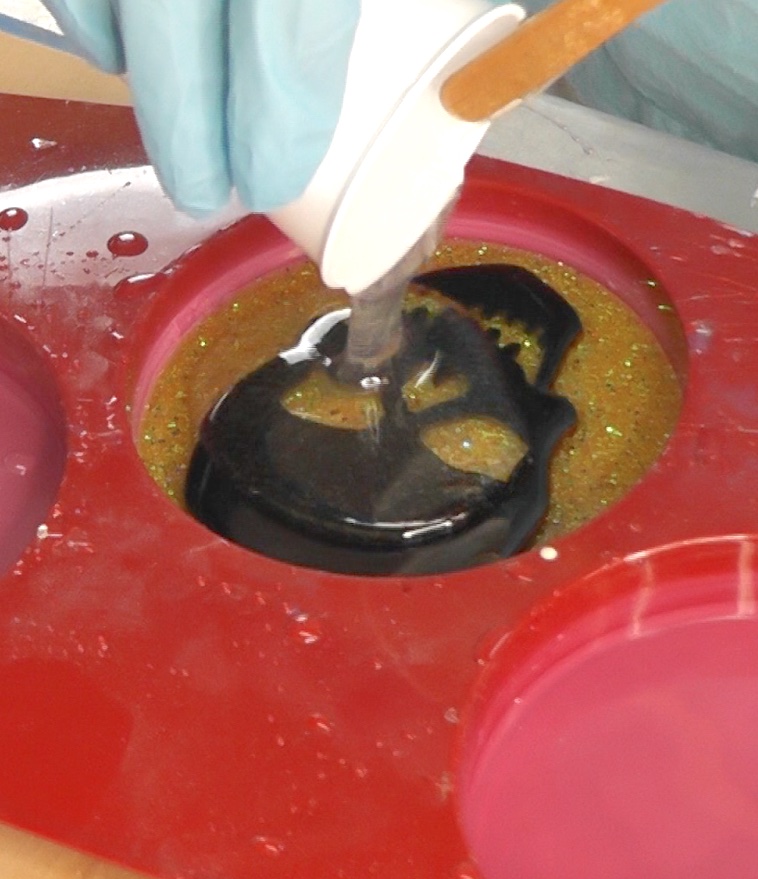
6. Place it in…
Remove the covered skull from the glass and place it on the resin coaster.
Pop the bubbles with your lighter and let the resin cure until you are sure the wood skull won’t float when you add more resin.
Figure a couple of hours at a minimum.

7. More Resin
Pour resin over the skull. One ounce should do it.
8. Pop the bubbles again
Pop the bubbles with your lighter and let it cure a minimum of 12 hours.
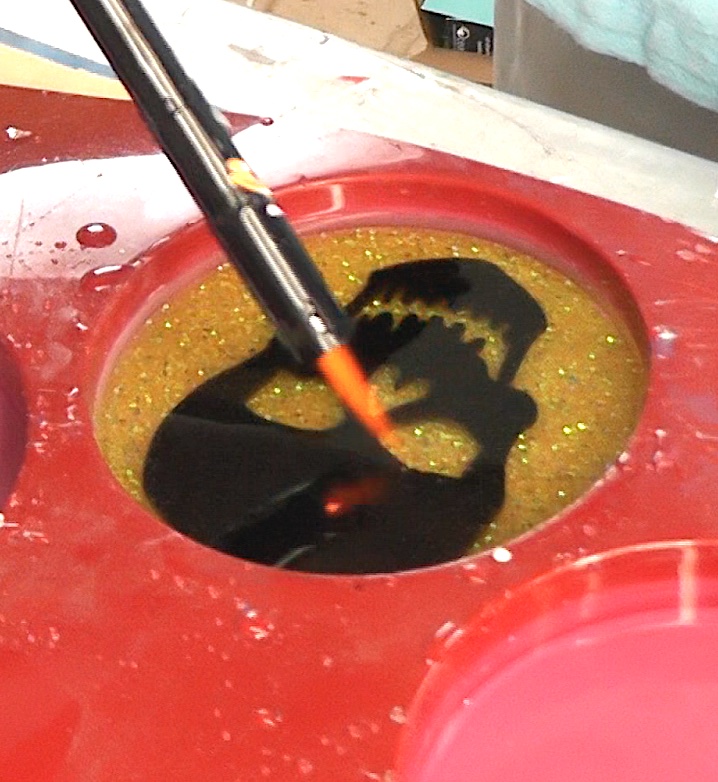
Remove it from the mold and now you have a striking coaster that sets the scene for Halloween!

Other Fun Halloween Coasters
Great Skull Coasters
If you don’t have time or want to make your own, here are some amazing
That’s it! Thanks for stopping by! Remember: Life’s too short not to shimmer, so grab your glue and your glitter!™ Stay safe!
Mona