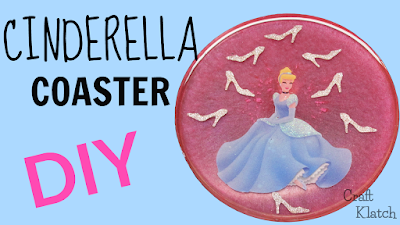
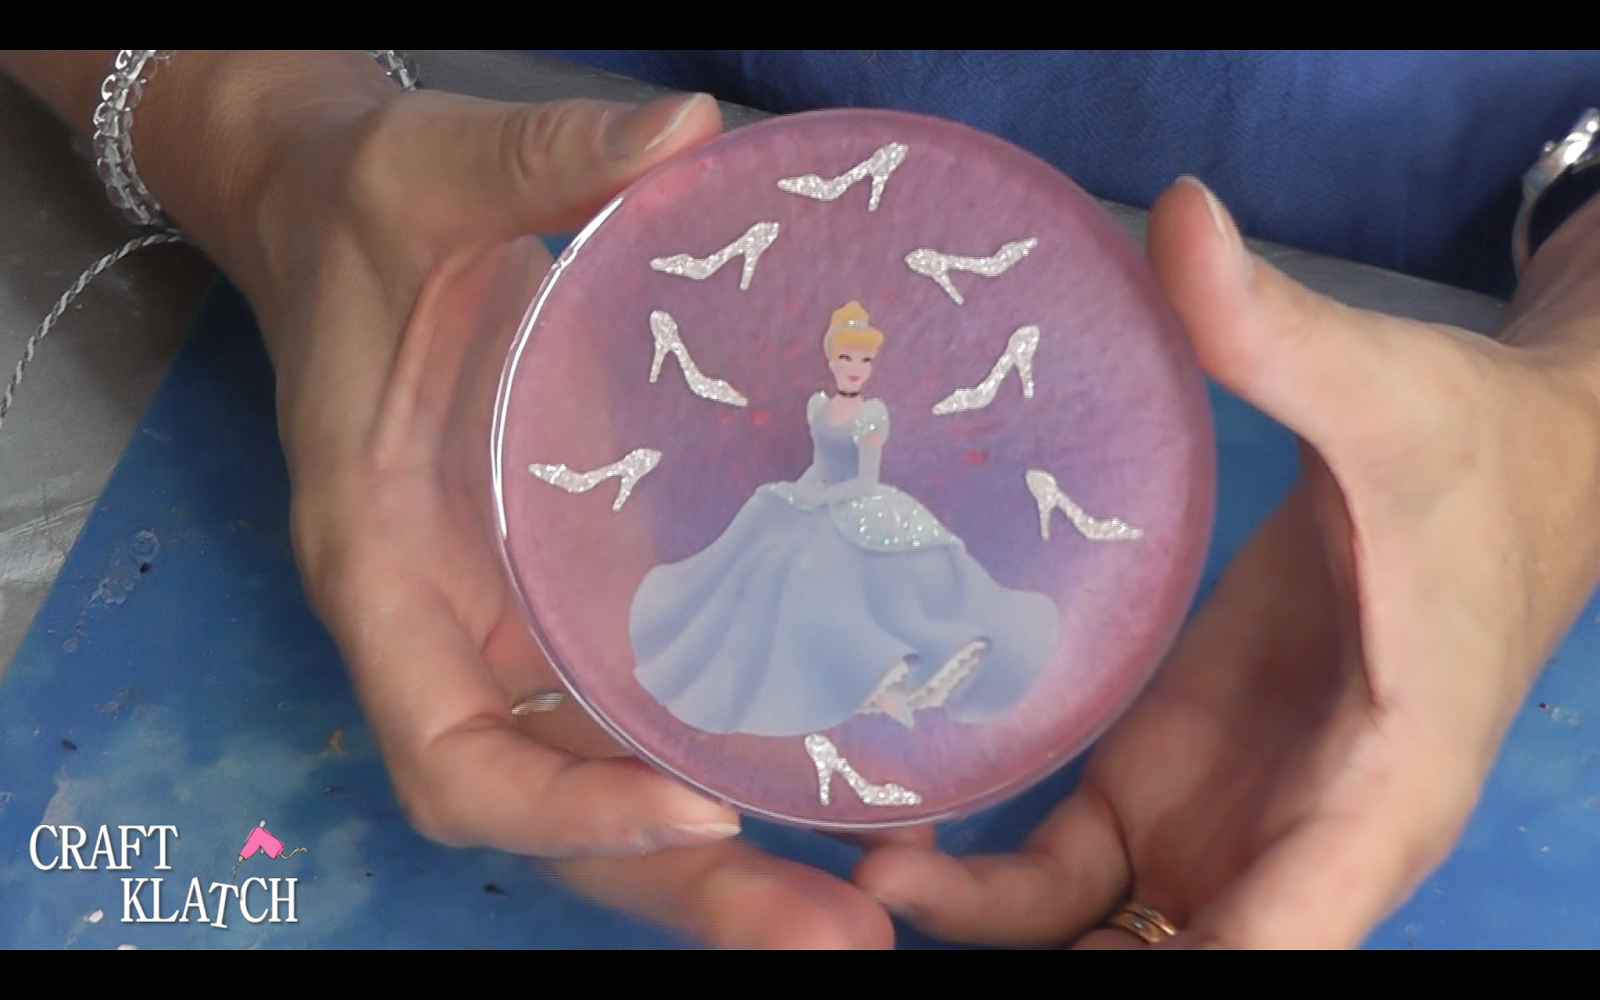
Time for another Disney Princess Coaster! Today we are making a Cinderella coaster DIY!
Here is a quickie video, so you can see exactly how I made it!
You will need:
Coaster mold: https://amzn.to/2xkOeJZ
I used:
Gem mold (you actually get 2 sizes): https://amzn.to/2wzLFU1
Resin (use whatever brand you are comfortable with): https://amzn.to/2xwGZxD
https://amzn.to/2hjZdc5
Pigment powder: https://amzn.to/2y3s8KY
Cricut (Amazon): https://amzn.to/2wChE2l
Cricut (Cricut site): https://www.shareasale.com/r.cfm?B=993649&U=1248544&M=51766&urllink=
Cricut vinyls: https://amzn.to/2w4DOJj
Disney Princesses stickers: check your craft store
Directions:
1. Get your coaster mold.
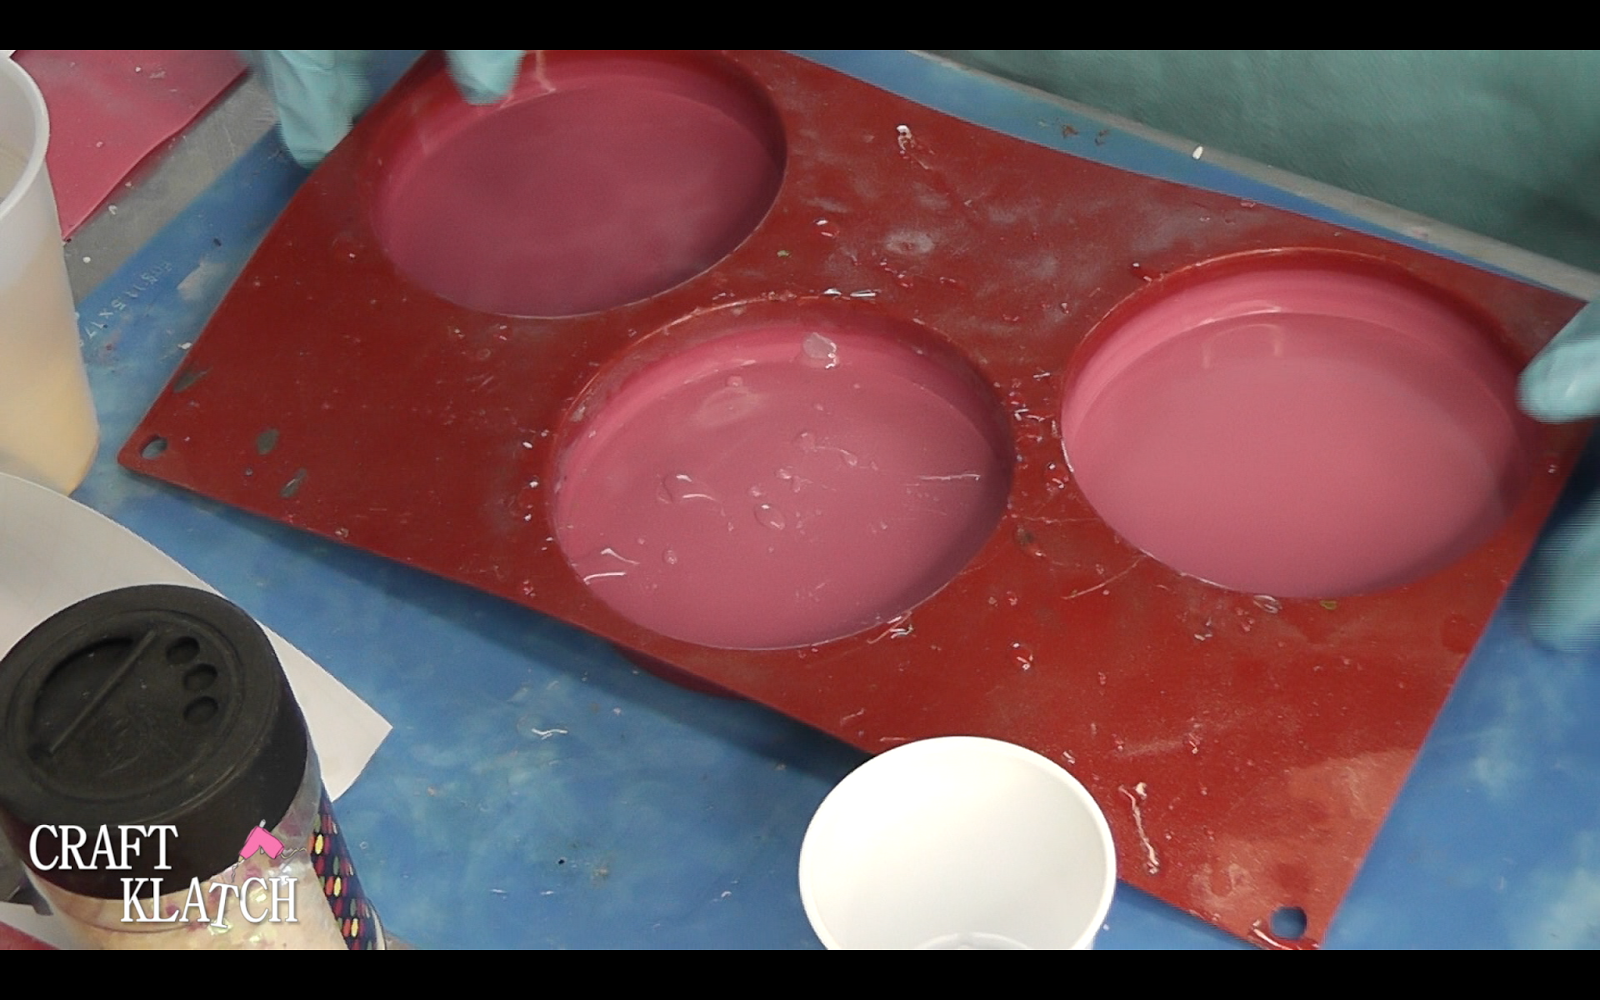
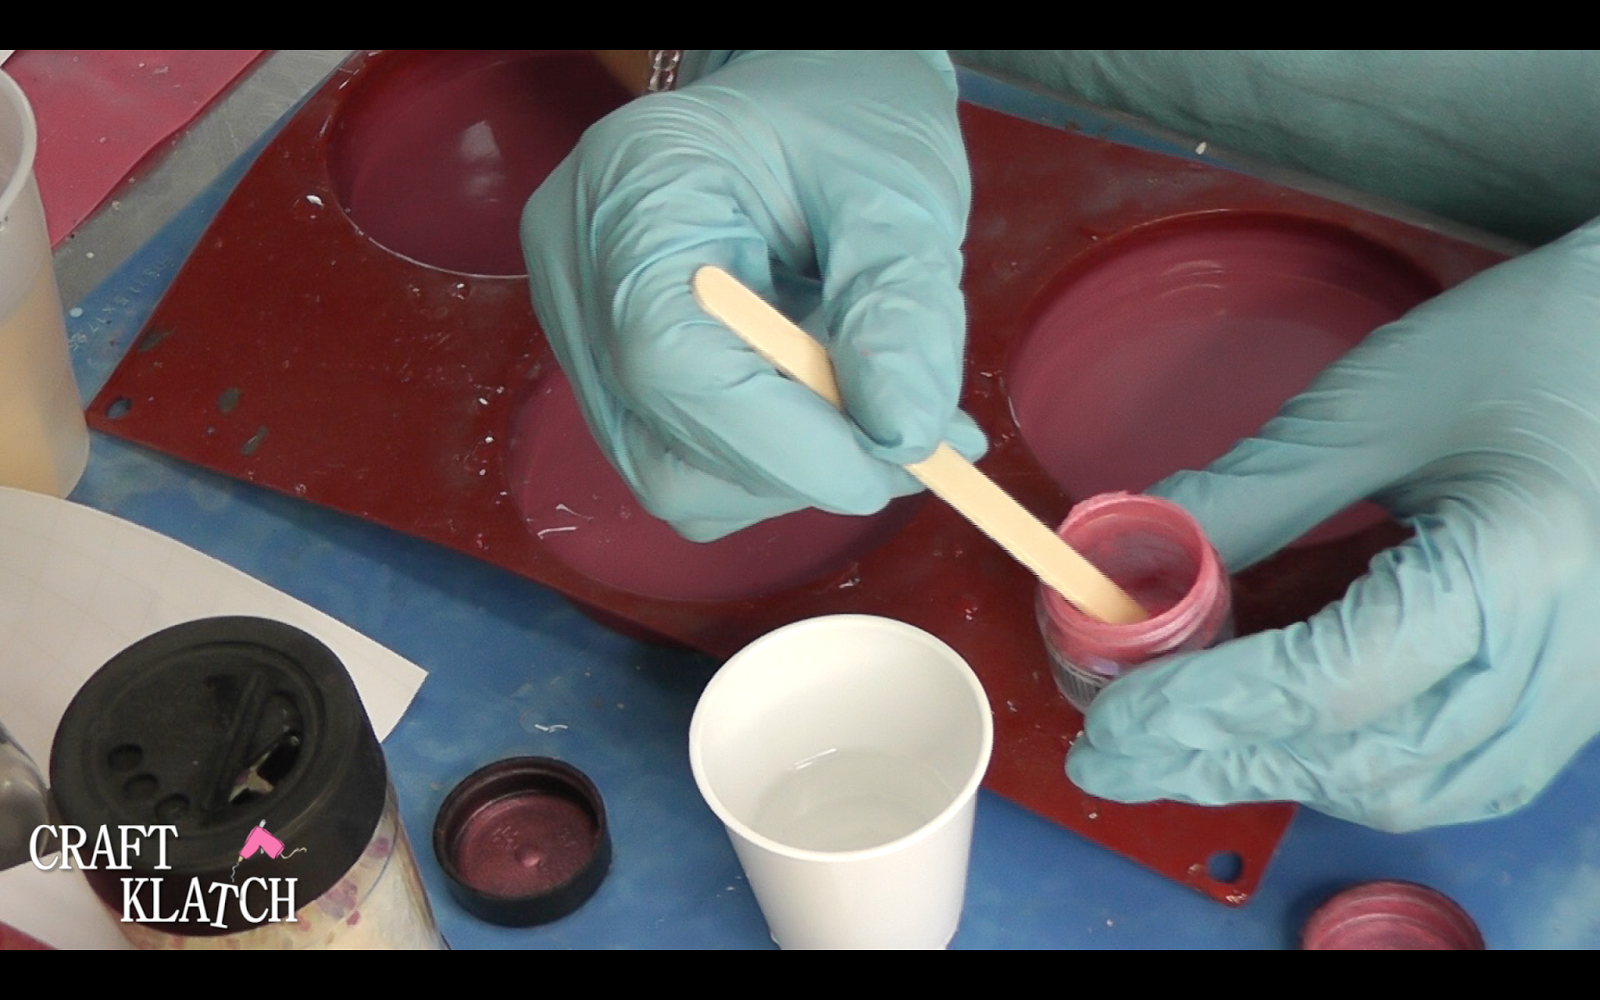
2. Mix one ounce of resin and mix in some pink pigment powder.
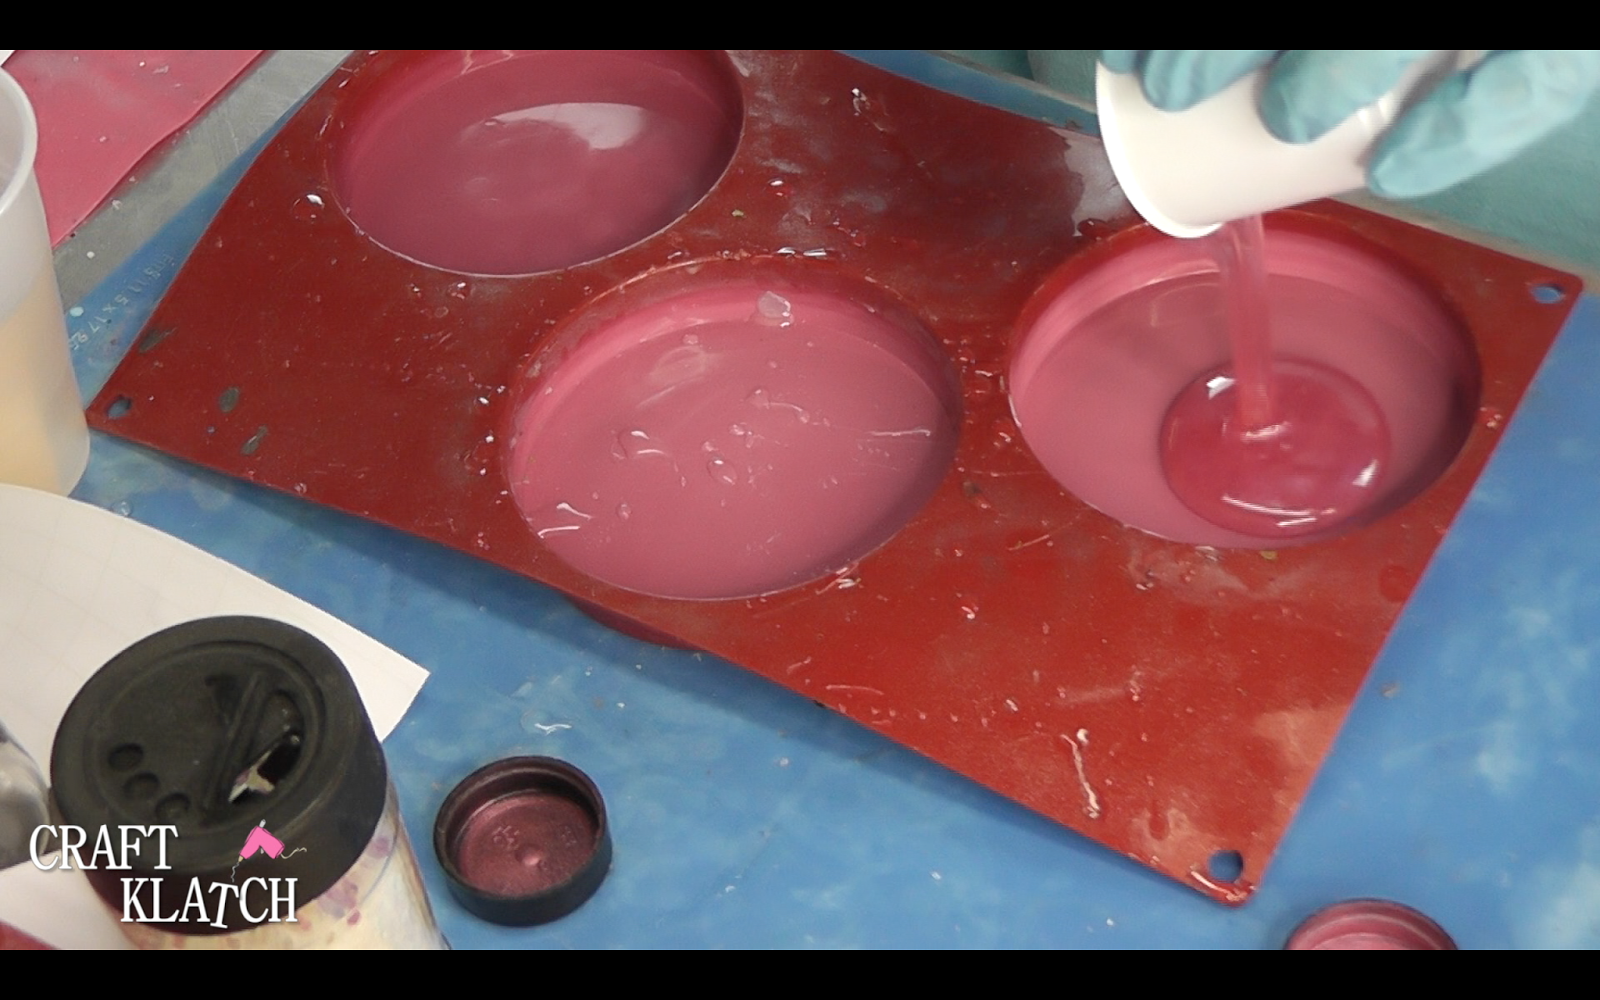
3. Pour it into your coaster mold.
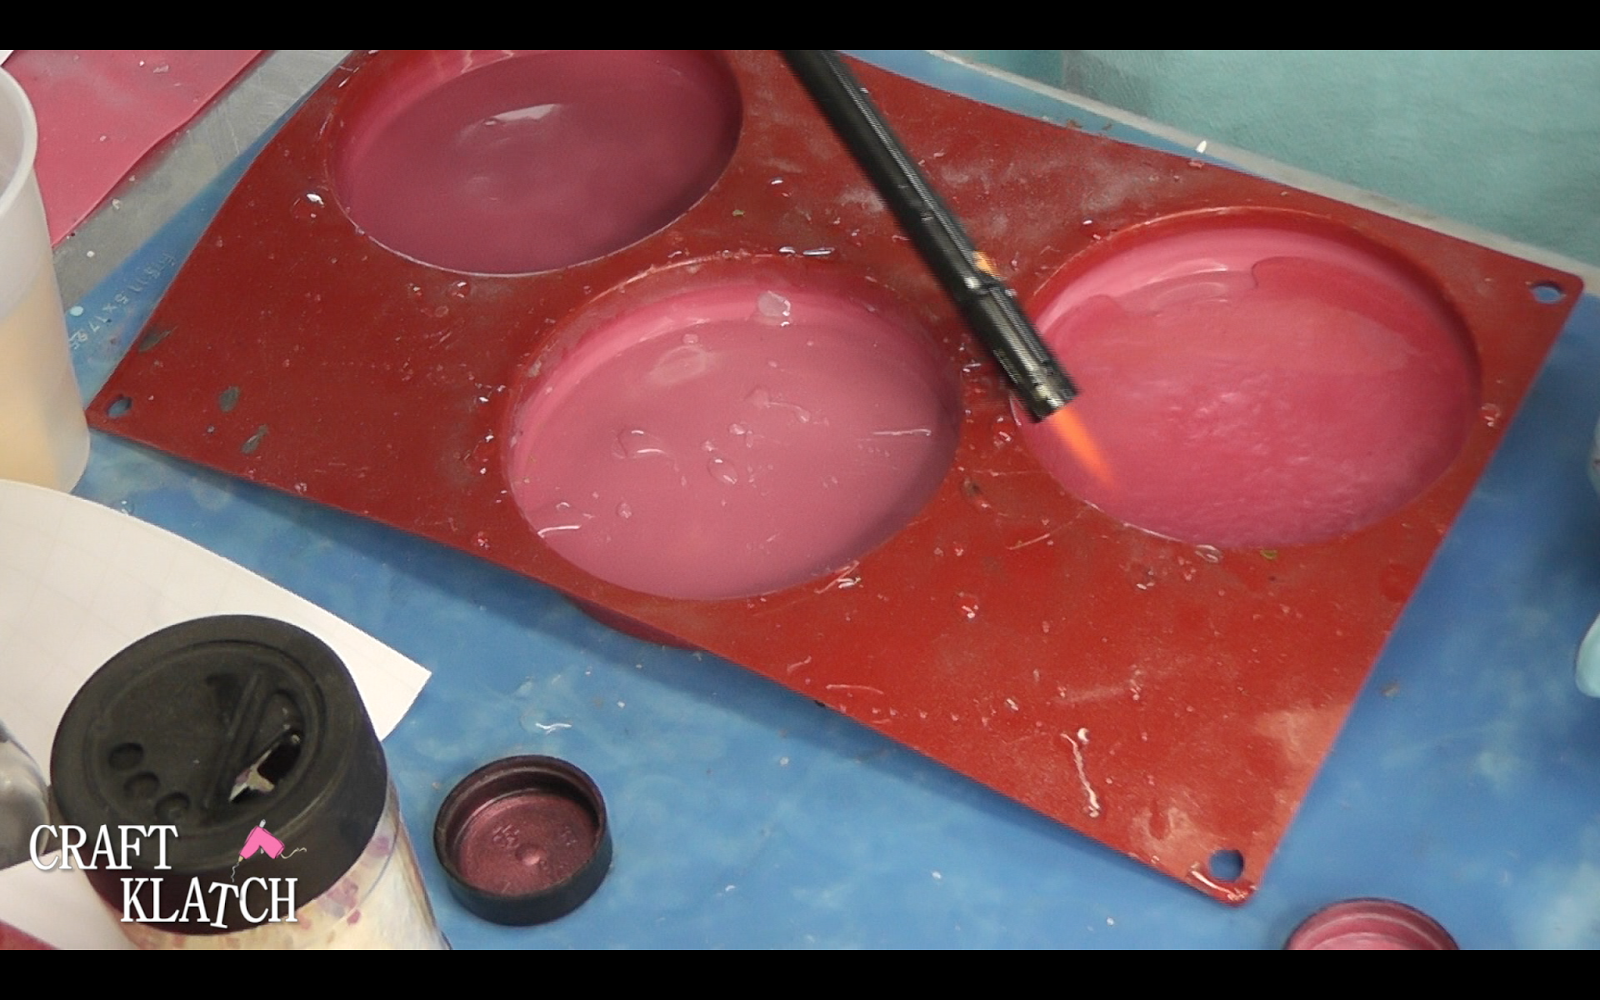
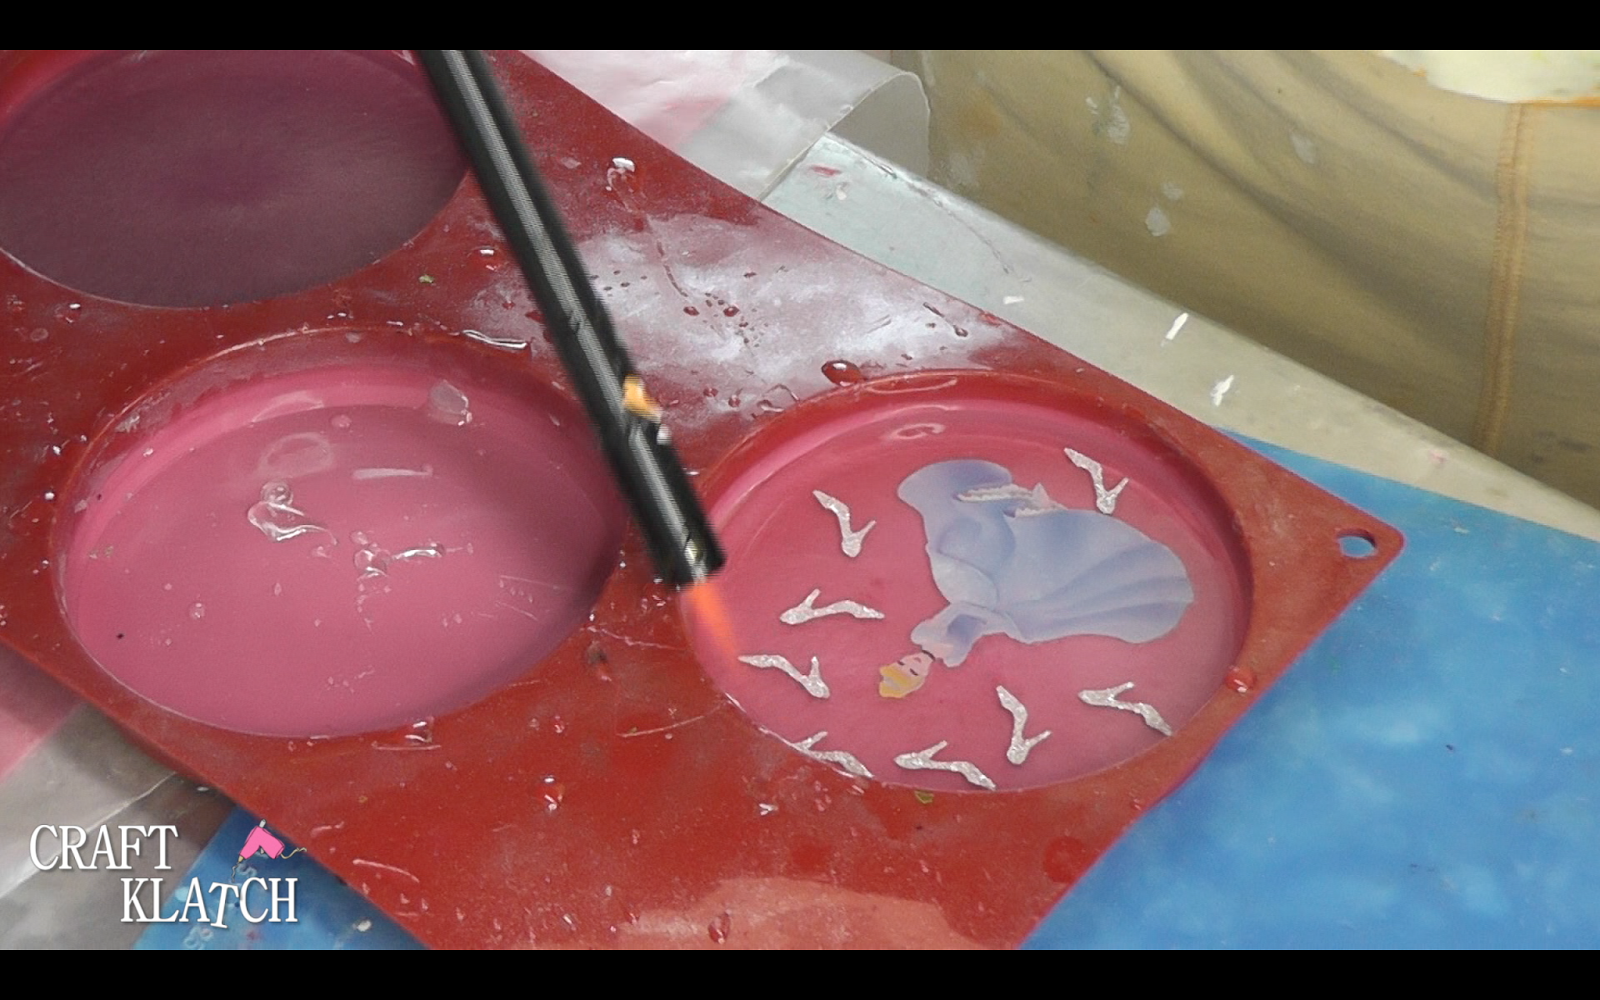
4. Pop the bubbles with a lighter and allow it to cure for a minimum of 12 hours.
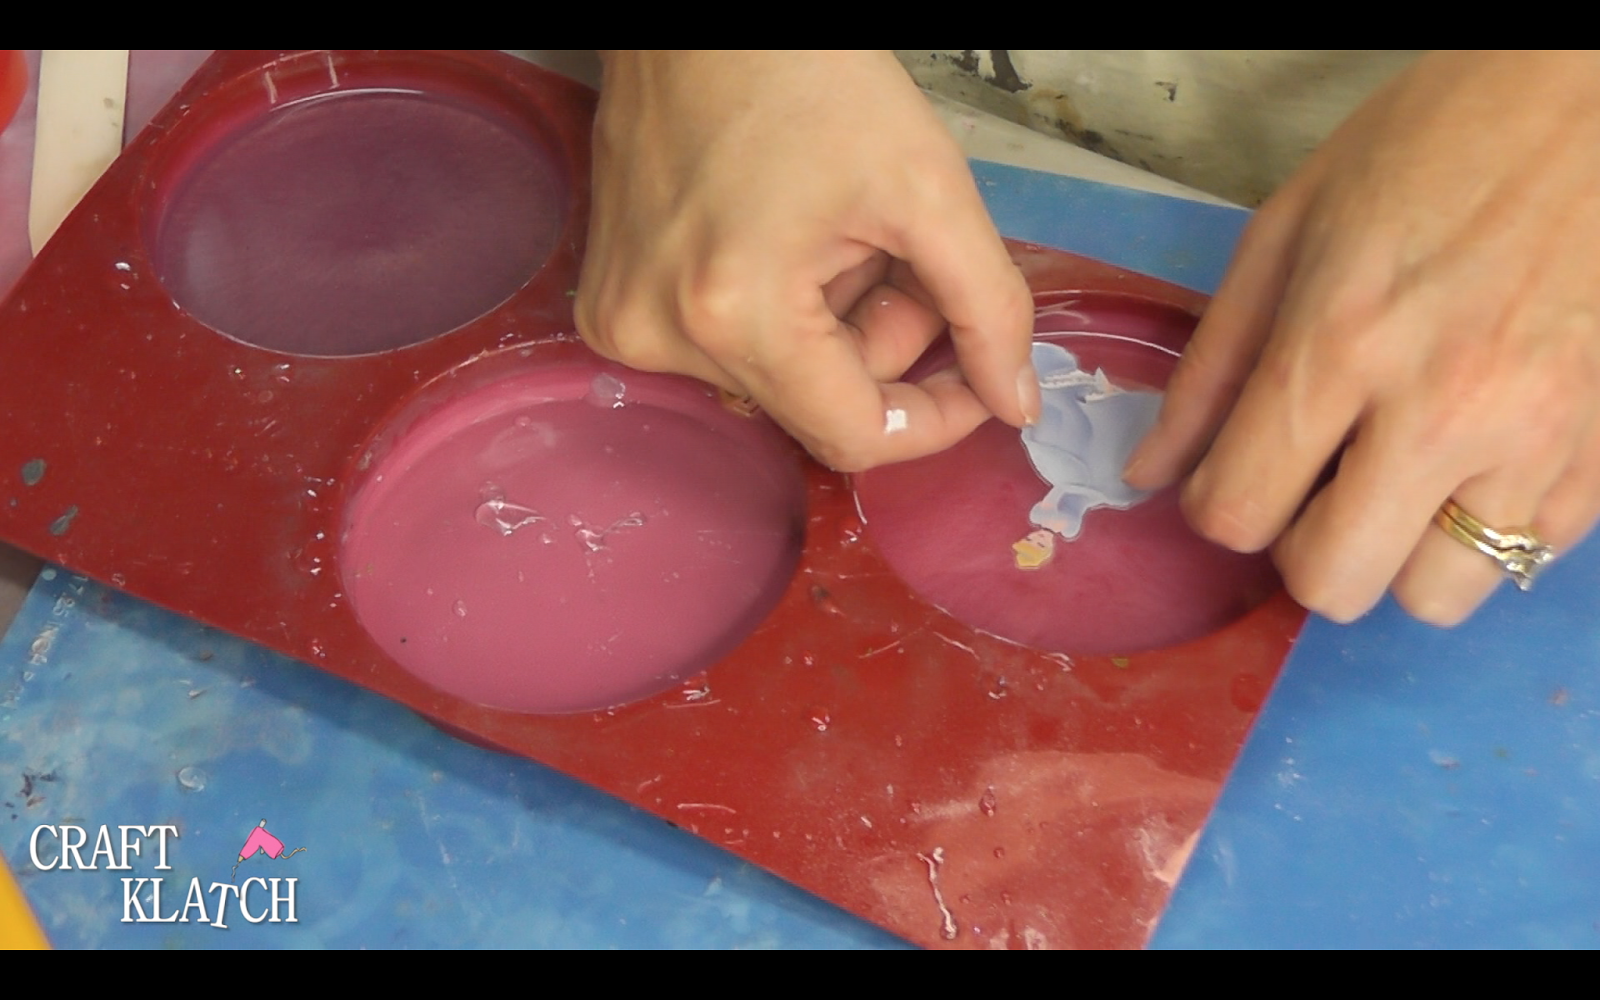
5. Add your sticker.
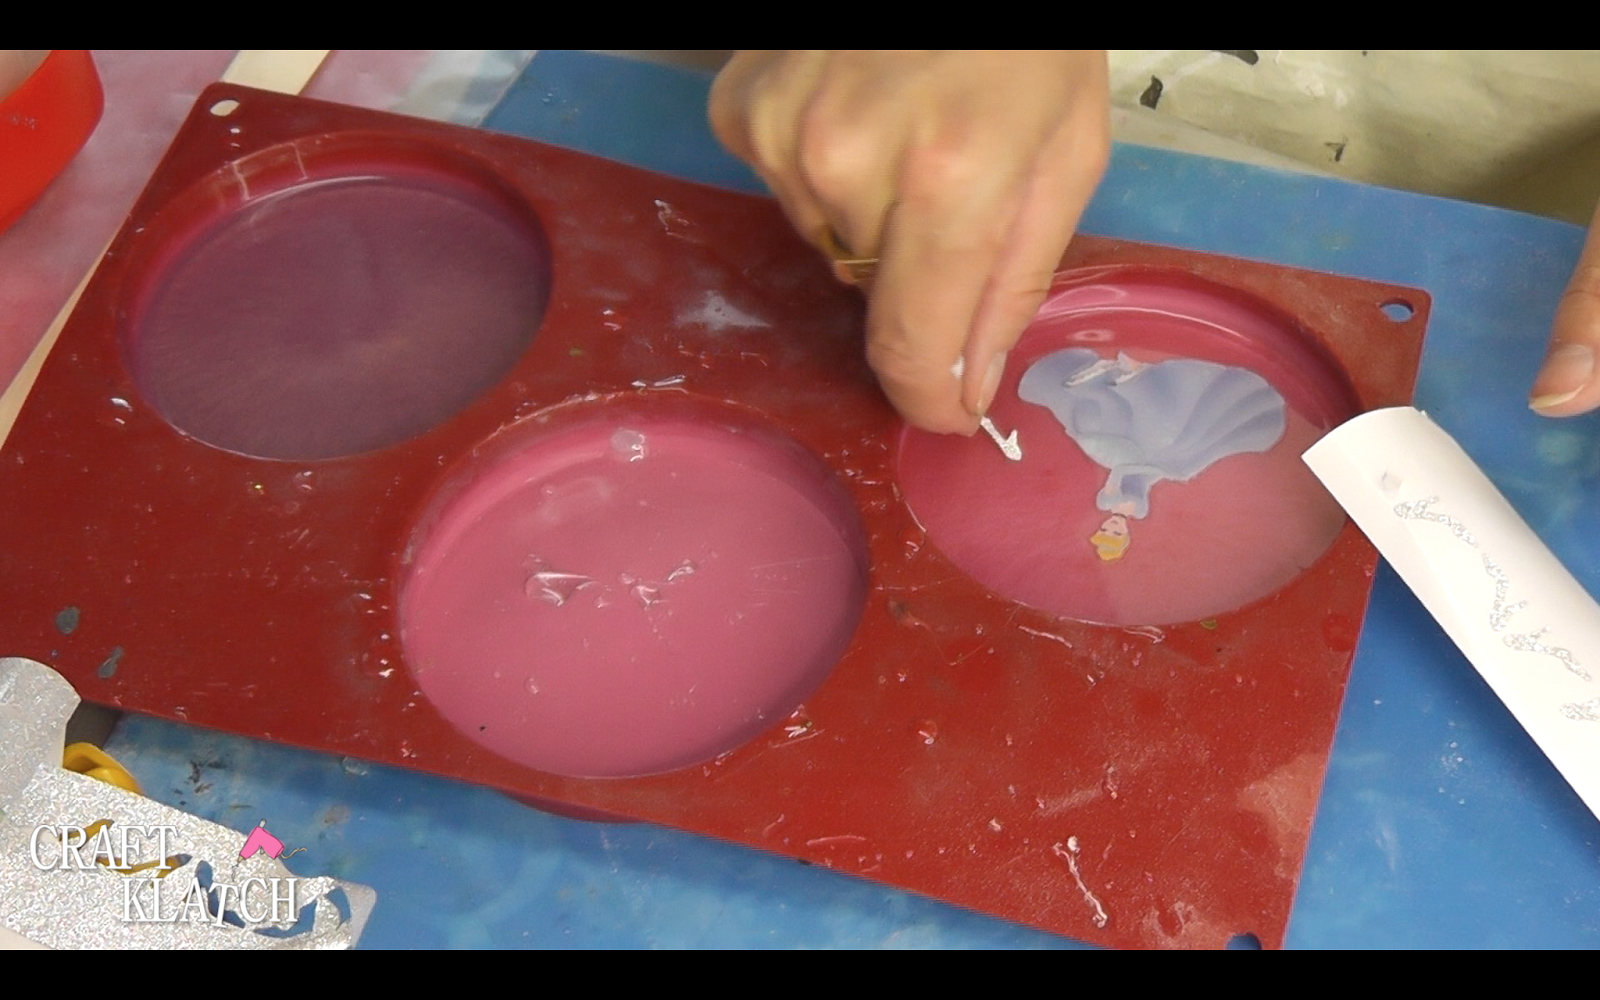
6. I cut out little silver glitter shoes with my Cricut and added them.
7. Add one ounce of clear resin.
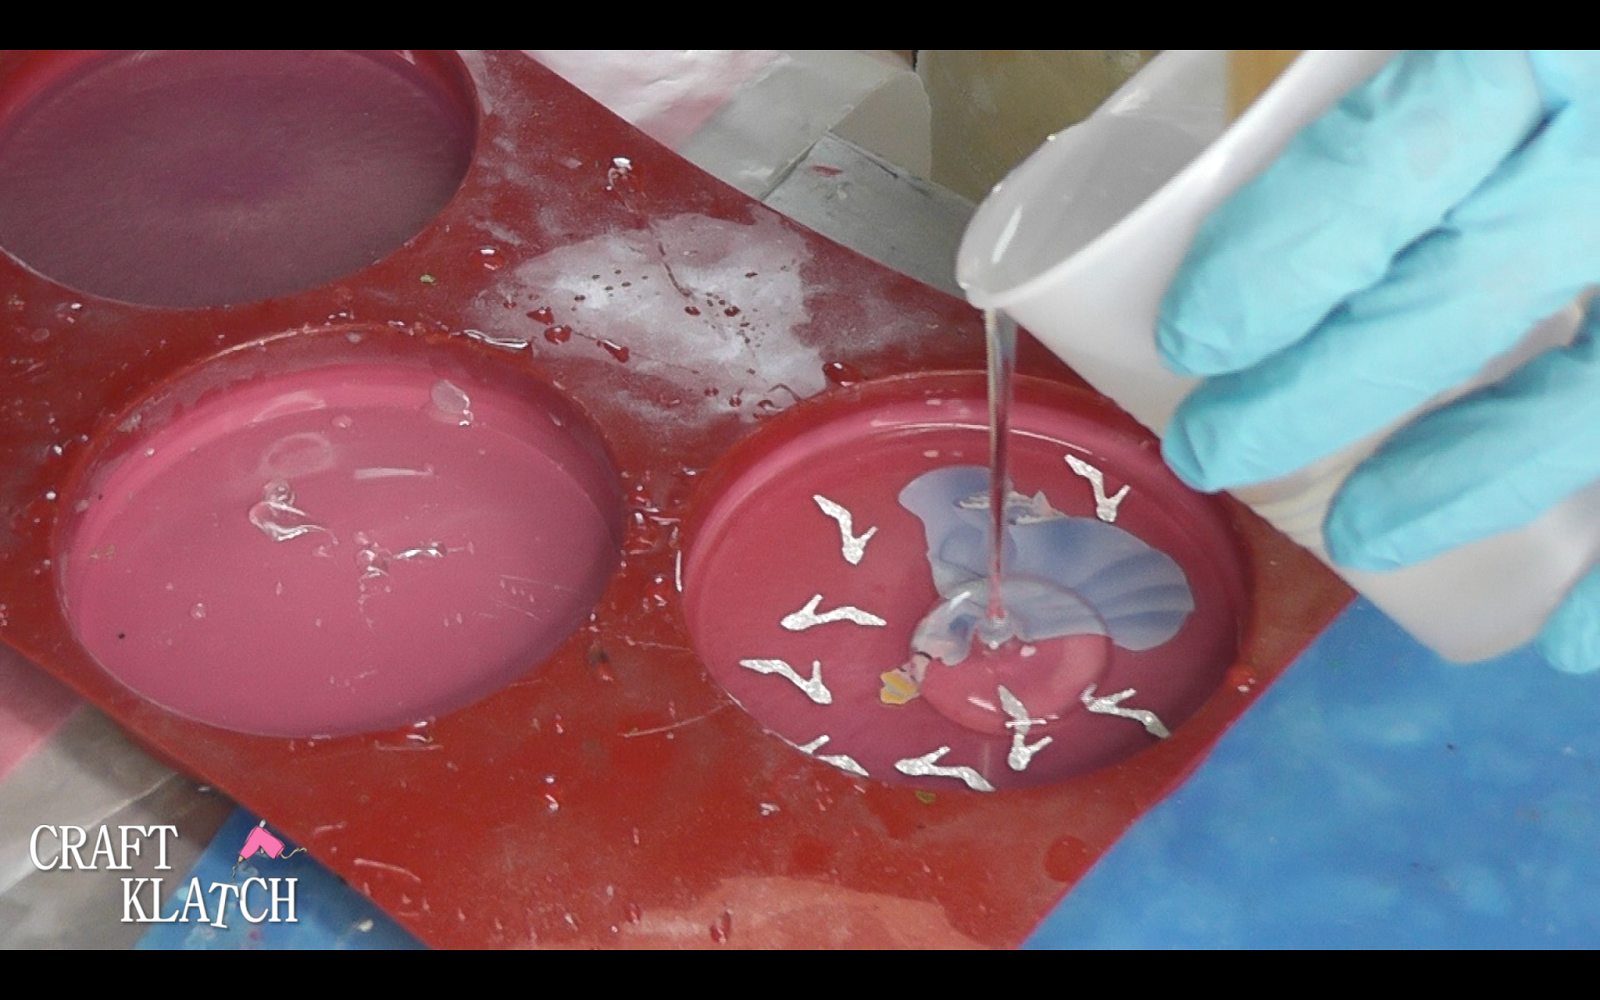
8. Pop the bubbles with your lighter and allow it to cure, a minimum of 12 hours.
9. Take the coaster out of the mold and now you have a magical drink coaster!
That’s it! Thanks for stopping by! Remember: Life’s too short not to shimmer, so grab your glue gun and your glitter!™ Stay safe!
Mona
