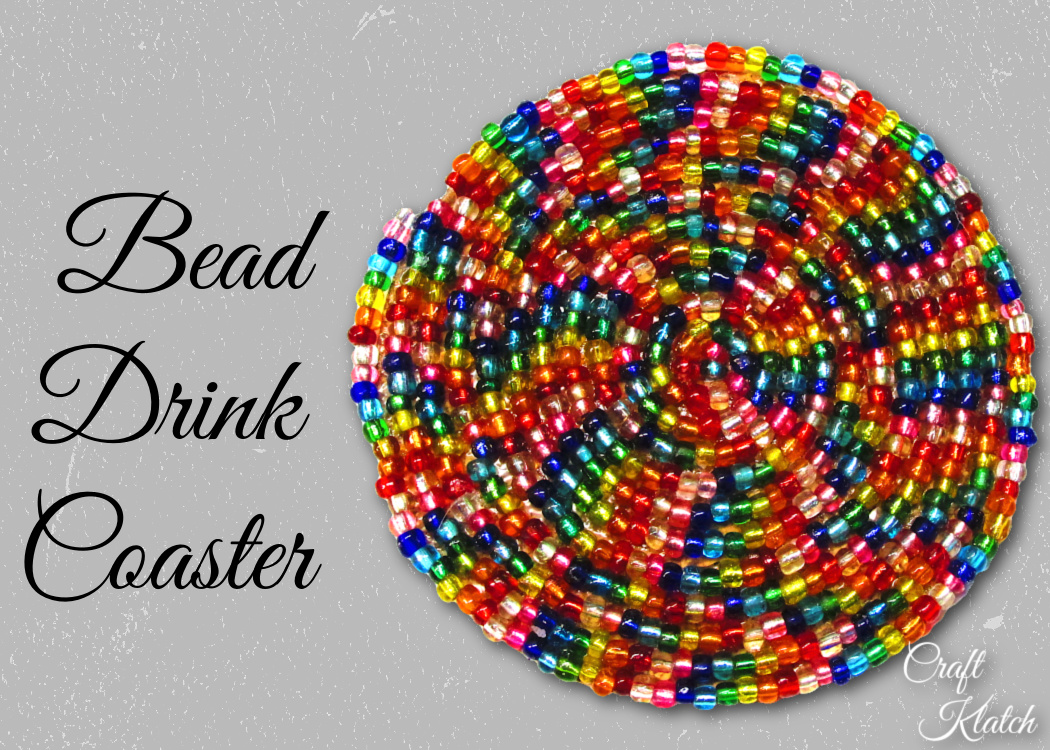
Do you love the colors of glass beads? Think beyond the glass bead bracelet and learn how to make an easy bead drink coaster!
No matter your home decor style or color scheme, there is always room for a pop of color! If it adds a little sparkle, all the better!
And I have just the thing!
I thought I would try something a little different this week. Beading is not really my thing, because I’m just not that patient.
Usually, I’d be more likely to make a coaster with loose beads that involved resin and no stringing.
However!
This was just enough to keep my attention and because it was easy, I didn’t get frustrated.
Could it be any prettier? Look at all those colors!
I went all-in with all the colors, but you could go mix it up. Red and white are perfect for Valentines Day. Go with the traditional red and green for Christmas.
You see where I’m going with this!
Or just use the colors that go with your home decor style.
*This blog uses affiliate links. As an Amazon Associate I earn from qualifying purchases, at no additional cost to you.
Materials you will need to make the bead coaster
- Cork rounds: https://amzn.to/2InpEPa
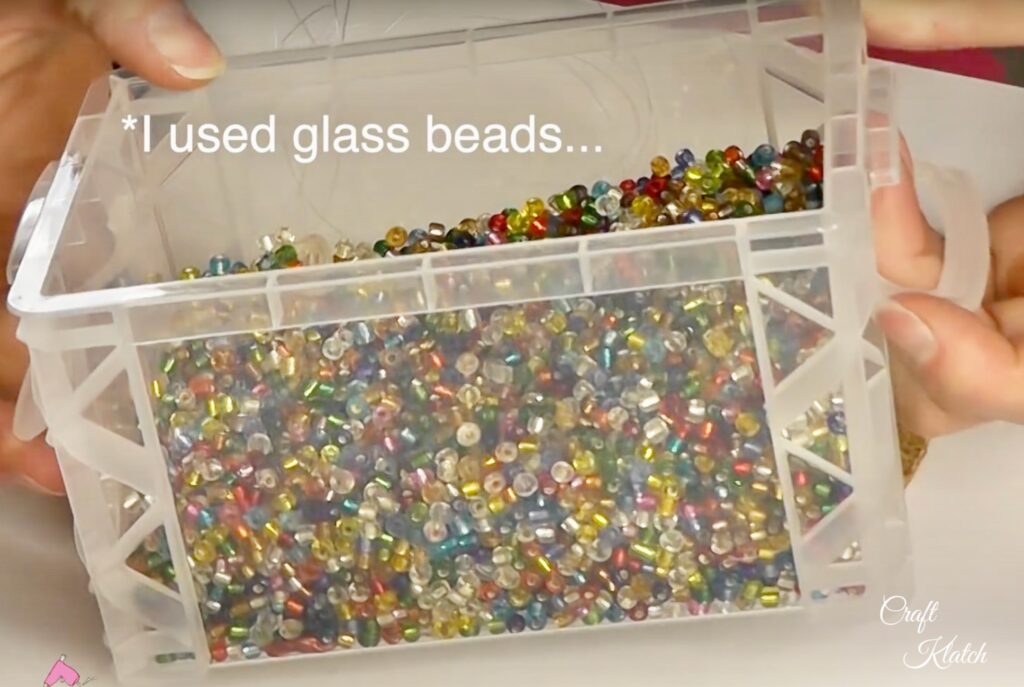
- Glass seed beads: https://amzn.to/3diKESq
- Hot glue: https://amzn.to/2GV4CXm
- Ultimate glue: https://amzn.to/2lR9fWI
- Fishing line: https://amzn.to/310oZK1
Bead Coaster Video Tutorial
Be sure to follow me on Instagram and Pinterest!
Directions on how to make beaded coasters:
Step 1: Start stringing those beads
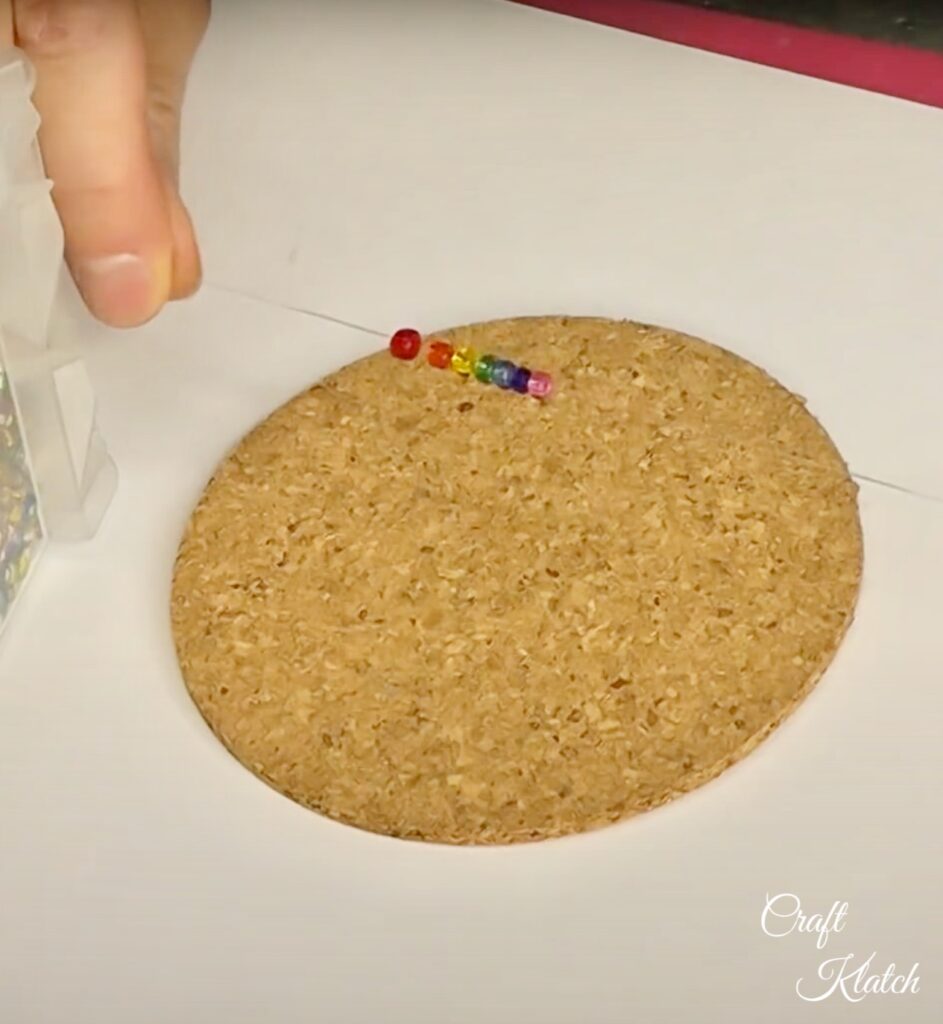
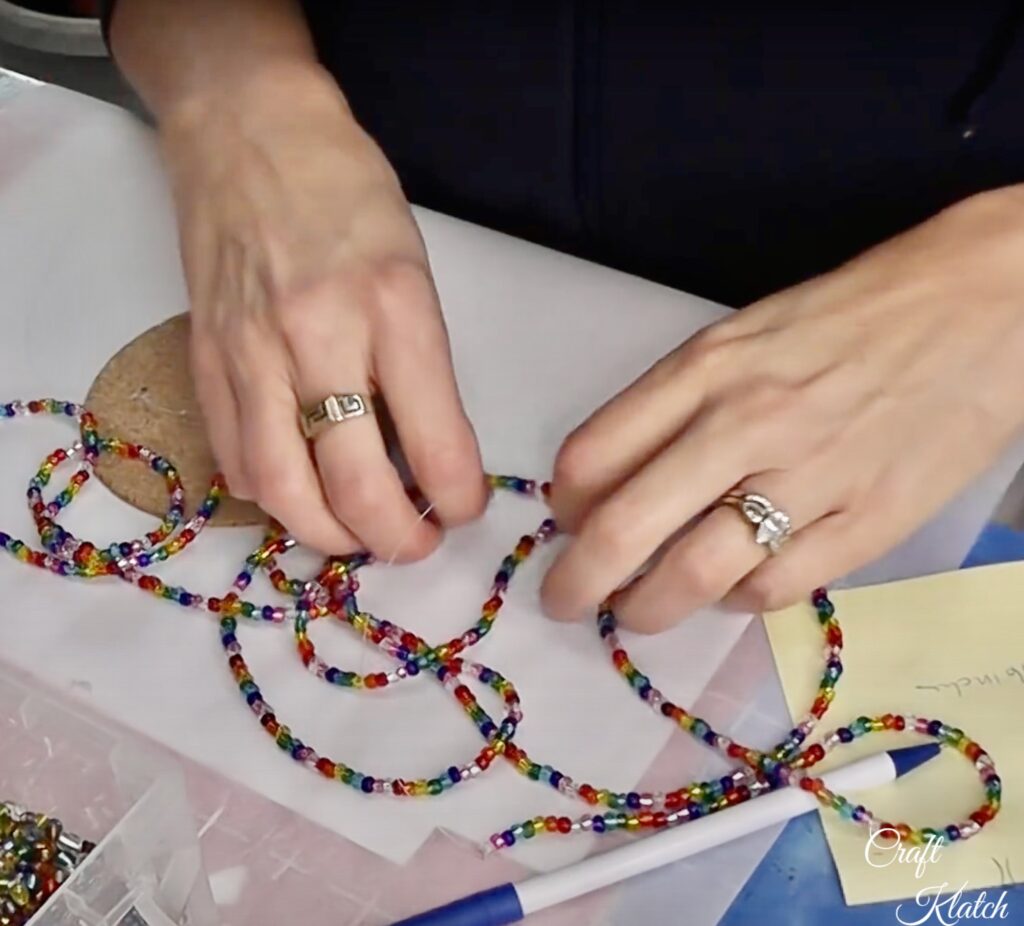
String beads onto the fishing line. The amount you need will depend on the size of your beads and the size of your cork round. I needed roughly 74 inches.
Step 2: Secure the knots
Knot both ends, so the beads don’t fall off.
Step 3: Glue all around!
Using a combination of hot glue and Ultimate glue, you will glue the beads onto the cork round. Start with a small bit of hot glue in the center of the cork round and place one end of the bead string into the hot glue and let it cool.
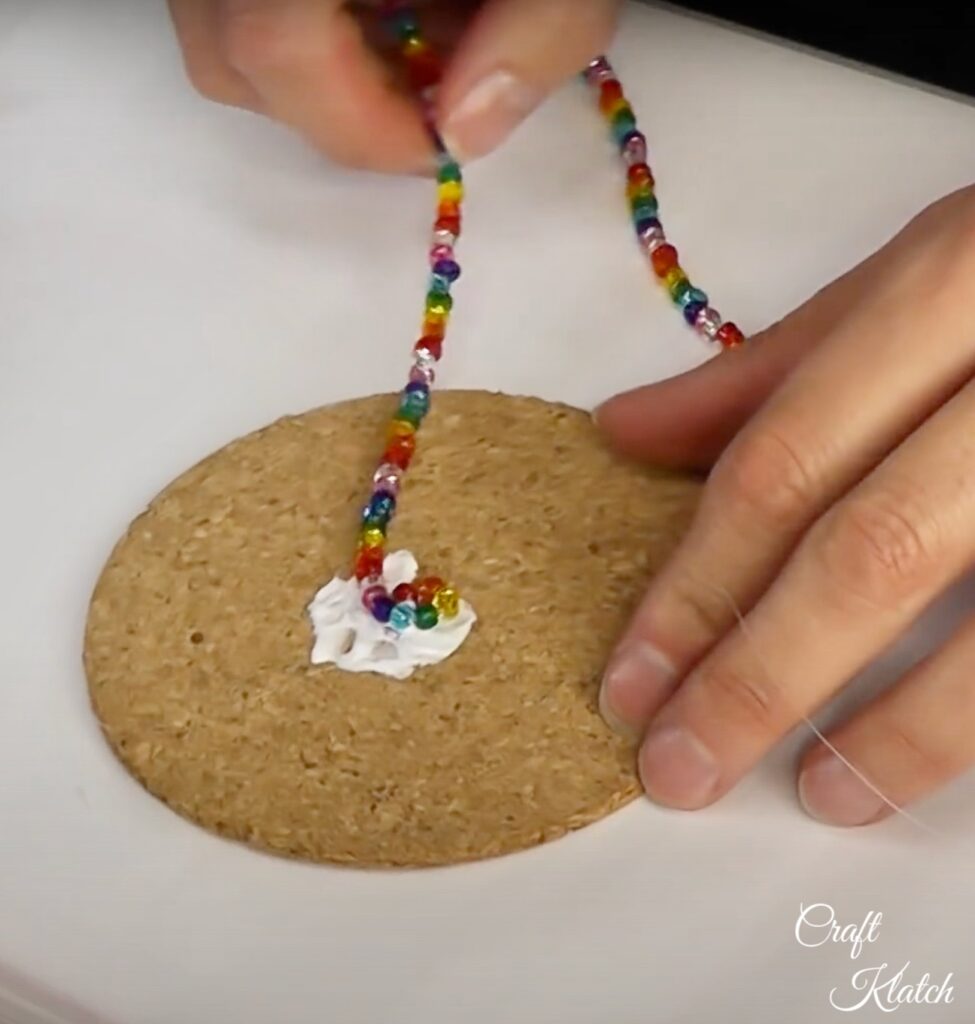
Step 4: Spread the glue!
Once cooled, spread the other glue around the cork round, a little bit at a time.
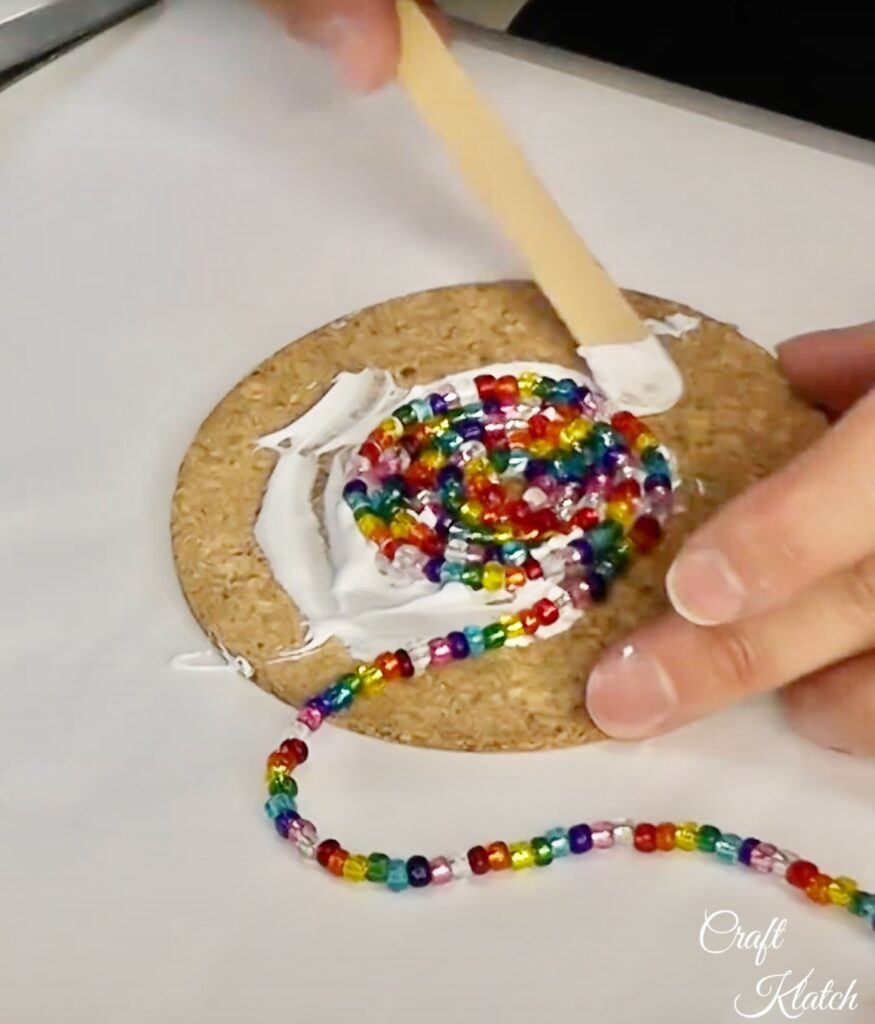
Step 5: Now it’s starting to look like a bead coaster!
Keep winding it around itself and adding glue. The hot glue will hold the beads in place, while the other glue dries and creates a stronger bond.
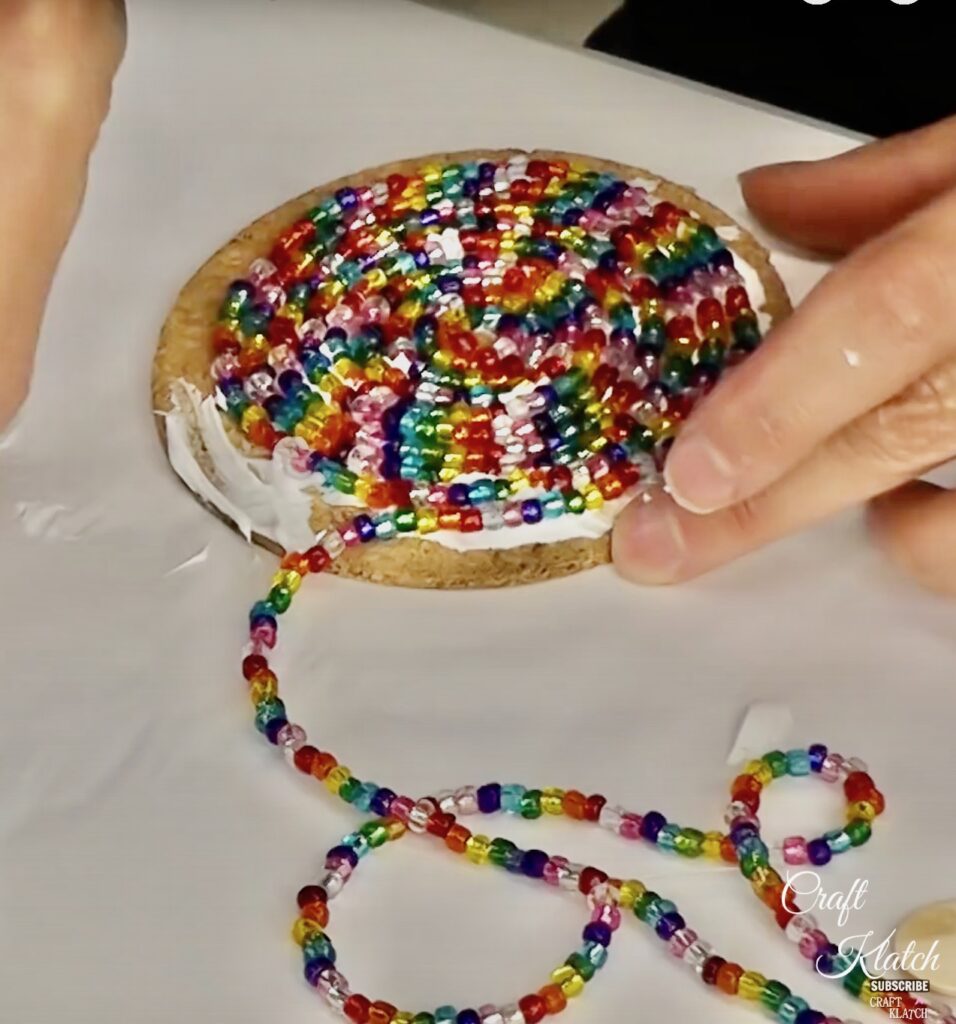
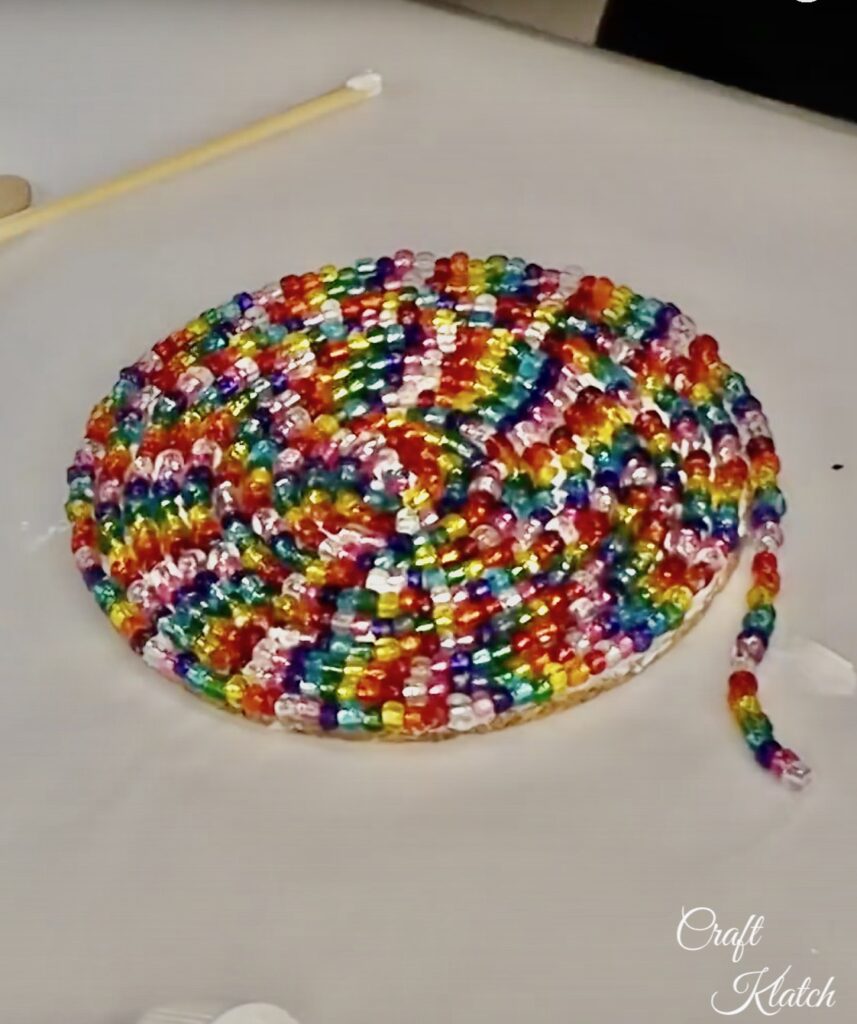
Step 6: Snippity snip!
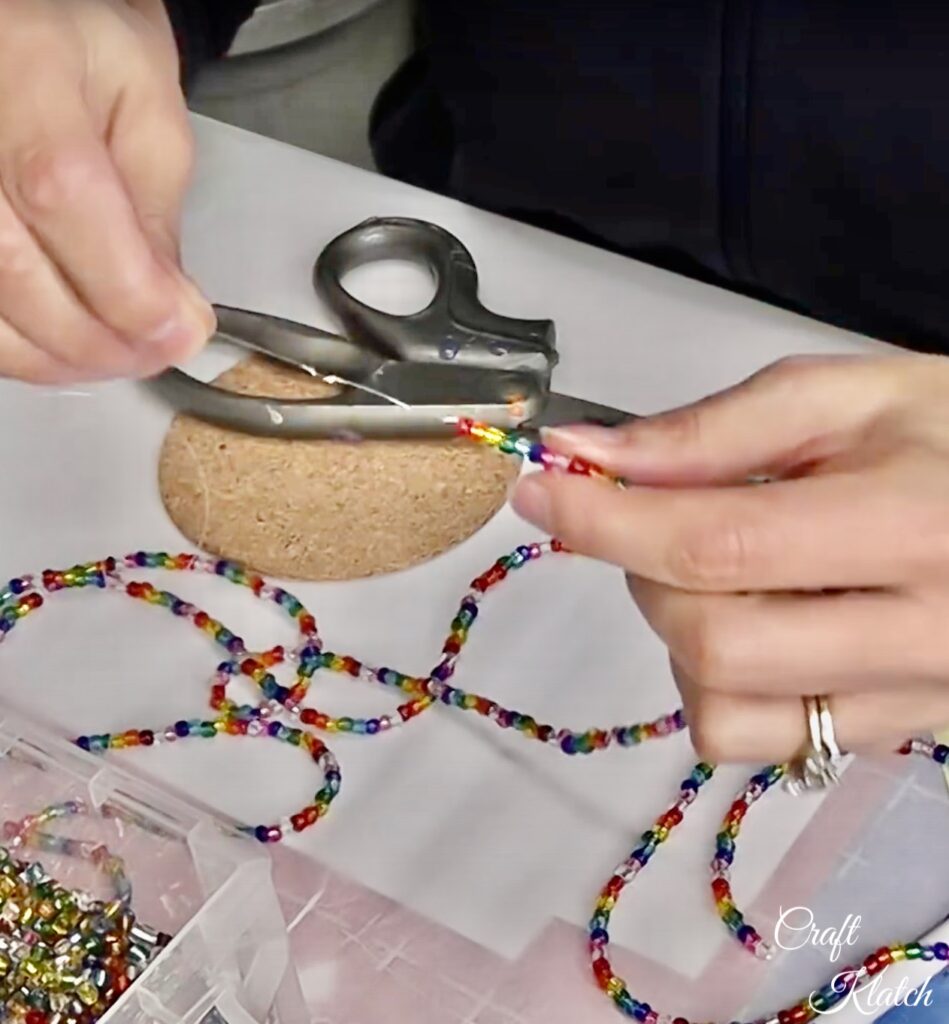
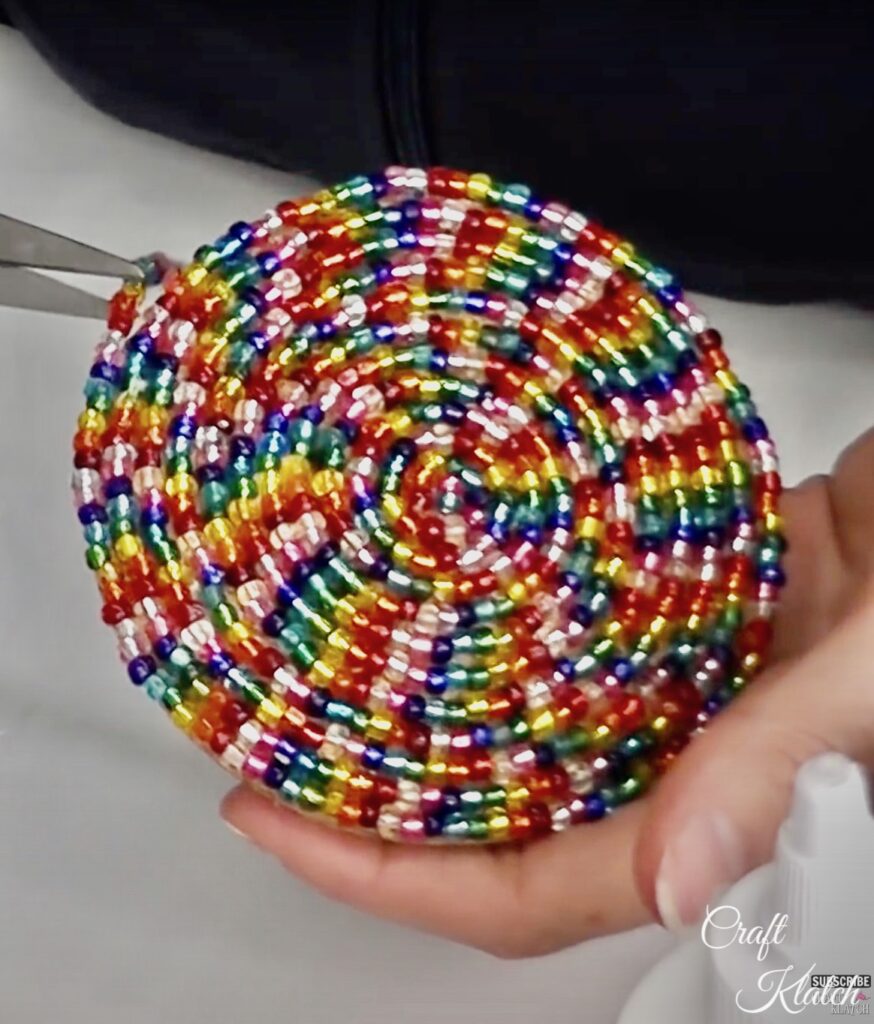
When you are done, be sure to allow the glue to dry before you snip the end (if needed).
Tips:
- If you have a gap in the very middle, then just glue a couple of loose beads in the middle.
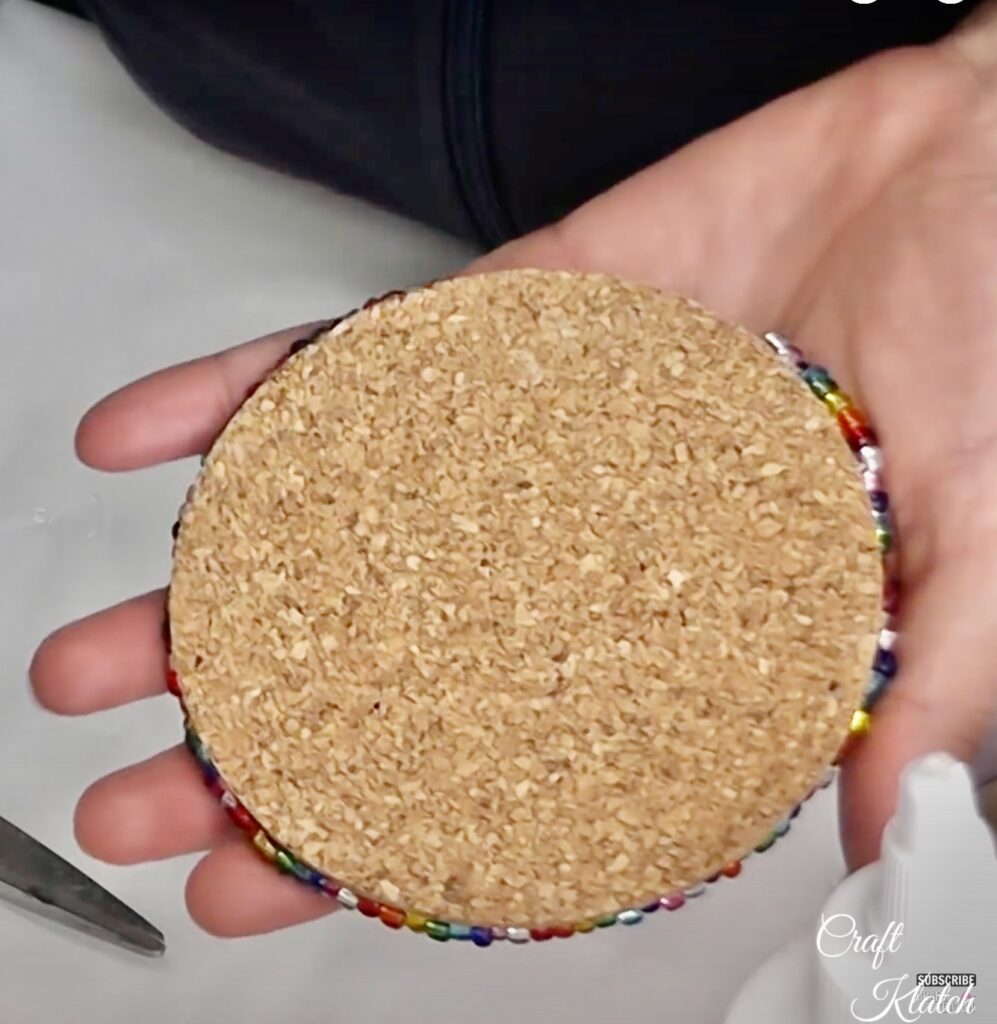
- I placed a piece of parchment paper on the coaster and put a book on top, while it dried. Cork rounds can sometimes begin to curl, while they dry. The book kept it nice and flat.
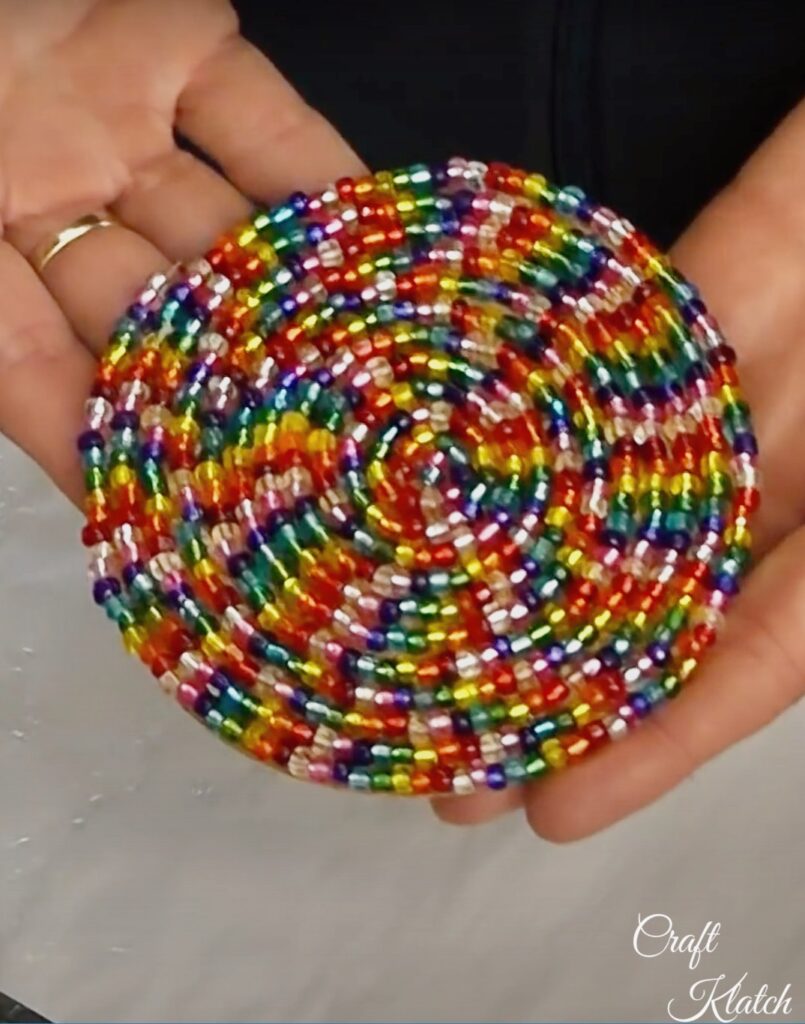
That’s it! Now you know how to make beaded coasters that can withstand your coffee or teacup as well. It’s cheap to make, but looks like a million bucks!
If you are still not convinced that beading is for you, I have other projects that give you a beaded look, without the time-consuming beading and stringing!
I have a very classic, think Chanel vibe, Pearl Coaster.
I also have a colorful pearl coaster that could not be easier!
If you really want to have fun with beads, try your hand at making Bead People!
Bead Coasters To Buy
If you love the look of the bead coaster but don’t want to make it, here are some beautiful bead coaster alternatives!
Thanks for stopping by!
Remember: Life’s too short not to shimmer, so grab your glue gun and your glitter!™ Stay safe!
Mona

Going to try this with grandkids. Do you know about how many beads it takes? I have 4 grandkids so want to make sure I have enough.
Lisa
Wow…great question! I don’t know how many. The seed beads come in large packages. There should be plenty. You are going to love making them with the grandkids!