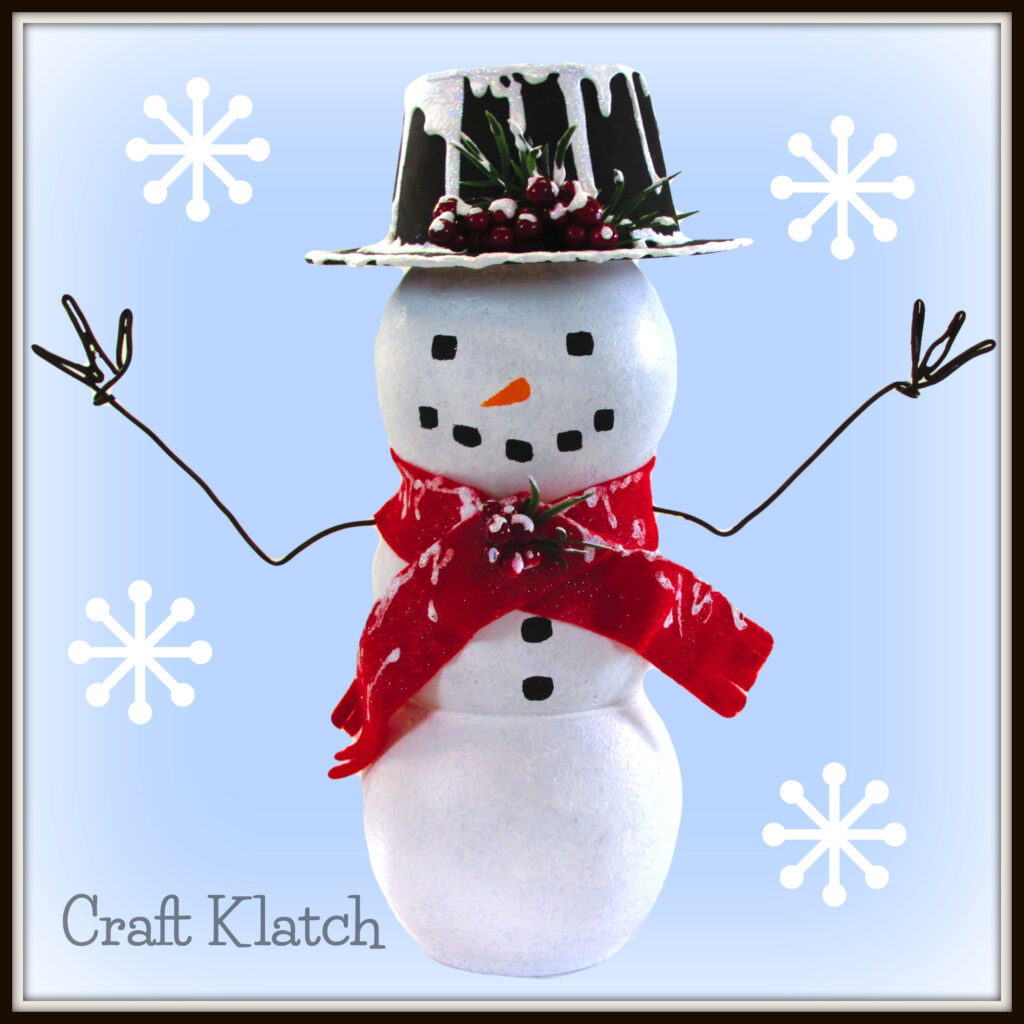
Use items from Dollar Tree to create a cute snowman with lights to add to your Christmas decorations! It’s an inexpensive and easy craft and DIY!
If I’m being honest. I’m not a big fan of cold weather or snow and please don’t ask me to build a snowman out of actual snow.
But…
I CANNOT resist an easy snowman craft and if it’s a snowman with lights, it’s probably in my top ten!
You toss in that it’s a Dollar Tree craft, I might begin to swoon!
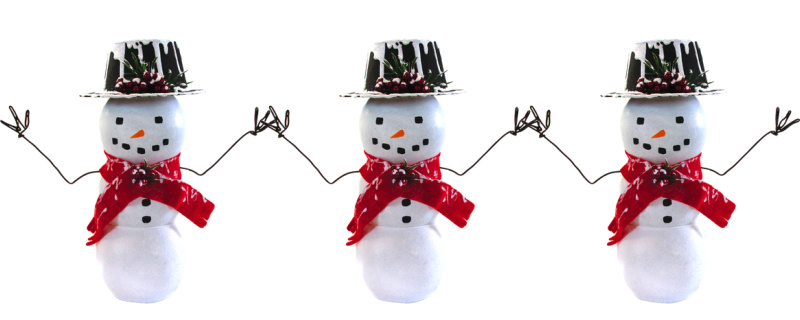
Quickie Dollar Tree Snowman With Lights Video Tutorial
Here’s a quickie video tutorial of how I made this bad boy! You can see the full, longer video at the end of this post!
Supplies For Dollar Tree Snowman With Lights DIY
*This blog uses affiliate links. As an Amazon Associate I earn from qualifying purchases, at no additional cost to you.
- 3 Globe votives
- Wire
- Multi-surface paint in the following colors
- Floral foam
- Red felt
- Slick white fabric paint
- Fine white glitter
- Black craft foam
- Berries and greenery
- 3 Battery operated tea lights
- Hot glue
Dollar Tree Snowman with Lights Directions
Step 1
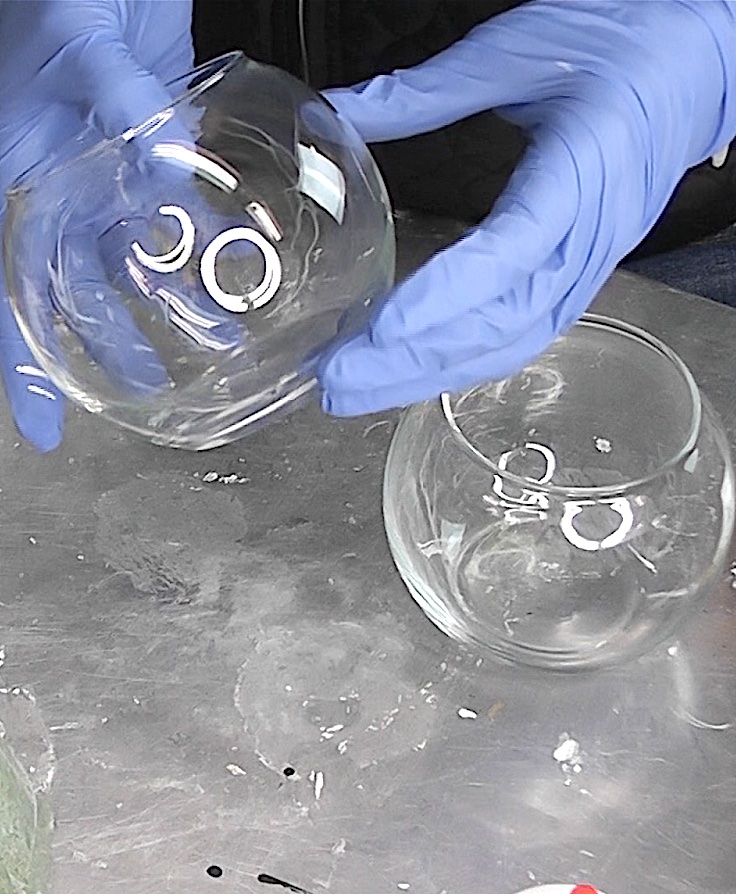
You need to start with the small fishbowl votives.
Step 2
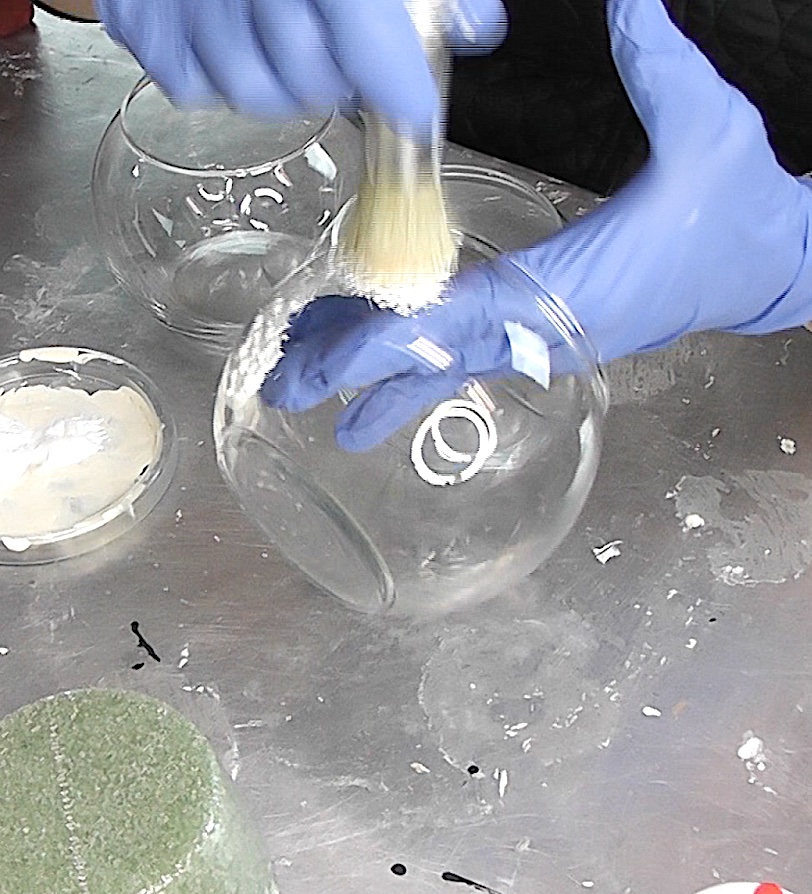
Paint the votives white but so not paint the bottom. I used a multi-surface paint, which is good for painting on glass. A stencil brush is not necessary but I like the texture it gives for the snowman.
Step 3
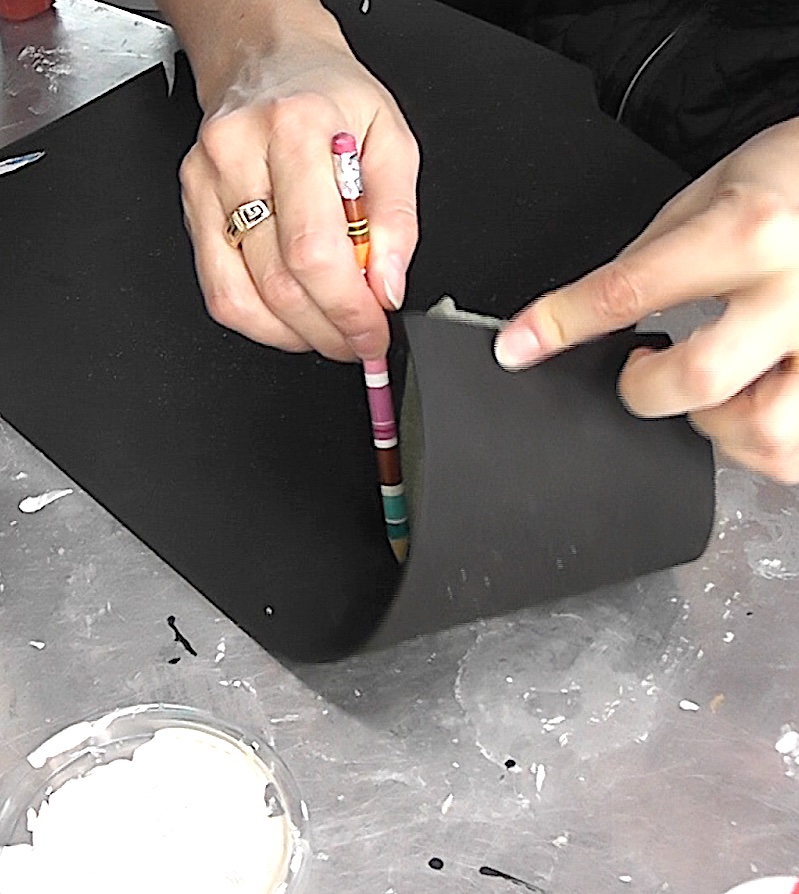
While the votives are drying, move on to the hat. Take the floral foam and roll it along the black craft foam. You want to trace it with a pencil and then cut it out.
Step 4
Using hot glue, glue it around the floral foam and cut off any excess.
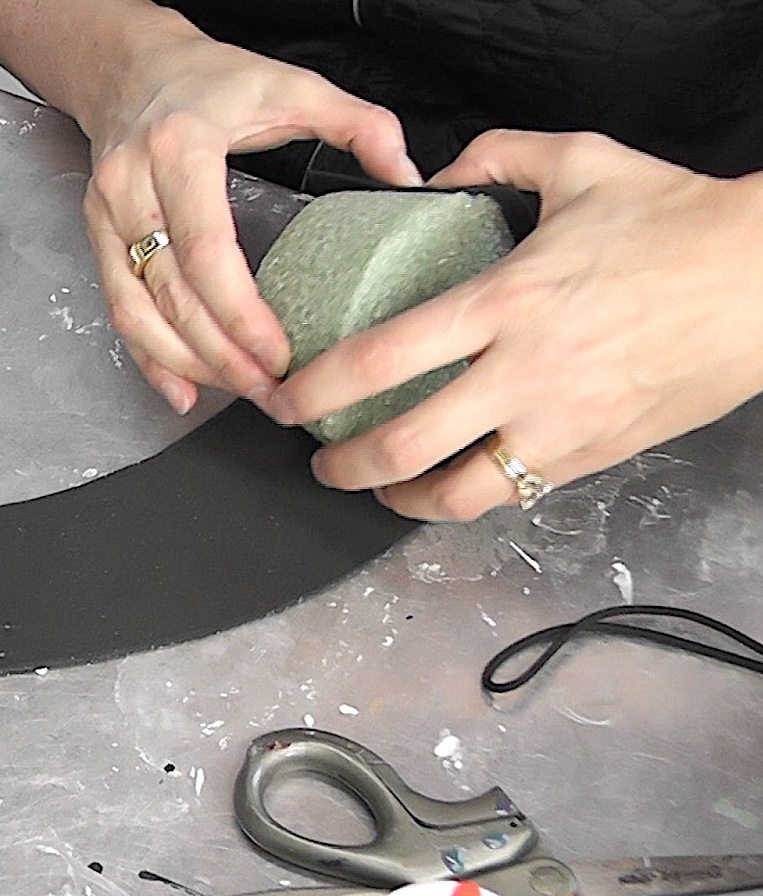
Step 5
Place the hat on the black craft foam and draw a circle larger than the foam. This will become the brim of the hat. Cut it out and glue it on the bottom of the floral foam.
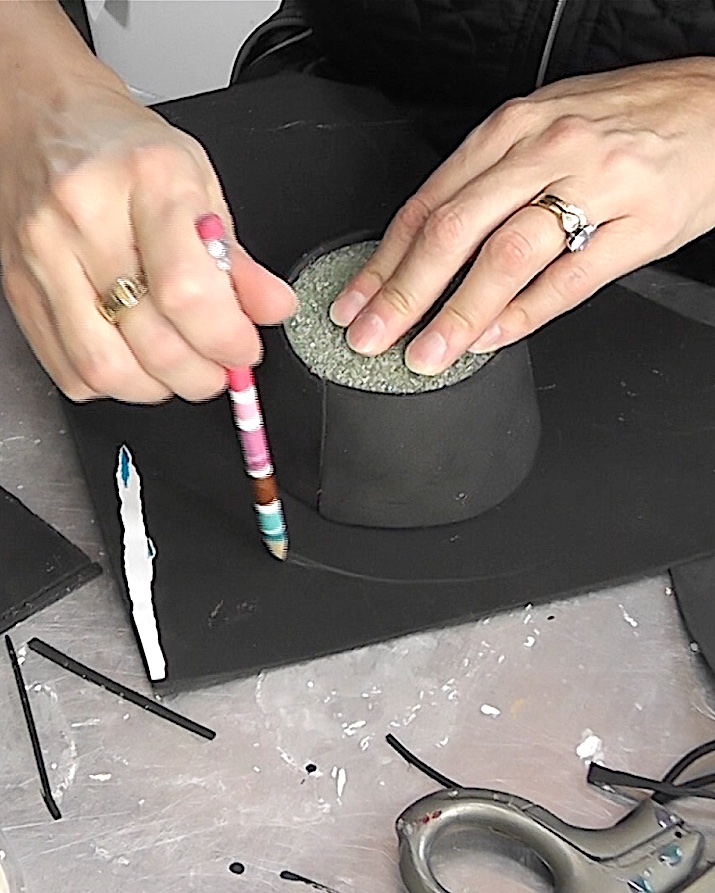
Step 6
Trace the top of the floral foam on the black craft foam and cut out. Glue it to the top of the hat and trim off any excess and glue on the bottom brim.
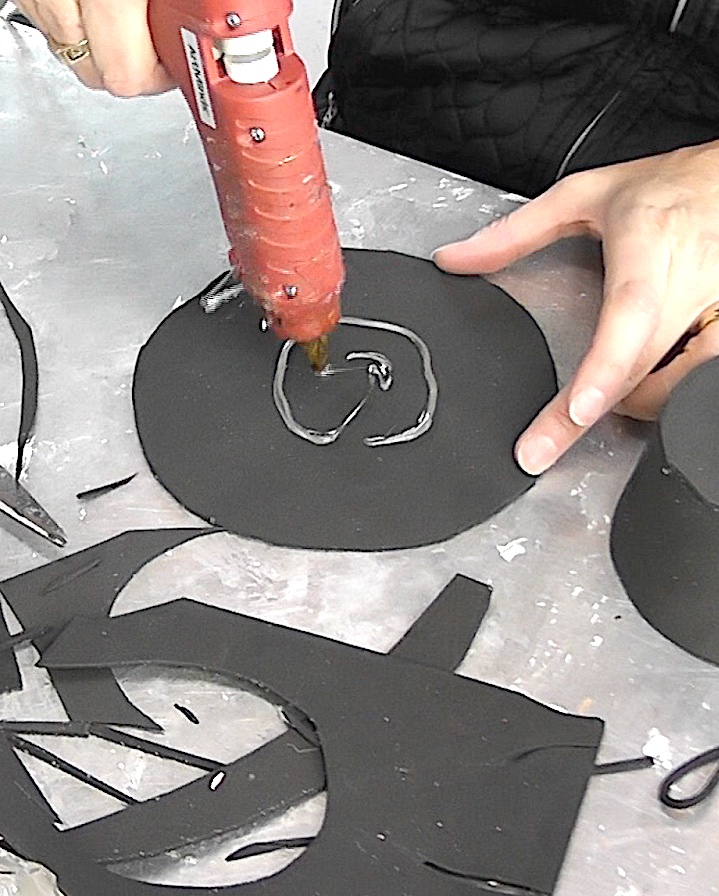
Step 7
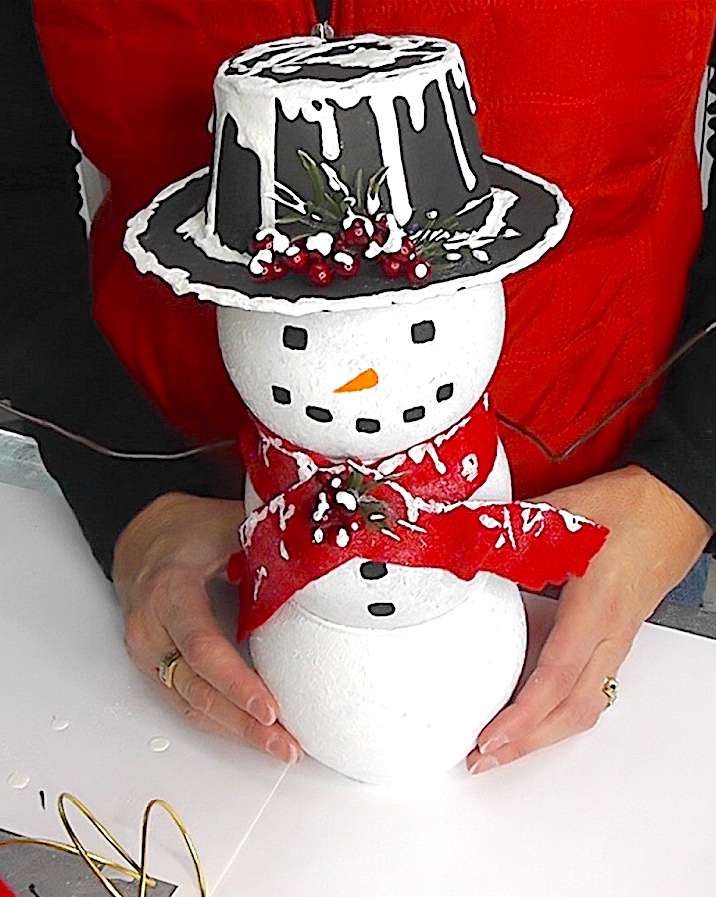
Add berries and greenery to the hat for a little embellishment.
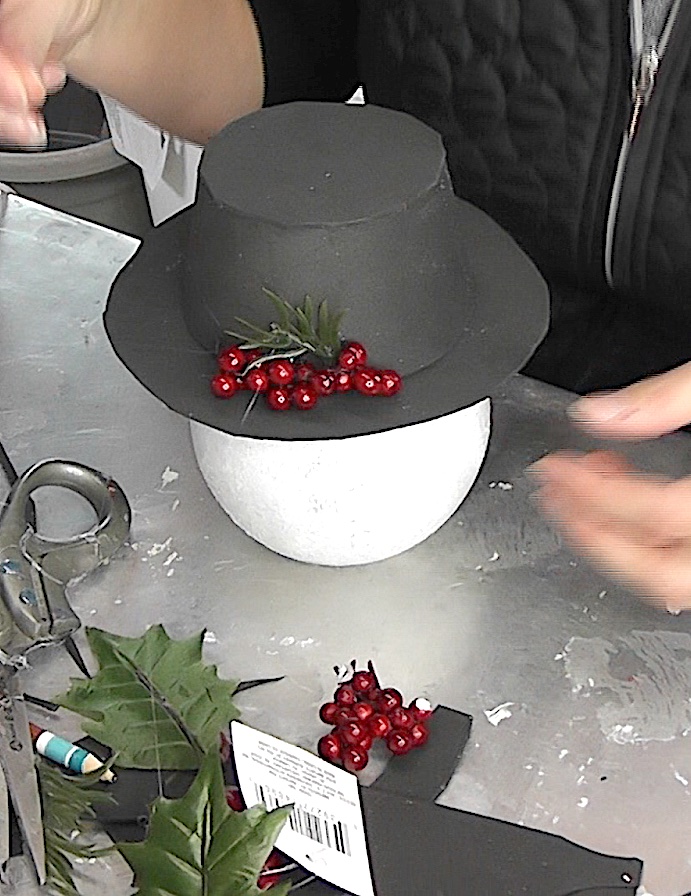
Step 8
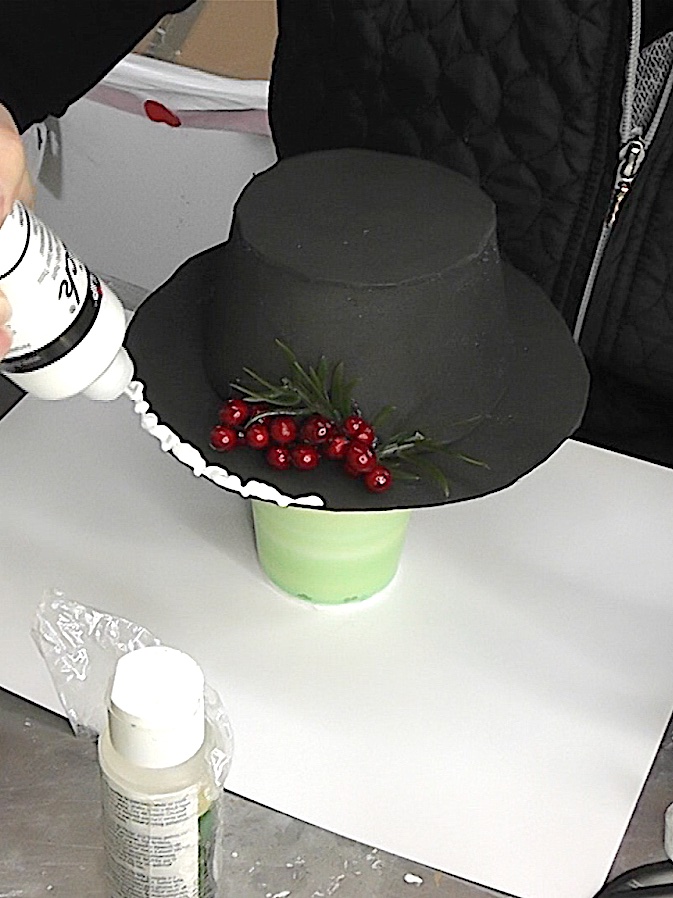
Add dimensional white paint onto the had, for snow and sprinkle with a fine glitter.
Step 9
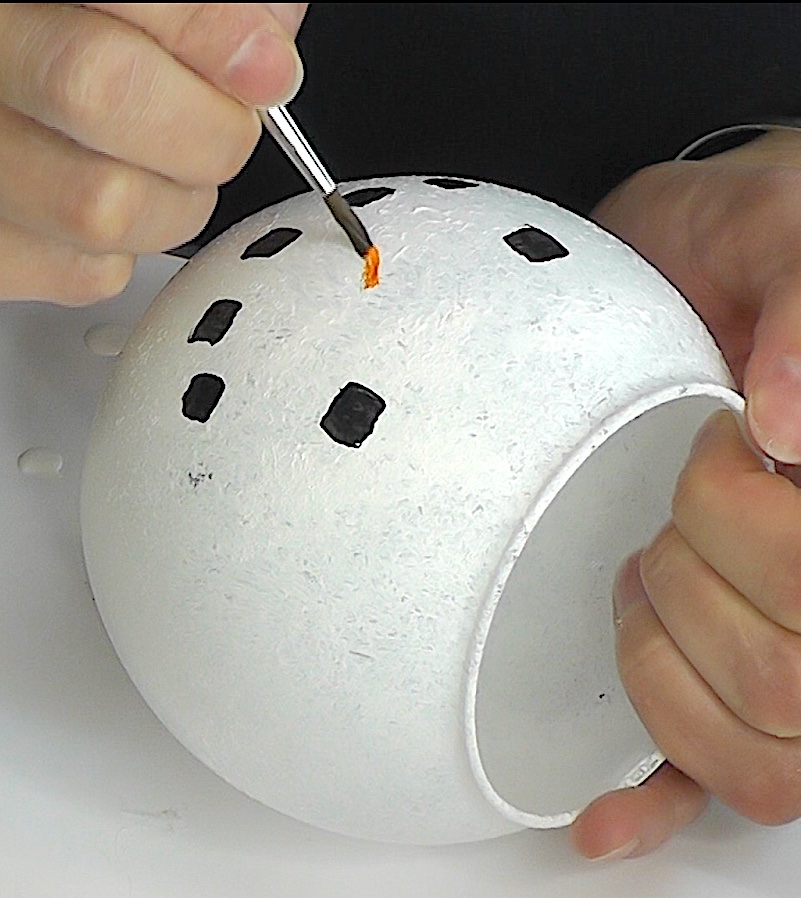
Once the votives are dry, paint on the face, on the top votive. Paint on the coal buttons on the middle votive.
Step 10
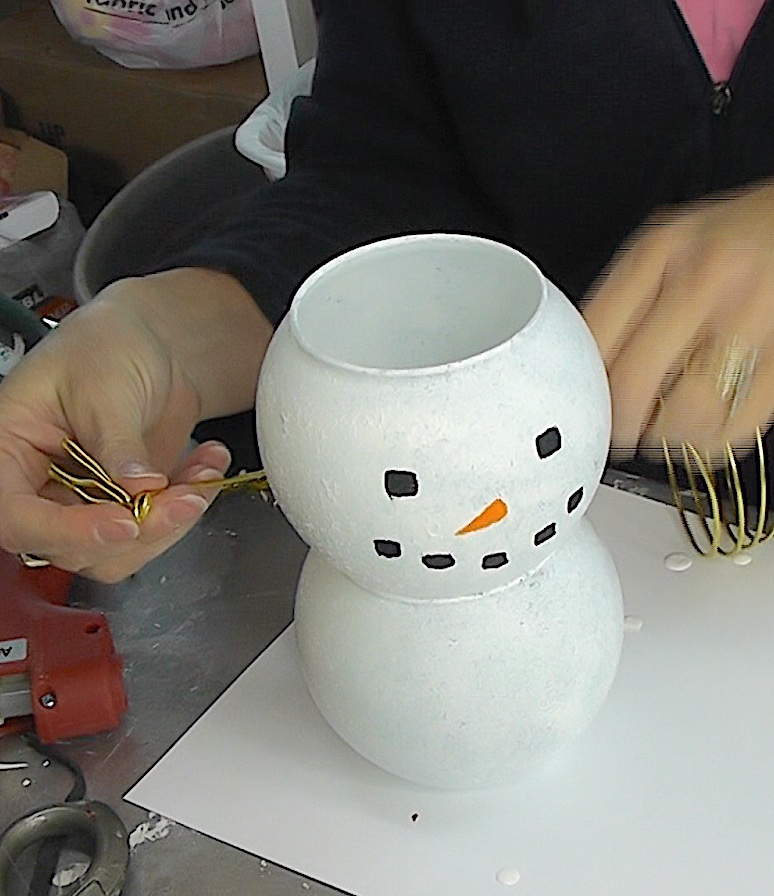
Take your wire and twist it around the top of one of the votives. Bend fingers at one end. Then do the same on the other and cut off any excess. Glue it onto the top of the middle votive.
Step 11
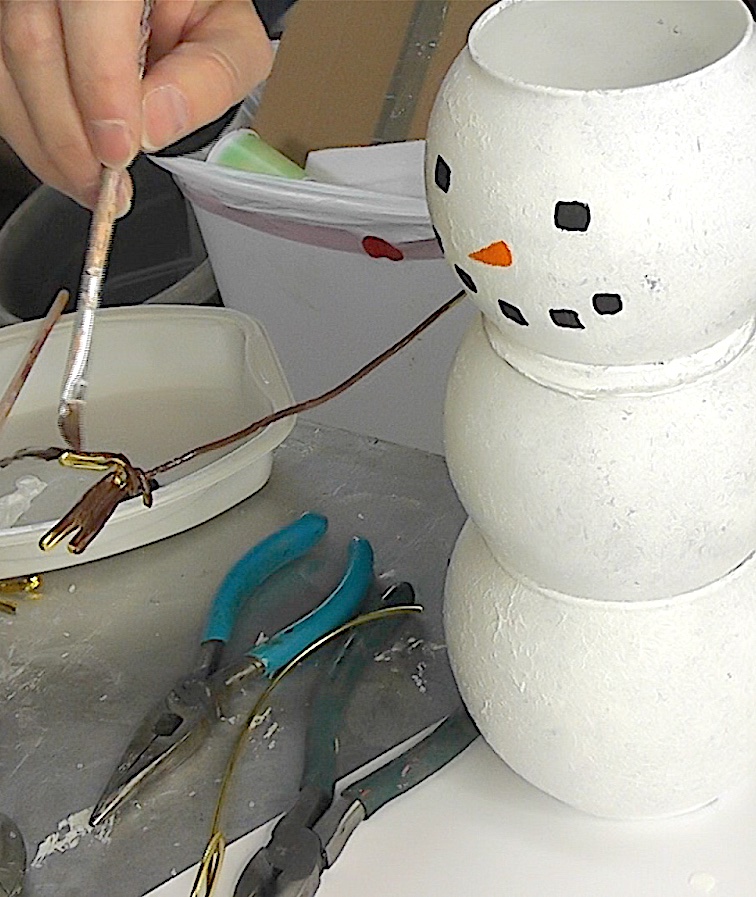
Paint the wire that is touching the votive white and the arms going out brown.
Step 12
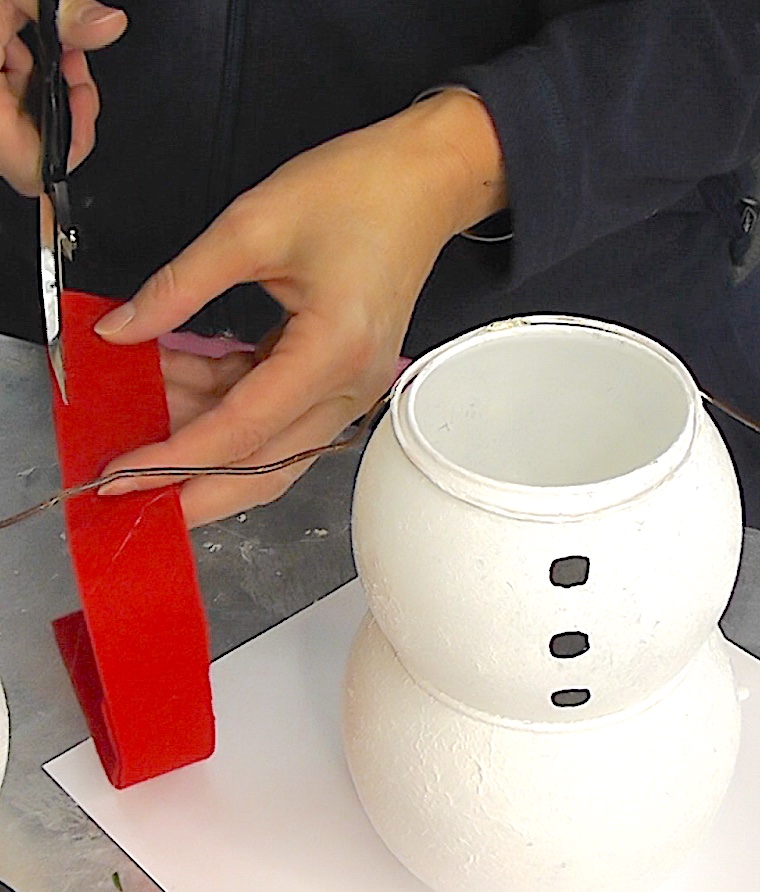
Cut out two lengths of red felt. Fringe one end on each of them.
Step 13
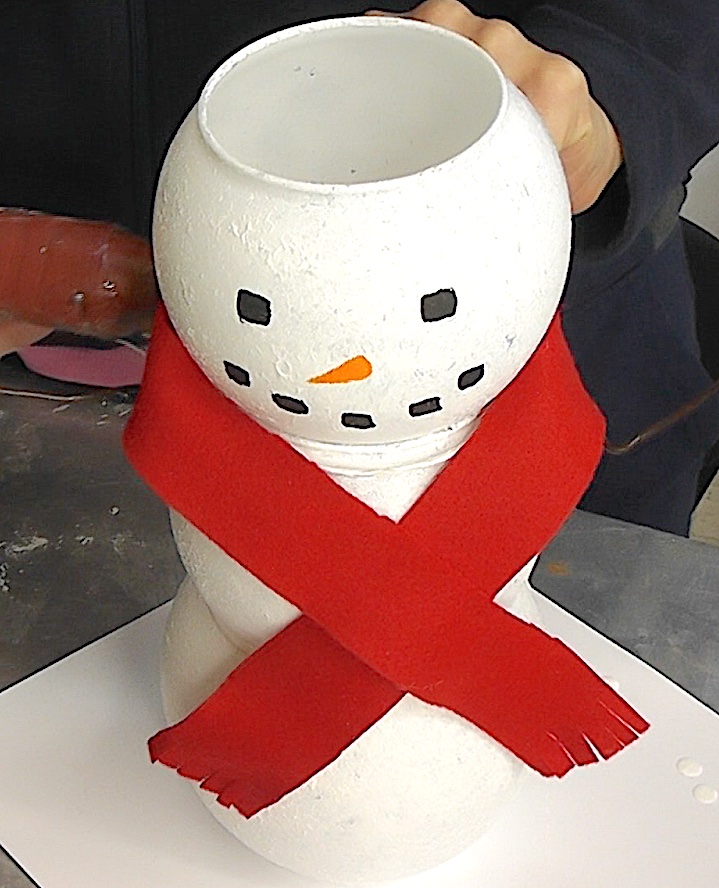
Glue it to the top of the middle votive, over the wire. Pull it around and arrange it in the front and finish gluing.
Step 14
Add berries, greenery and more snow and glitter for embellishments. The dimensional white paint on the hat and scarf, with the glitter gives you the opportunity to cover any hot glue, seams or imperfections.
Now, let’s light up this snowman!
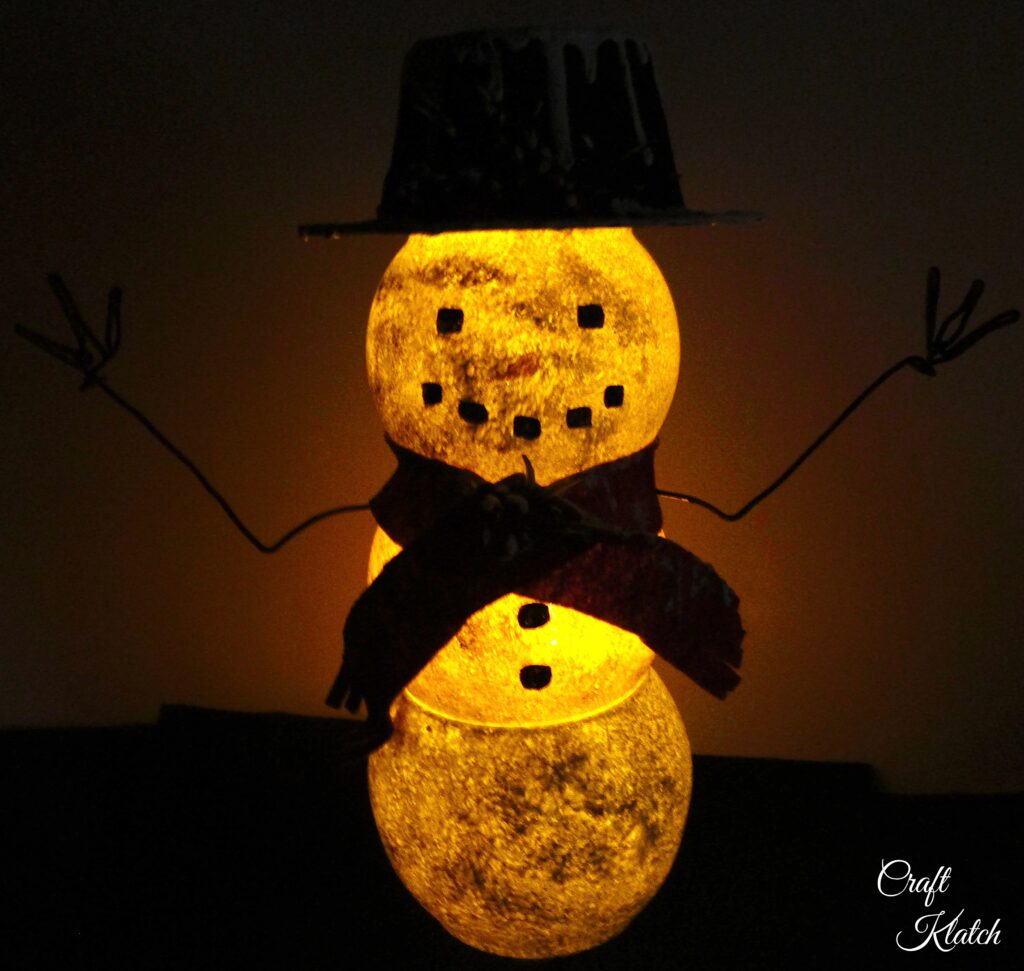
That’s it! Now add your battery operated votives and have him jolly up your Christmas decor!
Have fun with it! I’d LOVE to see what you make! Be sure to share it over on my Craft Klatch Facebook Group! It’s Free!
Thanks for stopping by! Remember: Life’s too short not to shimmer, so grab your glue gun and your glitter!™ Stay safe!
Happy Holidays!
Mona
More Dollar Tree Crafts!
If you love Dollar Tree crafts too, I have more you will love!
- Snowman Hot Chocolate Mug
- Snowflake Votives
- Dollar Tree Christmas Tree Hat
- Frostly Snowflake Ornament Makeover
- Wine Glass Christmas Makeover
Be sure to PIN IT for later!
Fun Light Up Snowman Alternatives
If you love a good snowman with lights decor, here are some really great additional Christmas decorations!
Dollar Tree Snowman With Lights Full Video Tutorial
Here is the full tutorial for the Dollar Tree snowman with lights!


Such a cute snowman!! I’m including this post in my bi-weekly All Things Vintage post this Saturday!
Thank you Cindy!