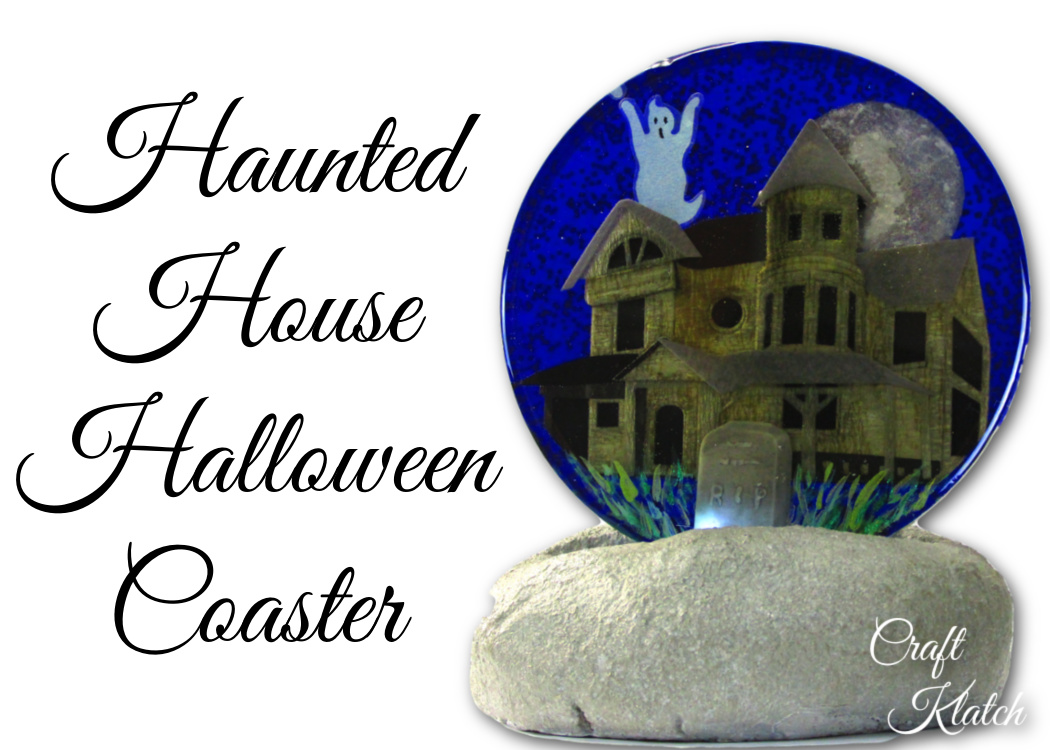
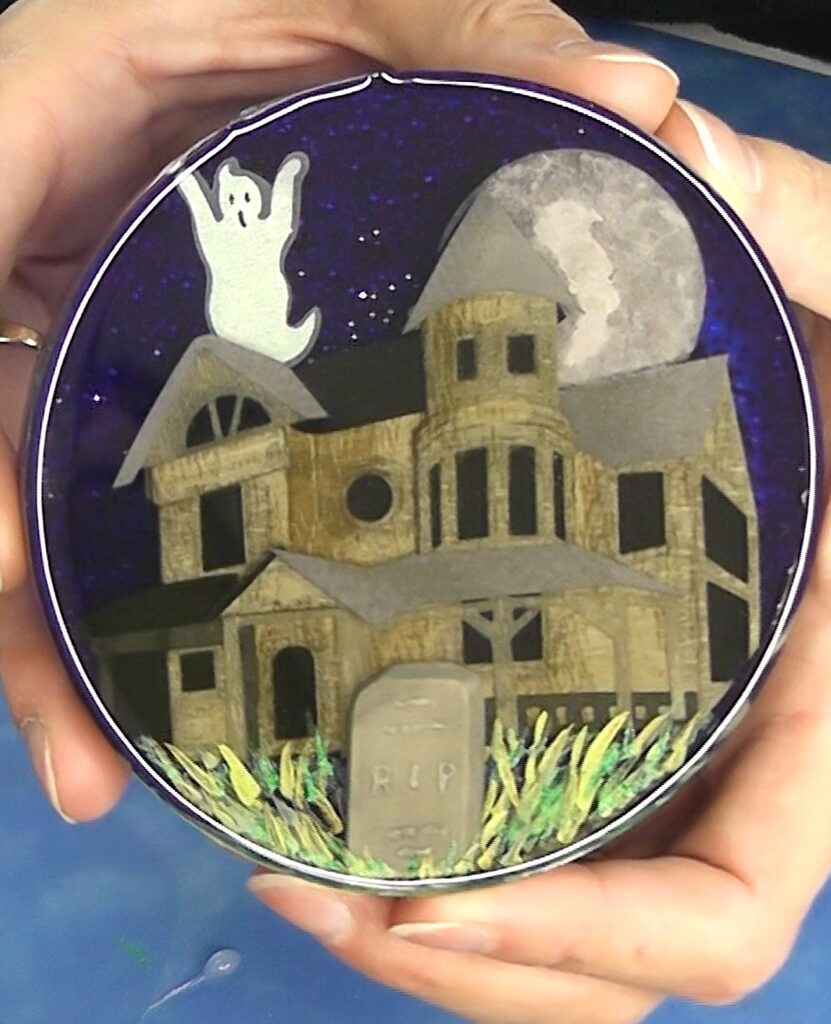
Haunted house Halloween decorations help set the spirit of the season! I’ll show you how to make a haunted house resin coaster!
It’s time for some spooky fun and what is better than haunted houses Halloween decorations?
For this Halloween coaster, I decided to put it in a concrete stand and light it up too!
I love haunted houses on Halloween but Greg is not a fan, so I have to make do with a haunted house coaster!
BOOHOO!
I used stickers to make this project and it’s actually a paper sticker. Usually, I seal paper before putting it into resin. However, because this is a layered sticker, it is almost impossible to seal it…so I didn’t.
In this case, I figured if the paper areas become blotchy in the resin, it would add to the spooky nature!
Haunted House Halloween Coaster Video Tutorial
Materials Needed for the Haunted House Halloween Coaster
*This blog uses affiliate links. As an Amazon Associate I earn from qualifying purchases.
- Coaster mold
- Stickers
- Chunky black glitter
- Fine silver glitter
- Transparent blue pigment
- Transparent purple pigment
- Green acrylic paint in different shades
- Resin
- When deciding on which resin to use for your coasters, you need to keep in mind whether you want it just for cold cups or for hot ones as well.
- If only for cold drinks, you can be flexible and use whatever brand you like:
- If you want it to work for both hot and cold drinks, you need to look for a heat-resistant resin, like these:
- FX Poxy ~ According to the manufacturer, this one is heat resistant to 500° F.
- Stone Coat
Directions for Haunted House Halloween Decorations
Step 1
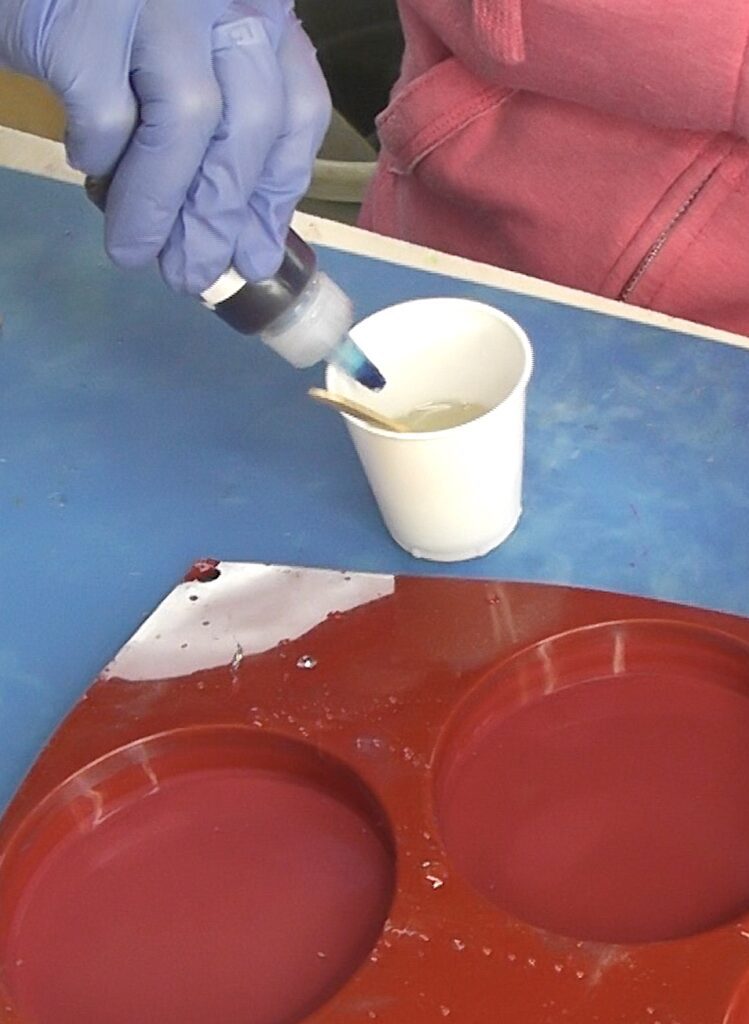
Mix one ounce of resin, according to the package directions. Add a little of the transparent purple pigment and a little of the transparent blue pigment.
Step 2
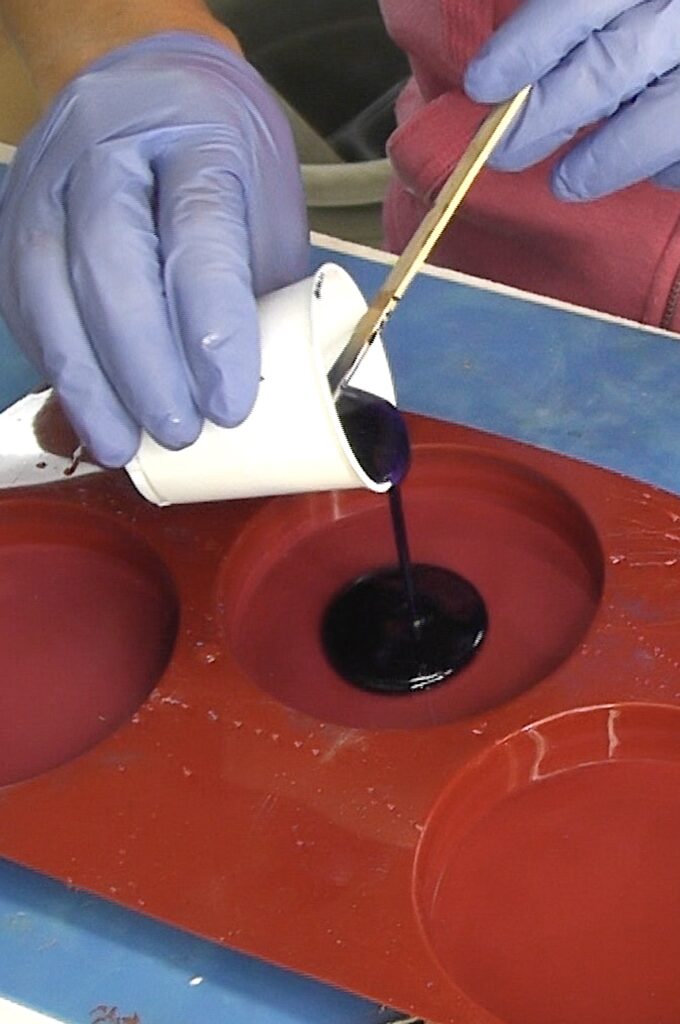
Mix in a little chunky black glitter and a little silver glitter and pour it into the coaster mold.
Be sure to follow me on INSTAGRAM!
Step 3
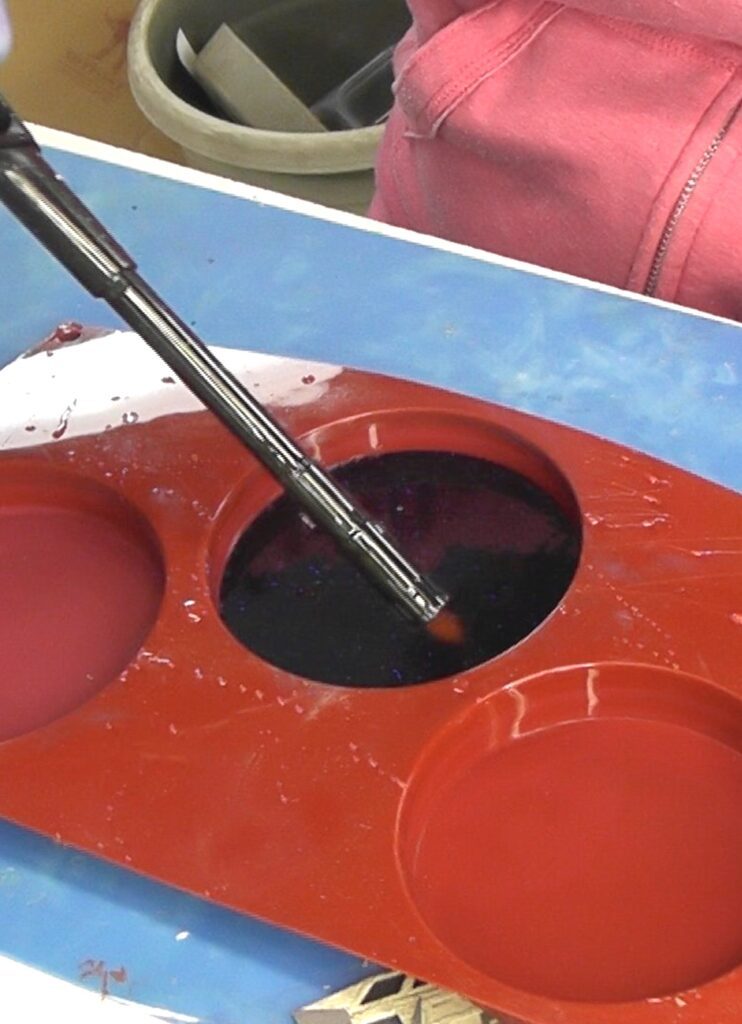
With your lighter, pop the bubbles and allow the resin to cure for a minimum of 12 hours.
Step 4
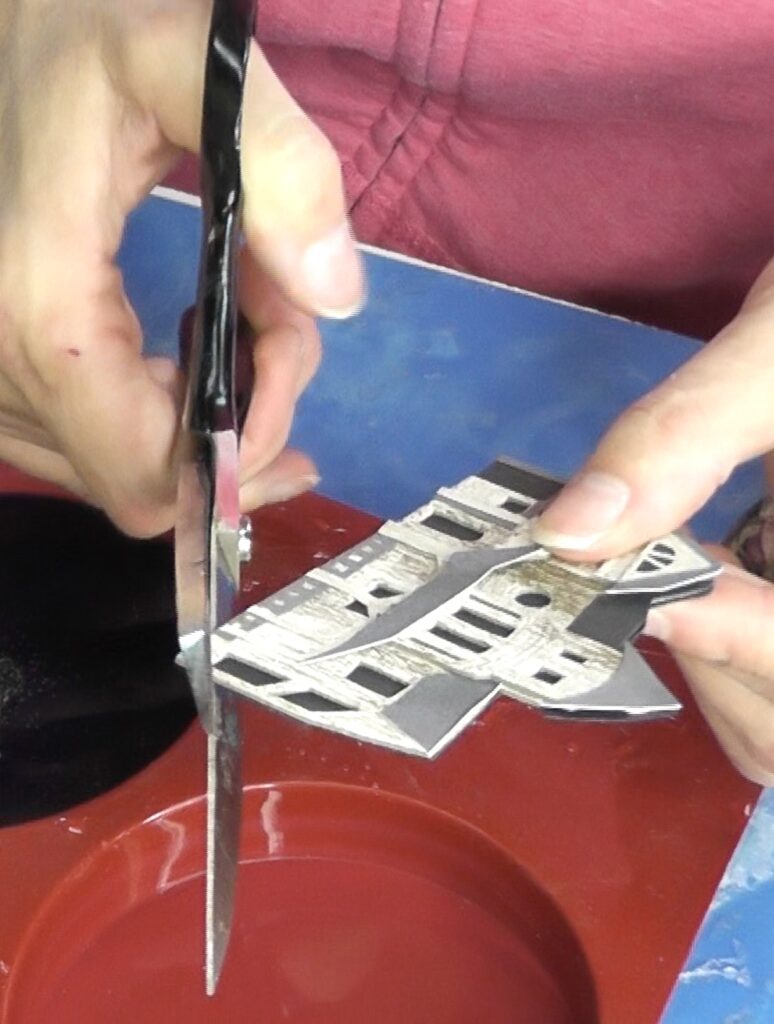
Take the haunted house Halloween sticker and trim the corners, so it fits into the mold, and then stick it onto the resin.
Step 5
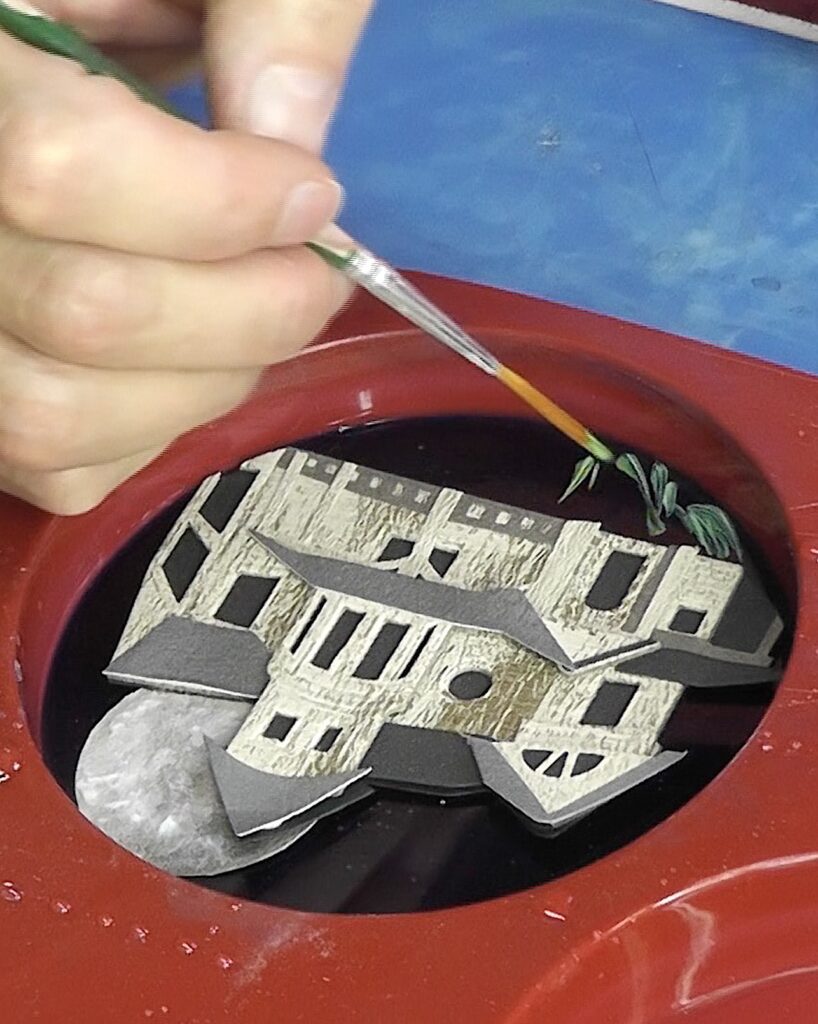
Add the moon sticker, partially behind the haunted house. I added a glow-in-the-dark paint to the moon but that is completely optional. With a thin brush, paint some grass easy blades at the bottom, so the house doesn’t look like it’s floating in space.
Step 6
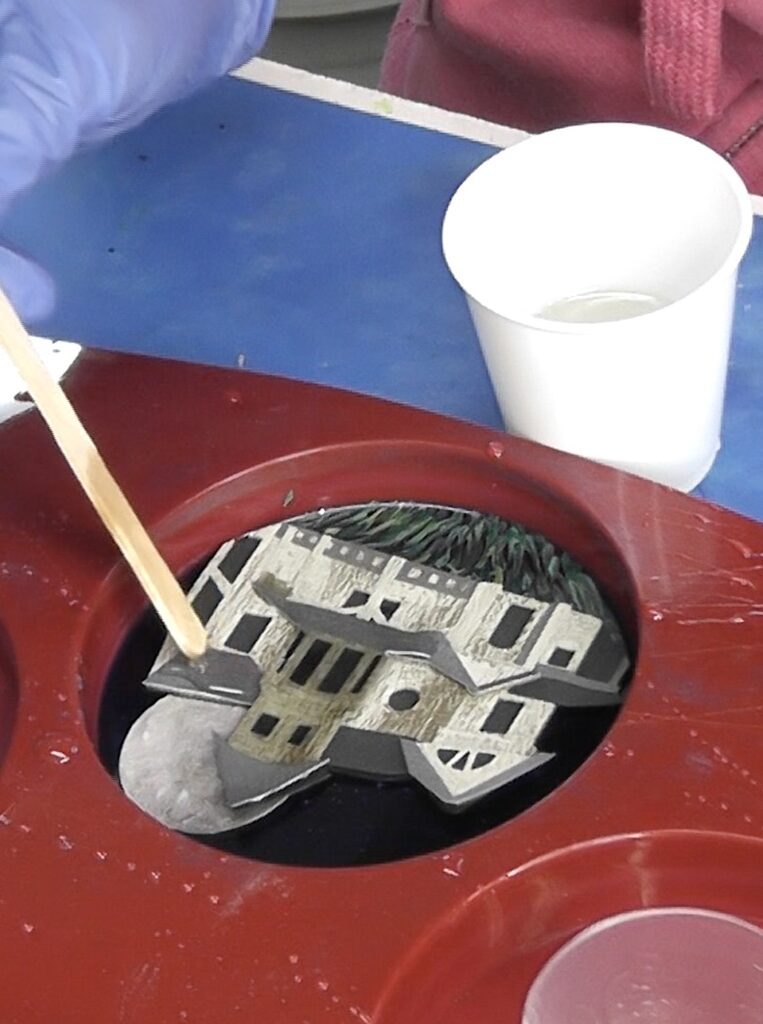
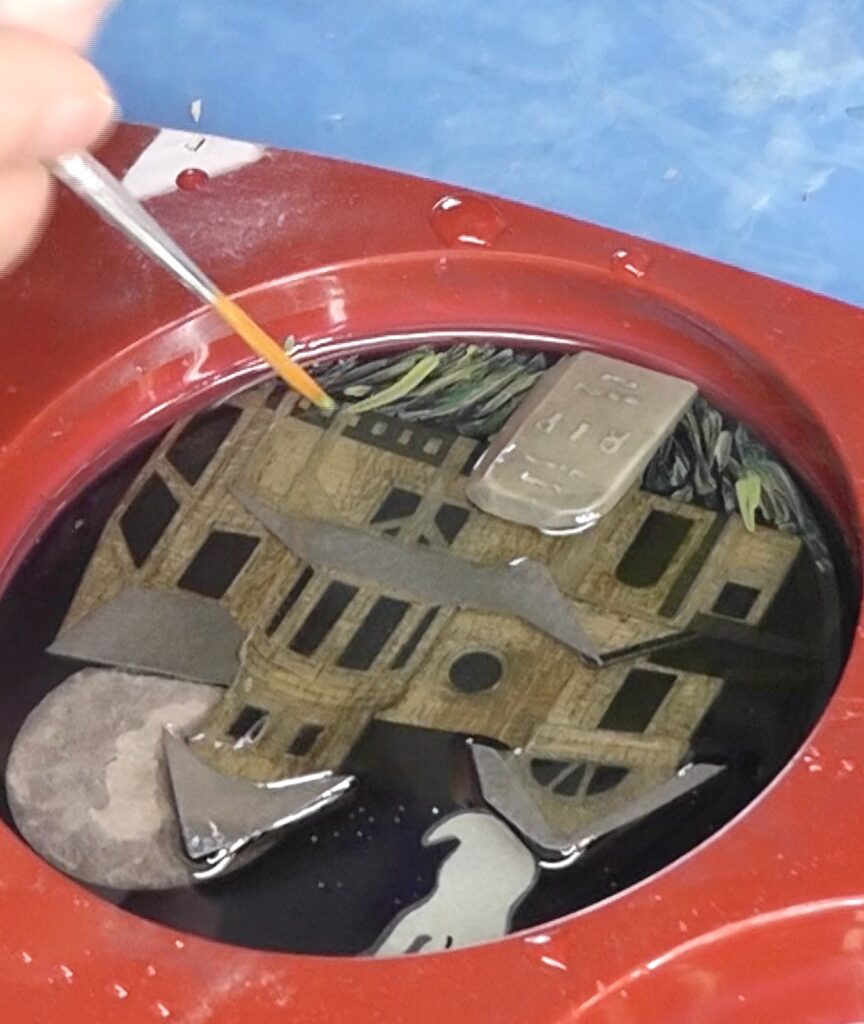
Once the paint has dried, mix one ounce of resin. Drip it slowly over the sticker and let it soak in. Pour the remainder slowly over everything.
Step 7
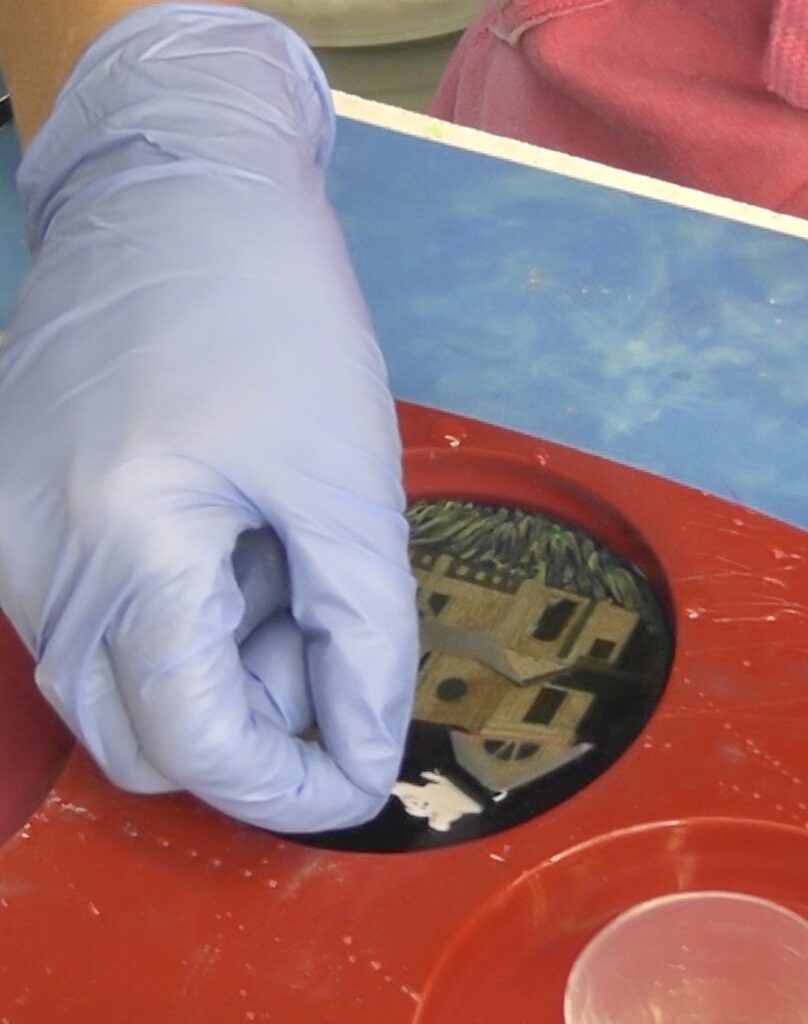
While the resin is wet, slide the ghost in partially behind the house and place the tombstone in front of the house. Pop the bubbles with your lighter. You WILL get A LOT of bubbles, so stay on it for a while. And let it cure for a minimum of 12 hours.
Step 8
After that layer has cured for a minimum of 12 hours, paint another layer of grass. This time, add grass to the bottom of the haunted house and the tombstone.
Step 9
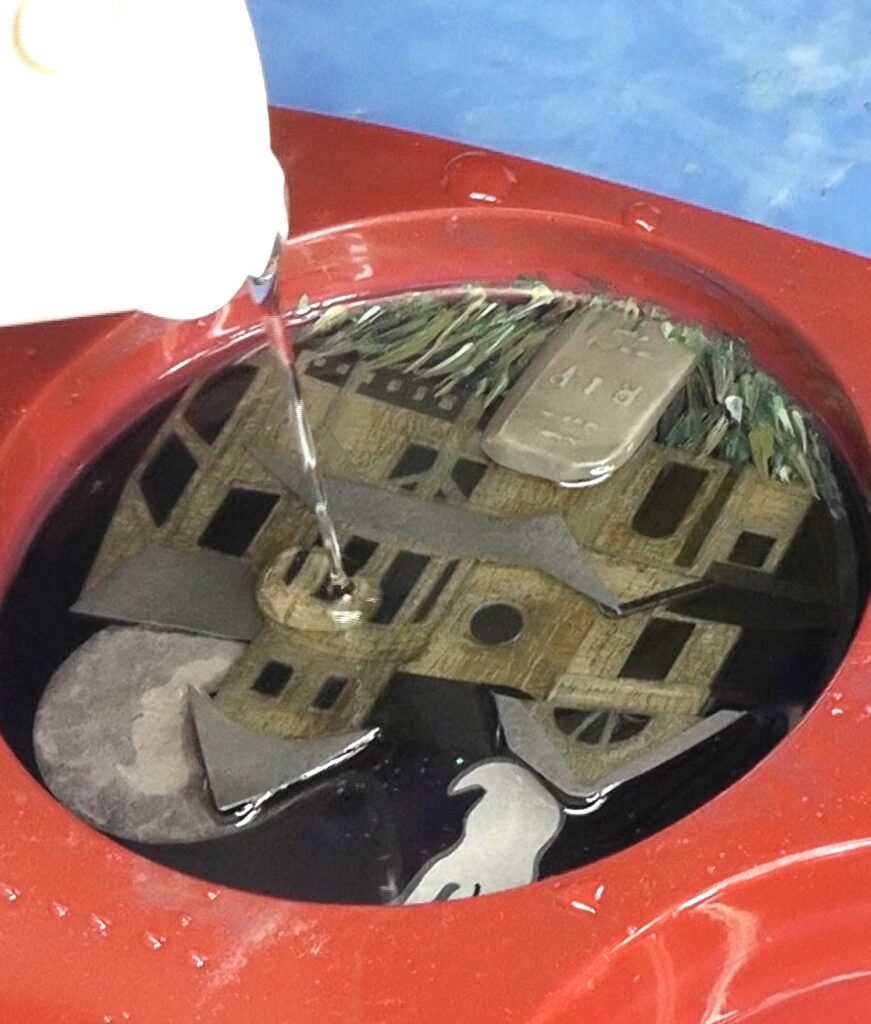
Once the paint has dried, pour one more ounce of resin all over it. Pop the bubbles and allow it to cure.
Step 10
Once cured, you can remove it from the mold. I happened to put it in a stand and put a light behind it. If you want to see how I made the base, you can find it on the Crystal Ball Coasters post.
More Halloween Crafts!
Haunted house Halloween coasters aren’t the only Halloween craft inspiration I have to offer. Check out these fun projects too:
Haunted House Halloween Decorations
If you want to decorate with haunted houses for Halloween, I found these amazing decorations!
Thanks for stopping by! Remember: Life’s too short not to shimmer, so grab your glue gun and your glitter!™ Stay safe!
Mona

