SUBSCRIBE to my YouTube Channel!
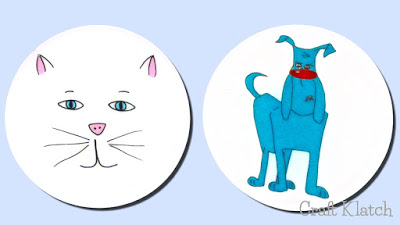
Think about the coasters as a fun way to preserve artwork. Your artwork, kids’ artwork, grandchildren’s artwork, etc. I used images from my Image Store as an example to just think outside the box.

You will need:
Coaster mold: https://amzn.to/20Q624E
Resin: https://amzn.to/1SXULwC
White pigment: https://amzn.to/1SXUUjt
Circle cutter: https://amzn.to/1nRVDam
Transparency film: https://amzn.to/1nRVrrx
(Be sure to buy the film that works with your printer!)
Circle cutter: https://amzn.to/1nRVDam
Transparency film: https://amzn.to/1nRVrrx
(Be sure to buy the film that works with your printer!)
Here is the video tutorial:
Directions:
1. Mix two ounces of resin, according to the package directions.
2. Mix in a little white pigment and pour into molds.
3. Take your lighter and pop the bubbles.
4. Allow to cure for at least 12 hours.
5. Print images onto transparency film and cut out.
6. Mix two more ounces of resin and pour into molds. Pop bubbles with lighter.
7. Slide into the resin and press down with your stir stick. Be sure to press all the bubbles out from under the film.
8. Pop bubbles with the lighter and allow to cure for at least 12 hours.
9. Unmold.
That’s it! Now you have some cute coasters! Thanks for stopping by! Happy Crafting and stay safe!
Mona
