To stay up on the latest, be sure to SUBSCRIBE to the Craft Klatch YouTube Channel HERE!
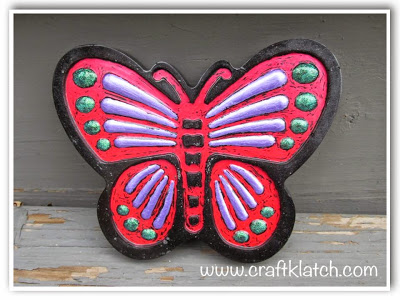
Create a custom resin butterfly. You can customize the colors to fit your decor!

You will need:
– Silicone butterfly mold
– Acrylic paint
– Black india ink
– Pigment powder
– Glue
– Wire
– Resin (I used Easy Cast)
Here are some items from Amazon, incase you want to give it a try:
Here is the video tutorial:
Directions:
1. Paint acrylic paint right on the mold. It will take two to three coats. You will notice the mold doesn’t want to take the paint, but keep putting coats on it and it will work out fine. I first did the indents and then did a Martha Stewart glass paint on the raised wings. I wanted it to have a crackled look, so I made sure it didn’t fully cover the mold.
2. Once dry, I prepared my resin, according to the package directions.
3. I mixed in black india ink and gray pigment powder. I mixed it well and poured it into the mold. I did three ounces, but I think two would have been enough.
4. Allow to cure.
5. Once cured, cut a piece of wire and twist it two to three times, to create a loop.
6. Glue the loop onto the back of the butterfly. Any glue will work. Remember to position the loop part up and out of the next layer of resin.
7. Once the glue dries, pour more resin – another two ounces should be enough. You can leave it clear or color it.
8. Allow to cure a minimum of 12 hours before unmolding.
That’s it! Hang it on your wall! Thanks for stopping by – stay safe and Happy Crafting!
Mona
