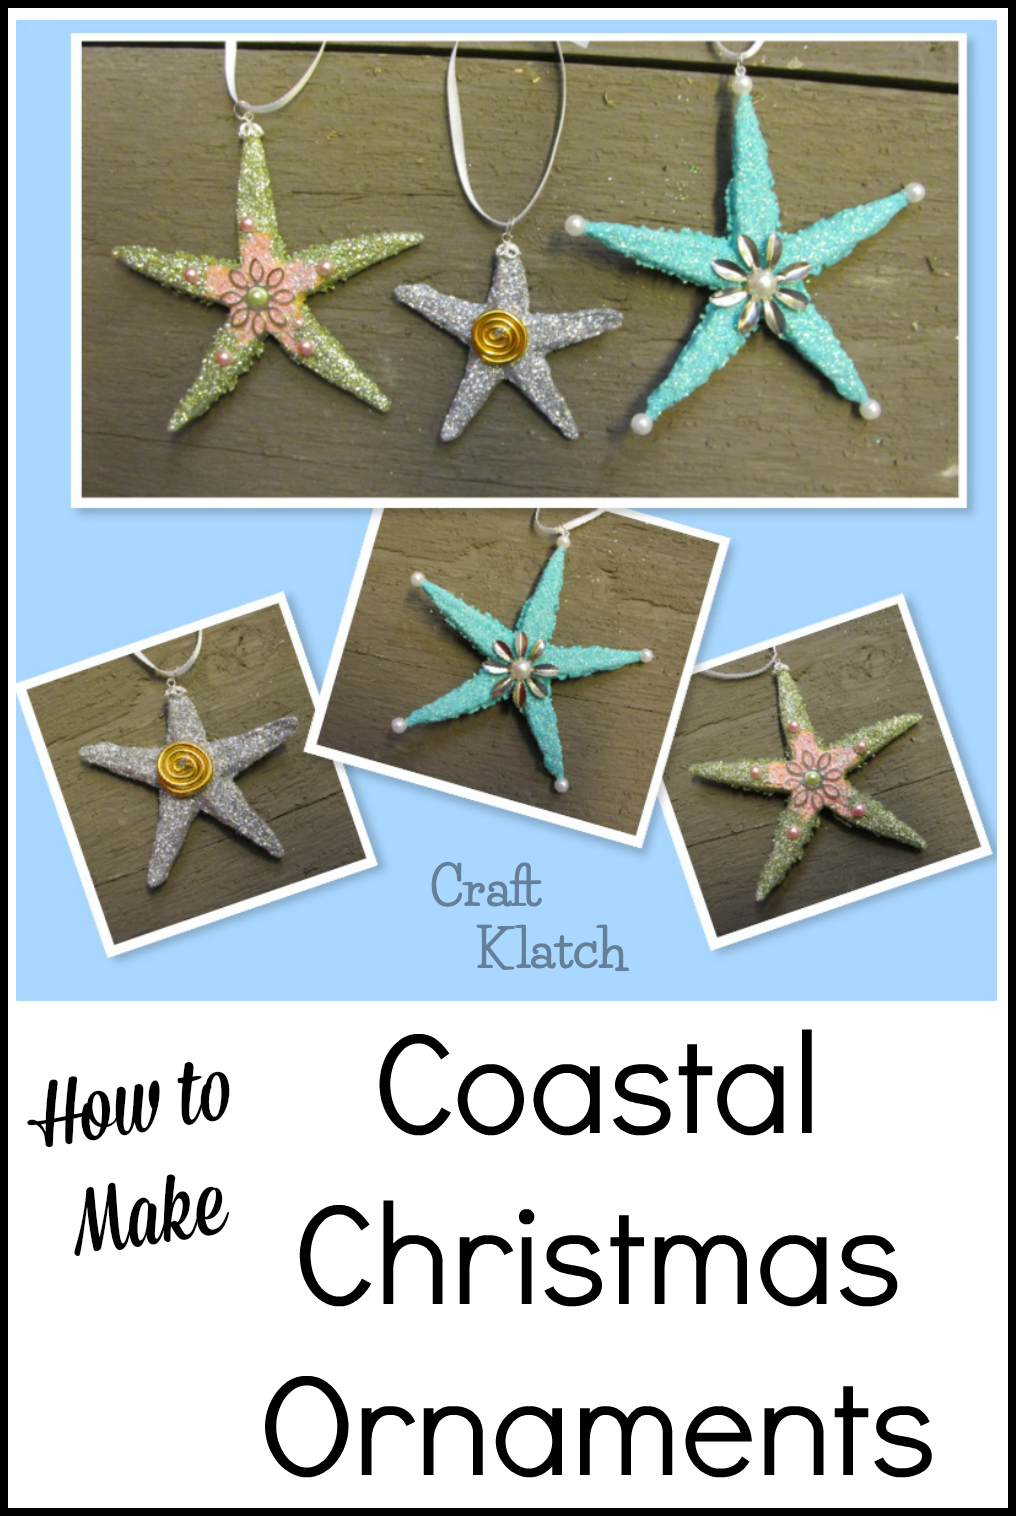
I do love a good coastal Christmas craft! When it’s easy and involves glitter, I am all in! I’ll show you how to make these cute starfish coastal ornaments!
Be sure to add this to your Christmas DIY project list.
Supplies for the Coastal Christmas Ornament
*This blog uses affiliate links. As an Amazon Associate I earn from qualifying purchases.
- Starfish
- White glue
- Fine glitter
- Fake pearl beads
- Adhesive half pearls
- Various embellishments
- Bead caps
- Eye pins
- Jump ring
- Ribbon
- Hot glue
Coastal Christmas Ornament Video Tutorial
Starfish Coastal Ornament Directions
Step 1
Take white glue and paint it onto the starfish. Immediately sprinkle with glitter. Pat down the shake off the excess.
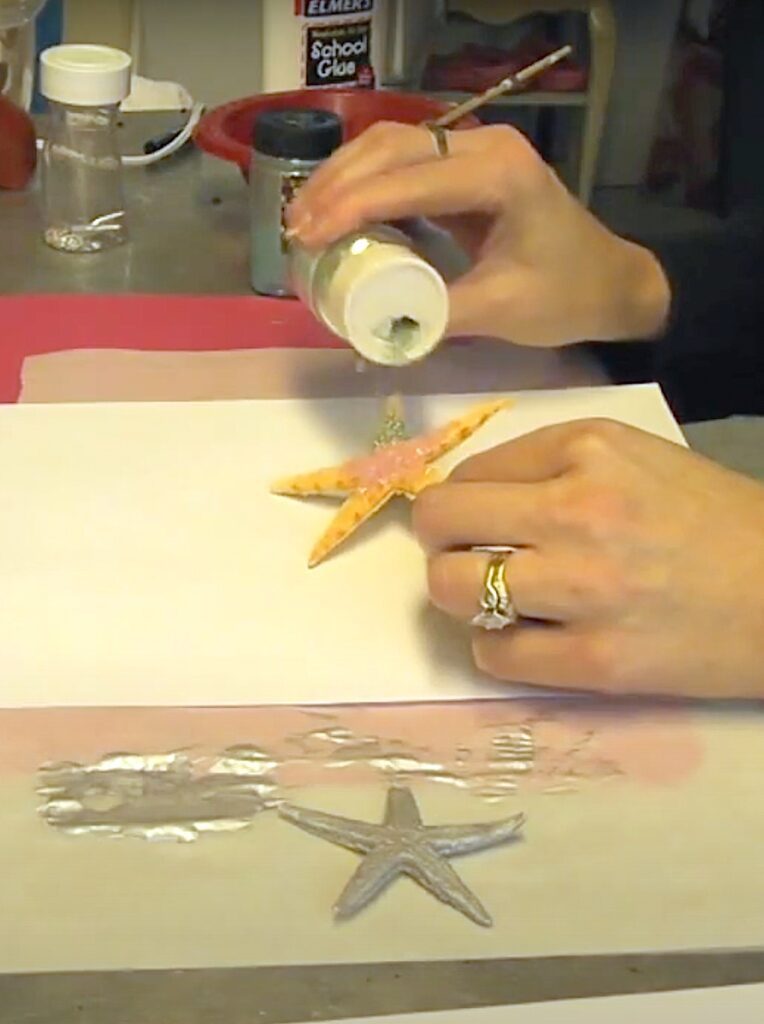
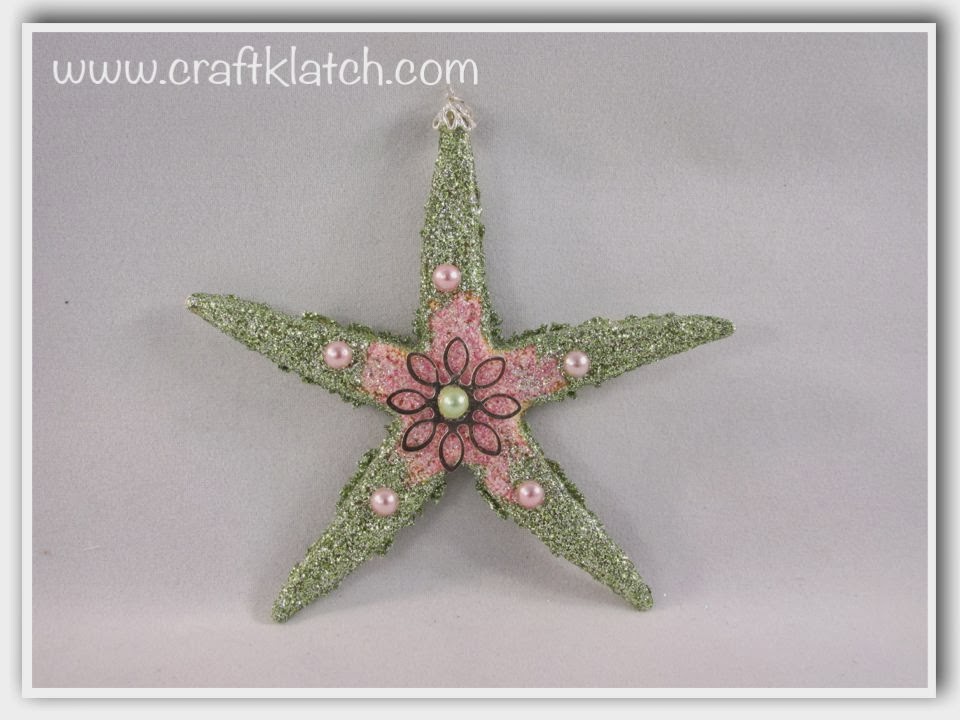
*You might need two coats. In the case of the silver, I painted the starfish silver first, let it dry, and then glittered it with silver. In the case of the green and pink starfish, I glittered the pink section first, let it dry, and then did the remaining areas in green.
Step 2
Start gluing on the embellishments. A good source for inexpensive things to embellish your projects with is the clearance section and garage sales. At garage sales, look for old costume jewelry. It can be broken it doesn’t matter.
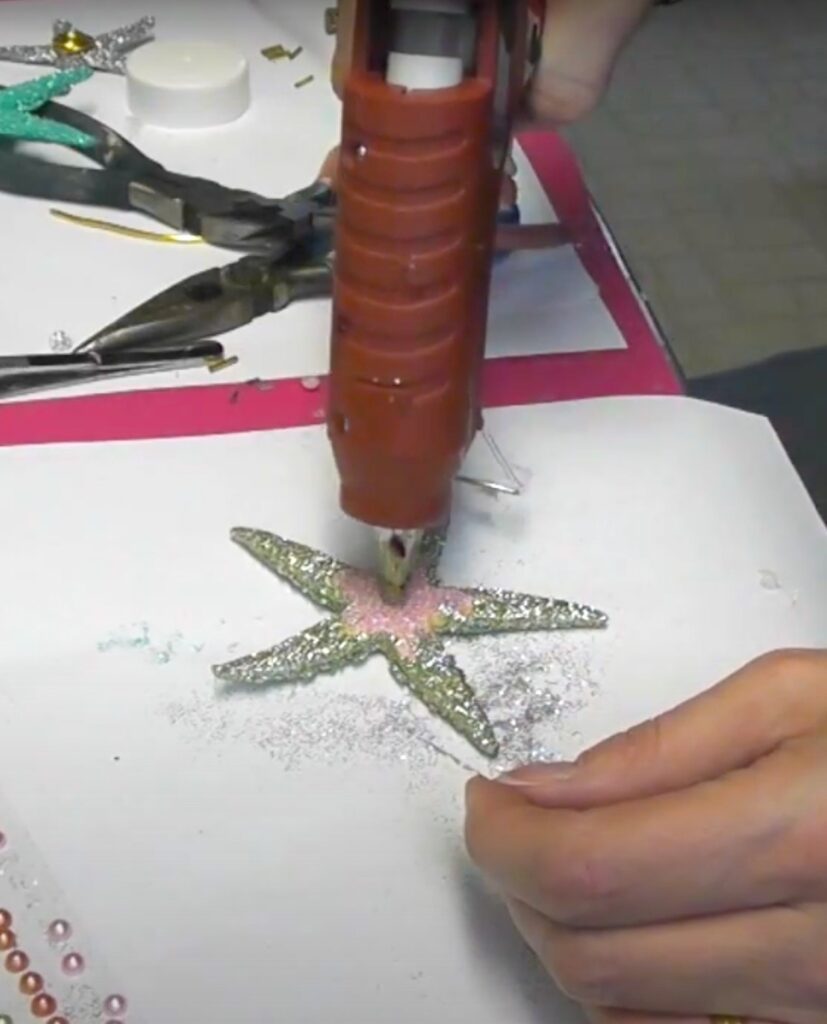
For the silver starfish, I used wire from Dollar Tree and twisted it with some pliers. Then, I snipped it and glued it into place.
Step 3
Take your eye pin and put it through your bead cap. Or you can just use a bead like below.
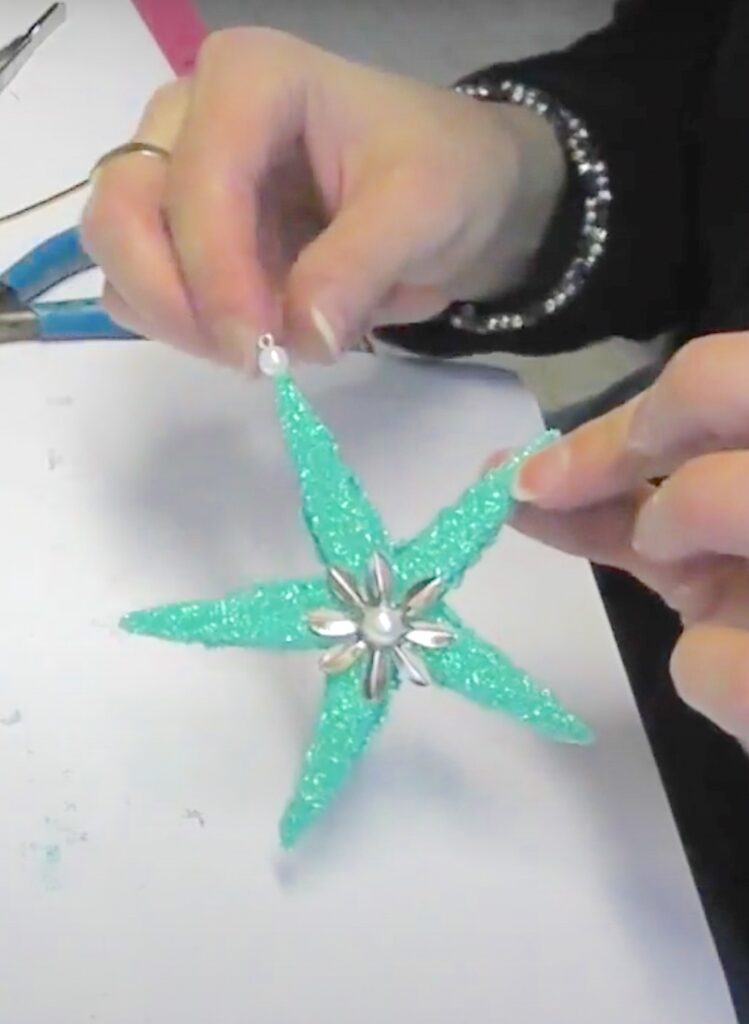
Note: You may need to shorten your eye pin in order to be able to stick it in the arm of the starfish. Use a little hot glue to keep it in place.
Step 4
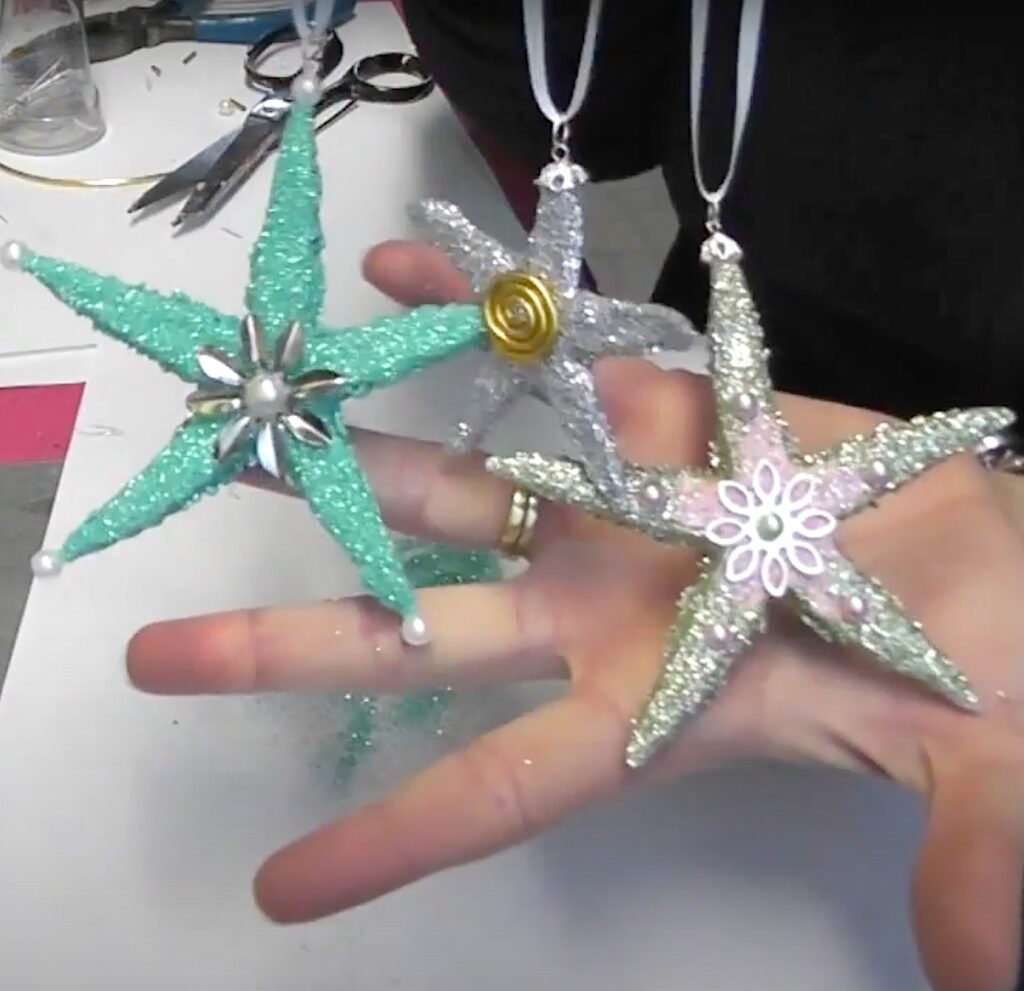
Add a jump ring and a ribbon and you are done!
I hope you enjoyed it!
Other Starfish and Beachy Crafts
If you enjoyed these, you should enjoy these beachy coastal crafts!
Be sure to PIN IT later!


Really beautiful! Visiting from Awesome Things Blog hop! Aloha, Lori