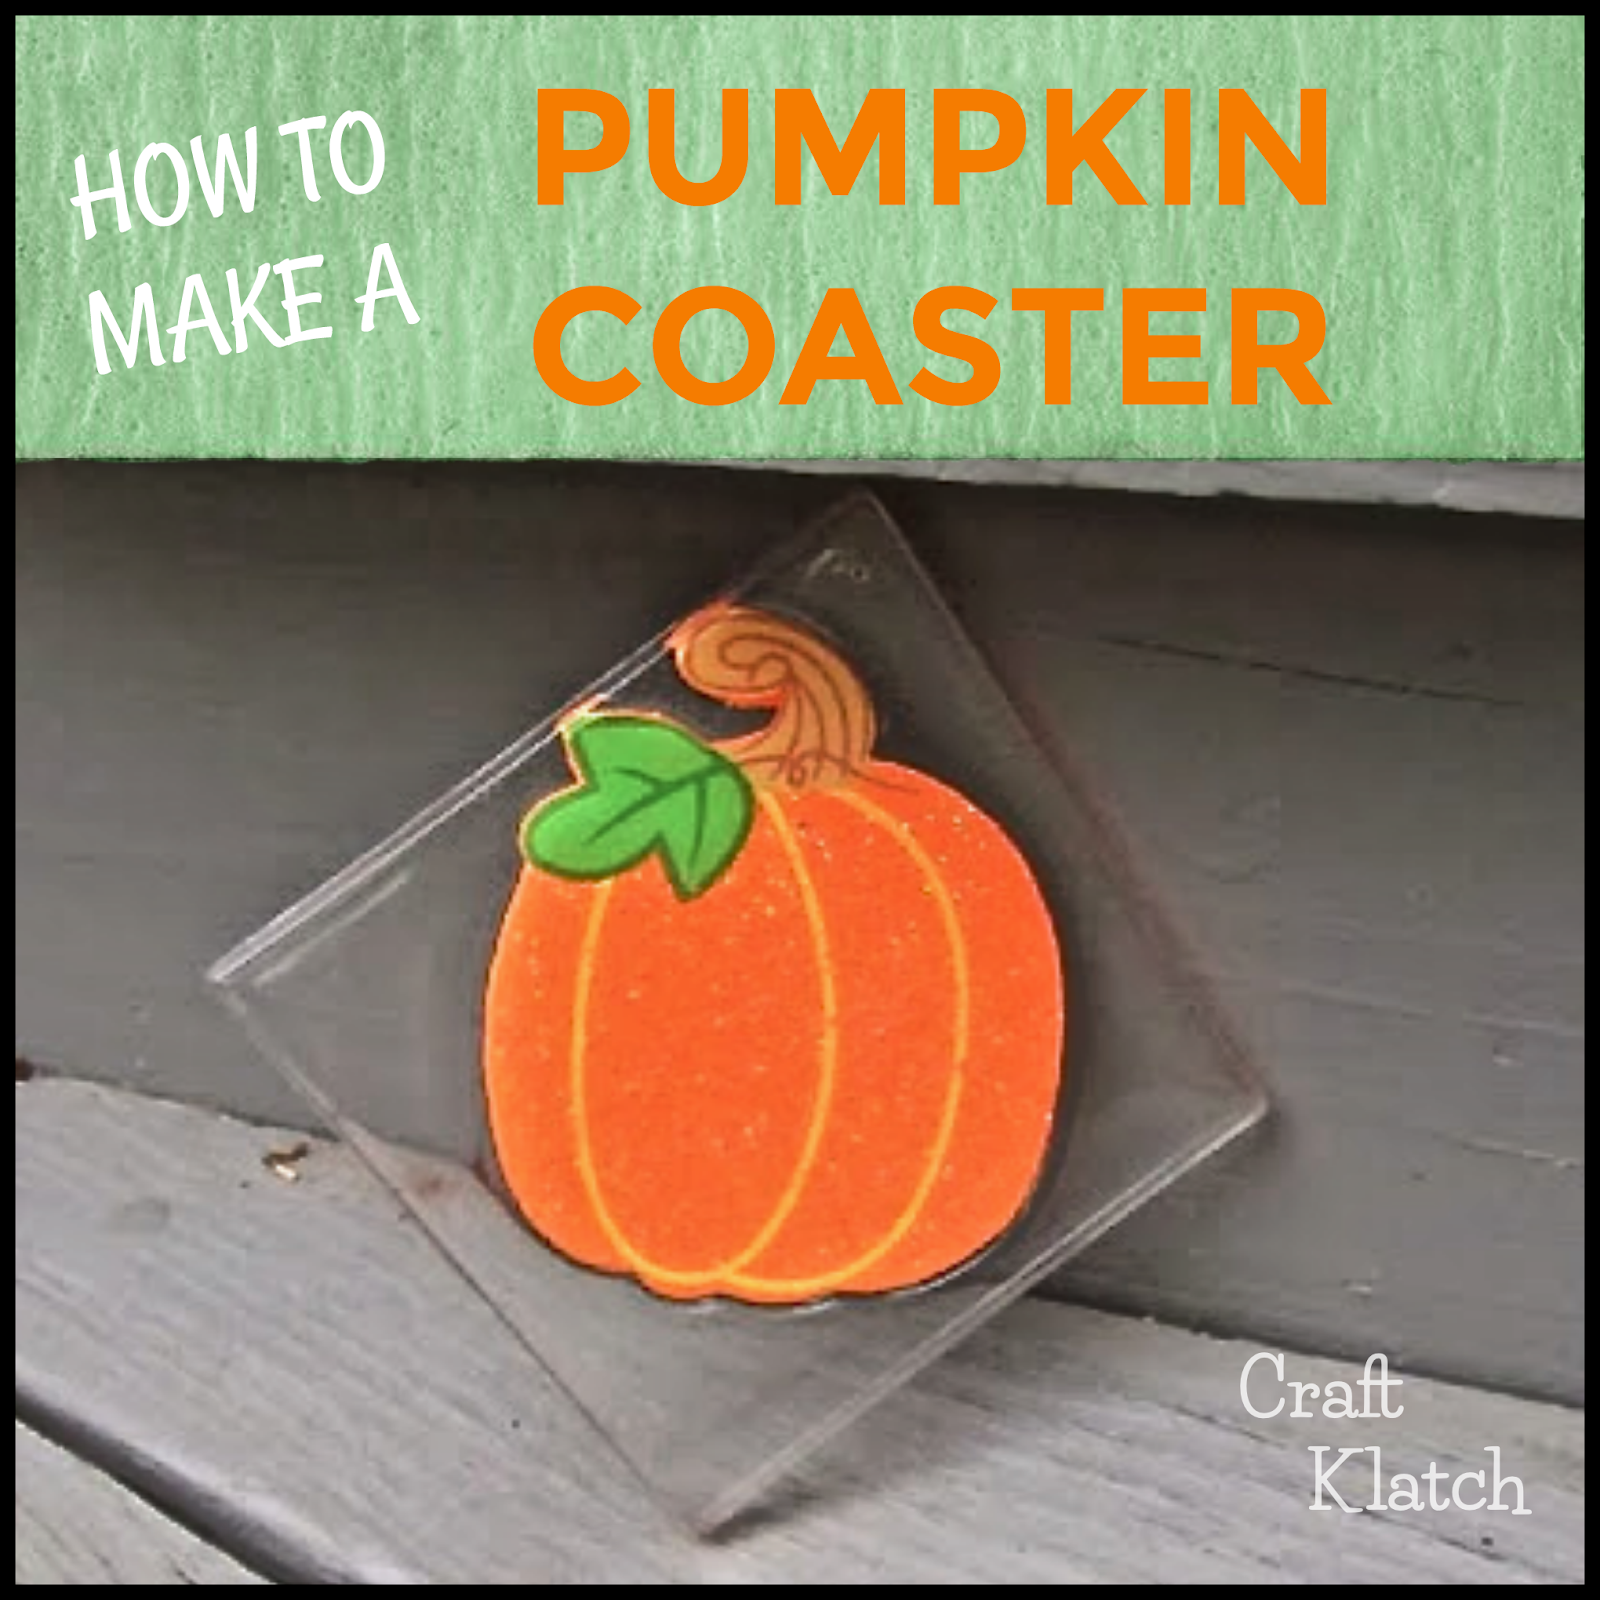
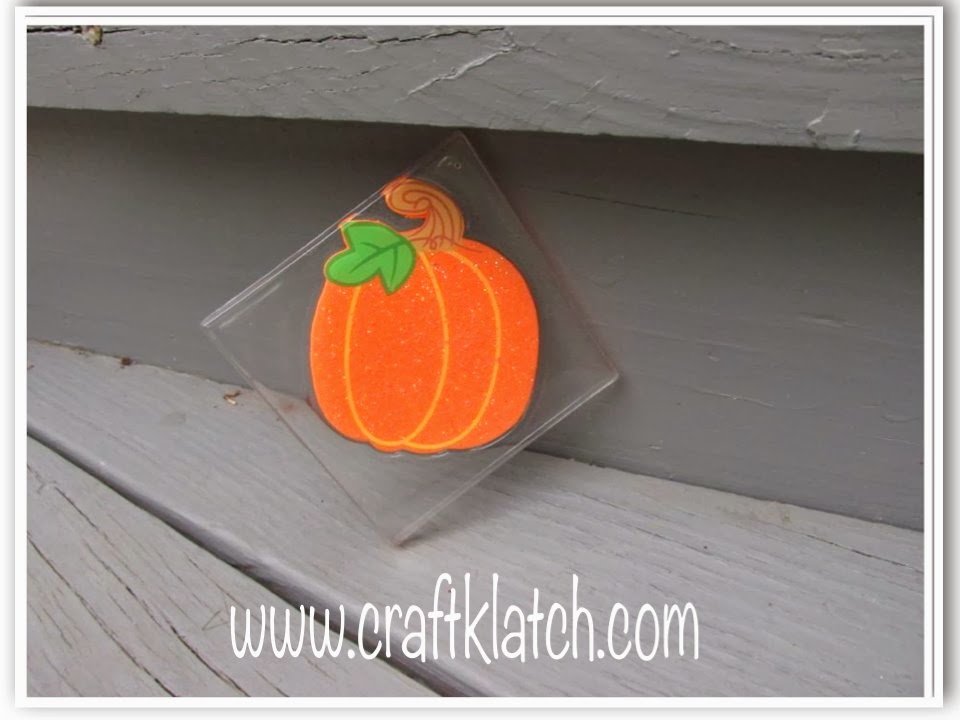
Learn how to make a Resin Pumpkin Coaster! It’s an easy resin project for fall and Halloween!

I used a different mold for this project. It’s from Resin Obsession – www.resinobsession.com. It’s square, rather than the circle molds I usually use. This can be used as a coaster, or a decorative tile. Hang it in a window as a sun catcher.

The links below help support this channel, as I may earn a small commission at no extra cost to you.
You will need:
– Square resin mold: https://amzn.to/32I2h8E
– Wood pumpkin – already painted and decorated from the craft store, but you can paint your own: https://amzn.to/2O9YMVk
– Resin (use whatever resin brand you like):
Easy Cast: https://amzn.to/2yjYmBC
Art Resin: https://amzn.to/2yk9X3z
Clear Cast: https://amzn.to/2z4rxGw
FX Poxy: https://amzn.to/2AF3Pkk ~ According to the manufacturer, this one is heat resistant to 500 degrees F, making it a good option for coasters.
Here is the video tutorial:
Directions:
1. Prepare your resin according to the package directions.
2. Pour some resin into the mold, but don’t fill it to the top.
3. Put in your pumpkin and take your stir stick to push it down. All the way down. Now, I thought this wood pumpkin would float…like a lot. I had planned on doing a second pour. I made sure it was covered with resin and it floated only a little. I removed any bubbles with my lighter and then I let it sit for 12 hours.
4. I popped it out of the mold and because in this particular case, I wanted to hang it, I drilled a hole in one of the corners. FYI: You get a cleaner hole if you drill from the back.
That’s it! If a fun and festive fall piece to have hanging or laying around the house!
Happy Crafting and thanks for stopping by!
Mona
If you like this coaster project, I made a fun Pumpkin Patch Coaster that you might want to try!
