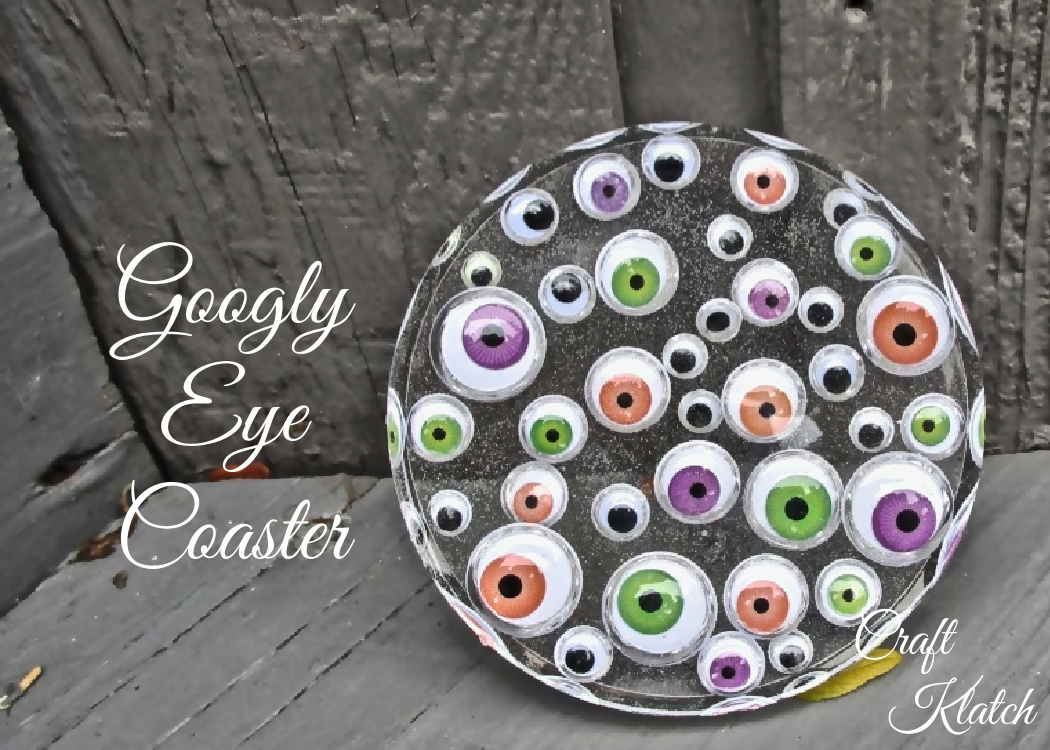
Just in time for Halloween! You can trust this resin coaster will keep an eye on your drink! How to make decorations for Halloween does not need to be hard! I made this super easy resin coaster with eyeballs and if you drill a hole into it, it can become an ornament! If little eyeballs aren’t your thing, I have a big eyeball coaster that just might catch your eye!
Supplies you will need to make a Googly Eyes Coaster for Halloween
*This blog uses affiliate links. As an Amazon Associate I earn from qualifying purchases.
- Mold: https://amzn.to/2FcRd7J
- Lighter: https://amzn.to/2MmATJp
- Googly eyes: https://amzn.to/2KtzvTg
- Resin: Since doing this project, there are many more resin options than there used to be.
- When deciding on which resin to use for your coasters, you need to keep in mind whether you want it just for cold cups or for hot as well.
- If only for cold drinks, you can be flexible and use whatever brand you like:
- Easy Cast: https://amzn.to/2yjYmBC
- Art Resin: https://amzn.to/2yk9X3z
- Clear Cast: https://amzn.to/2z4rxGw
- If you want it to work for both hot and cold drinks, you need to look for a heat resistant resin, like these:
- FX Poxy: https://amzn.to/2AF3Pkk ~ According to the manufacturer, this one is heat resistant to 500 degrees F.
- Stone Coat: https://amzn.to/2FZoWX8
- If only for cold drinks, you can be flexible and use whatever brand you like:
- When deciding on which resin to use for your coasters, you need to keep in mind whether you want it just for cold cups or for hot as well.
Here is the video tutorial:
Directions on how to make decorations for Halloween: Resin Eyeball Coaster
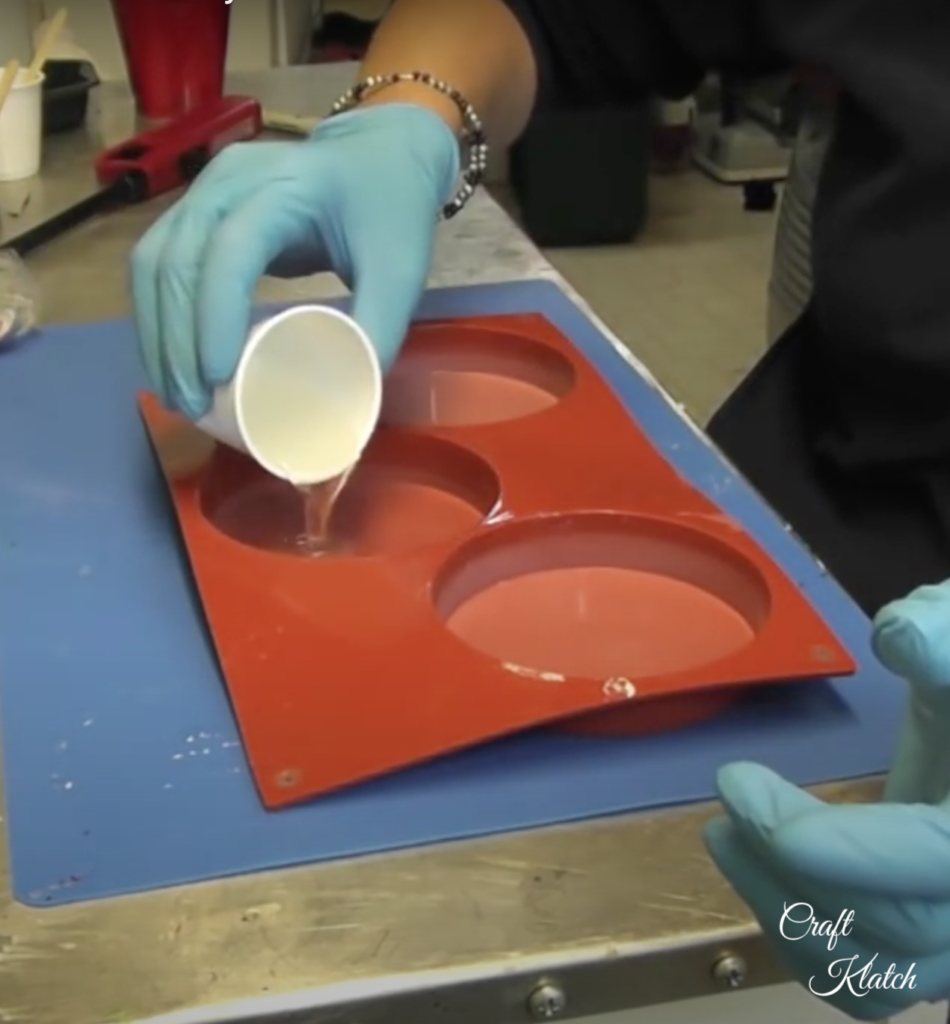
Step 1: Prepare and pour your resin
Prepare your resin according to the package directions and pour it into the mold. You all probably get sick of hearing or reading this, but when you are working with resin, always follow the directions that come with the product you are using. It will prevent you from making common mistakes and avoiding pitfalls! Should you run into trouble, or just want to be prepared and avoid potential issues, be sure to check out my post Your Resin Coasters Are Not Curing: Top 5 Reasons Why.
Step 2: Banish The Bubbles
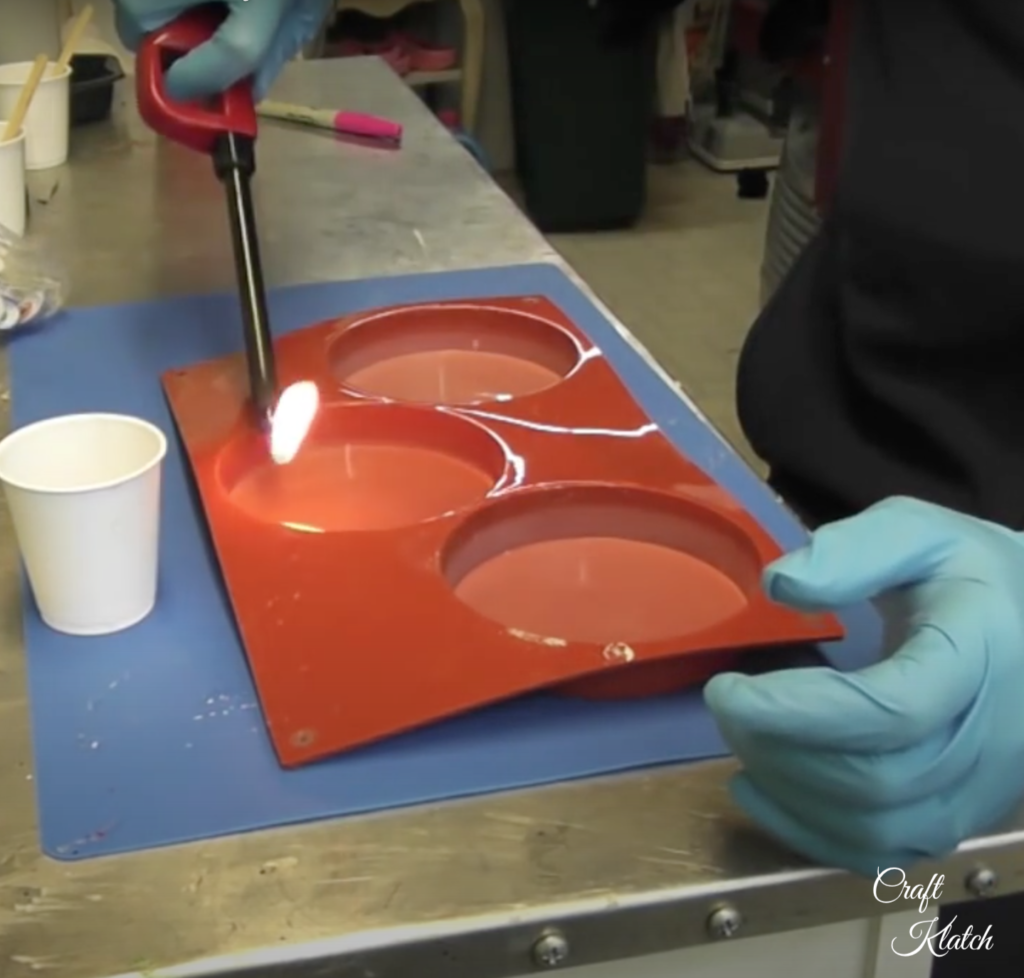
Use a lighter to pop the bubbles. Using a lighter on resin is safe (check your product directions if you have any questions). You just want to be careful of a couple of things.
First, don’t let your lighter touch the resin. Sometimes you might not be paying attention, or you might not realize how close you are because the resin is clear. What happens is you might leave a soot mark in your resin and/or you might get resin gooped to the end of your lighter and the lighter might stop working. Close is fine, but no touching!
Secondly, you can heat up to the edge of your mold, but don’t hold it in one spot too long. If you overheat where the resin and mold meet, you might get your coaster stuck to the mold when you try to pull it out. Keep the flame moving. No stopping in one spot.
Step 3: Eyeballs, Eyeballs, Eyeballs!
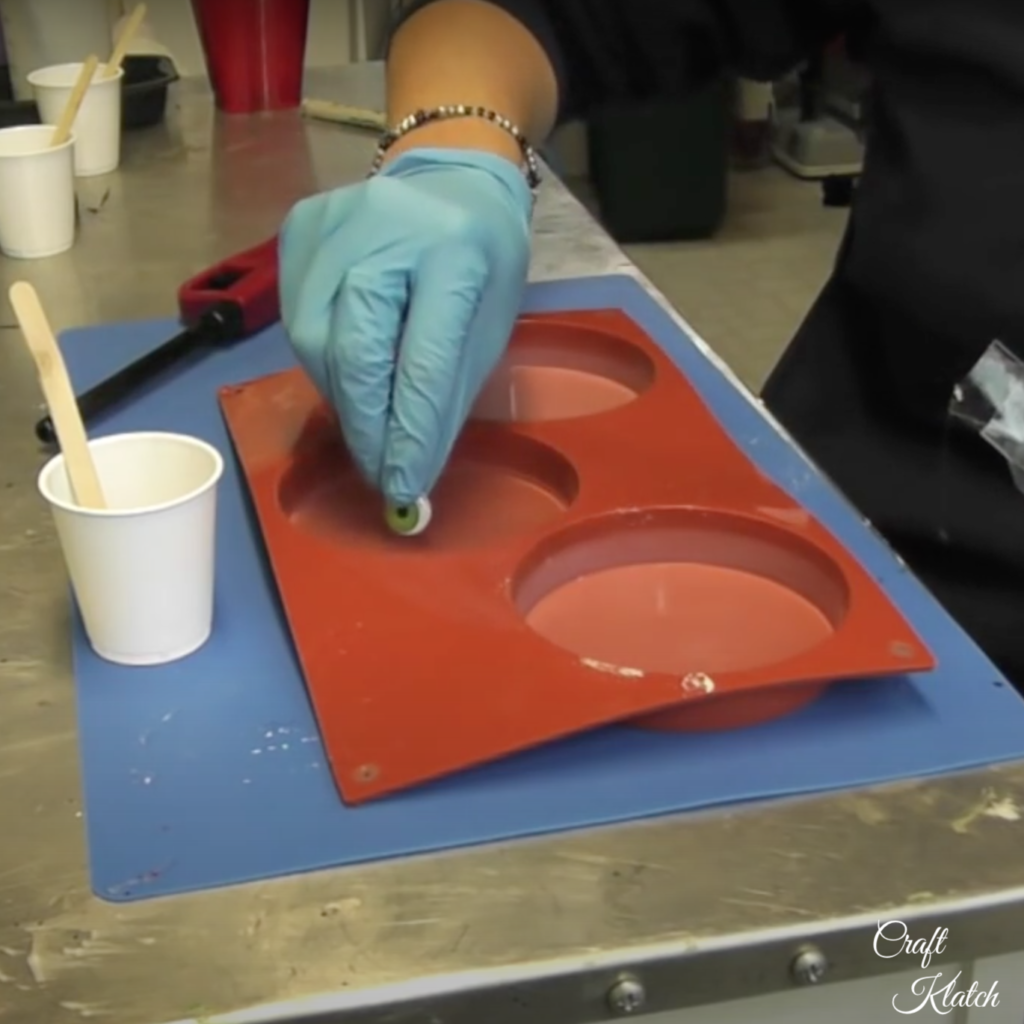
Add eyes and with your stir stick, push them to the bottom. Pop the bubbles as needed. Here again, keep the lighter moving. Don’t spend too much time in one spot. Your resin might cure unevenly and you don’t want to chance melting one of your eyeballs!
These eyeballs get me thinking about how to make decorations for Halloween and I have so many projects for you to try! Most are budget-friendly and really easy!
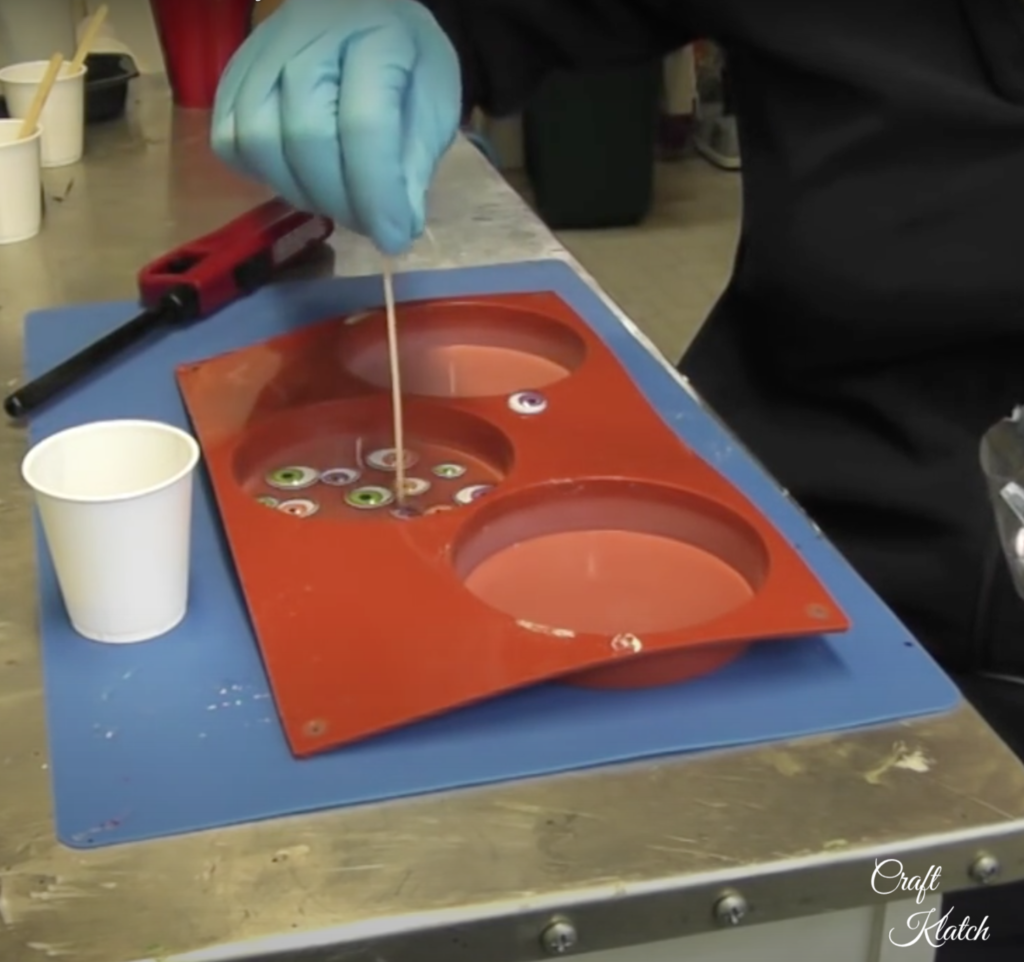
Step 4: Cure and pour!
Allow it to cure for at least six hours. Then, add a second pour of resin. You can wait longer than six hours, but my whole purpose of waiting had to do with the fact that the eyeballs floated.
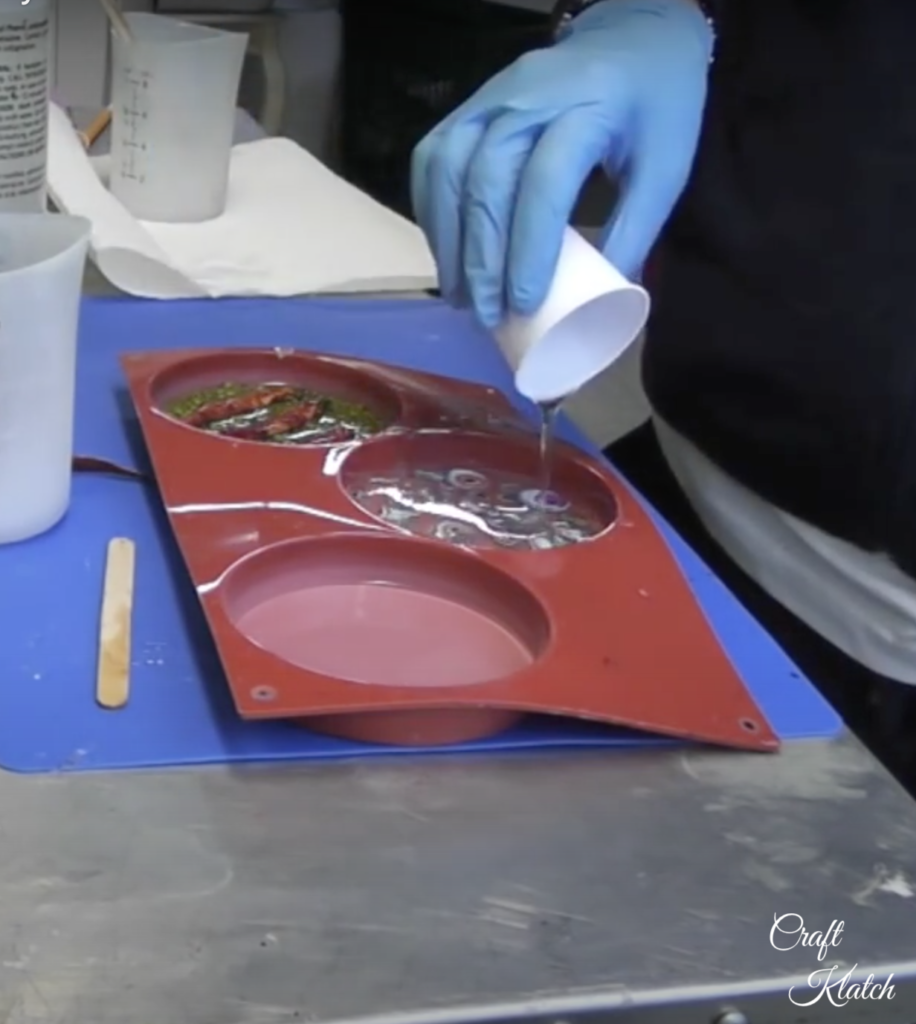
* I had planned on doing this with only one pour of resin, but the eyes continued to rise to the surface, even after the resin was very sticky. The best bet would be to do a thin layer, insert the eyes, and then follow up with a top layer after the first layer has cured enough.
Step 5: Take it out!
Wait at least 12 hours and unmold! While you are waiting you can check out my steampunk coaster that has a really cool eyeball, with gears and all that stuff!
That is basically it. You do want to check on the resin directions to see when it hits the full cure. Some might be 48 hours and another could be 72 hours. That just means that is when it gets as hard as it is going to get.
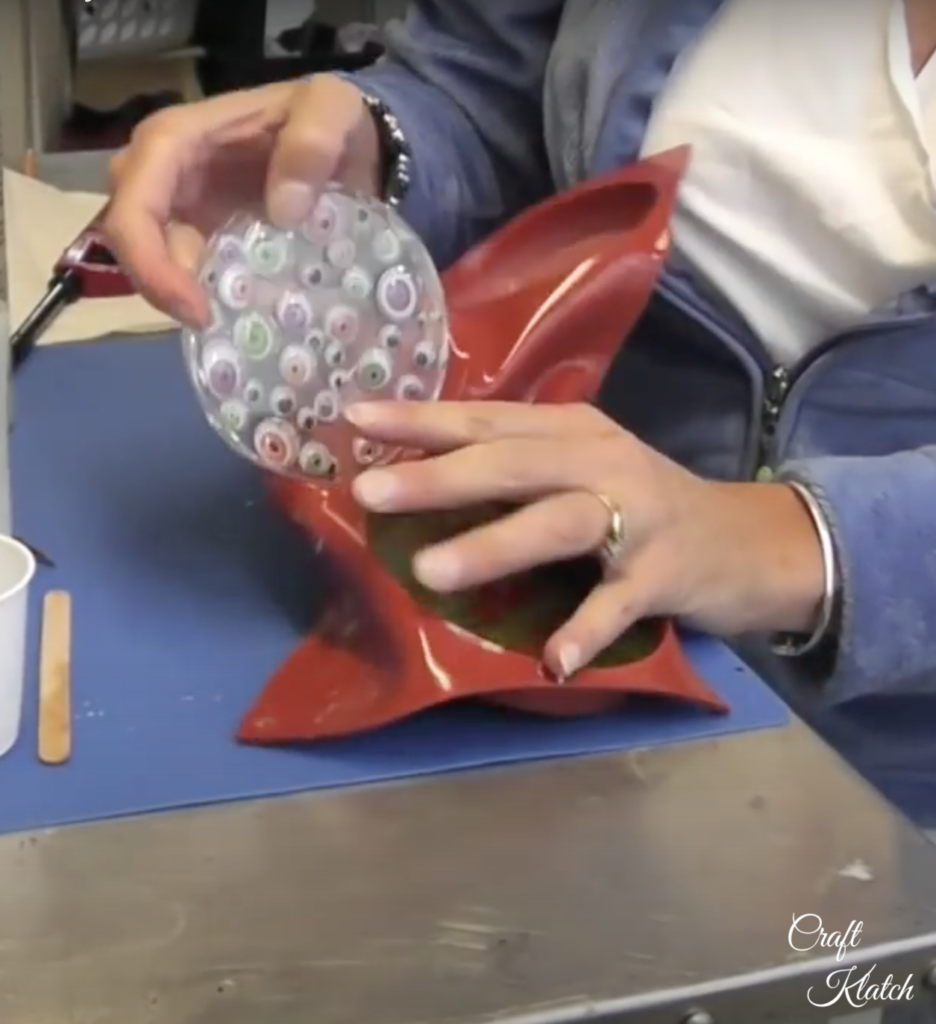
If you are still lost on how to make decorations for Halloween, this was just one example. If you are trying to get the kids involved or just keep them busy, I have 35 Fall and Halloween Projects for Kids.
Happy Halloween! Thanks for stopping by!
Remember: Life’s too short not to shimmer, so grab your glue gun and your glitter!™ Stay safe!
Mona


