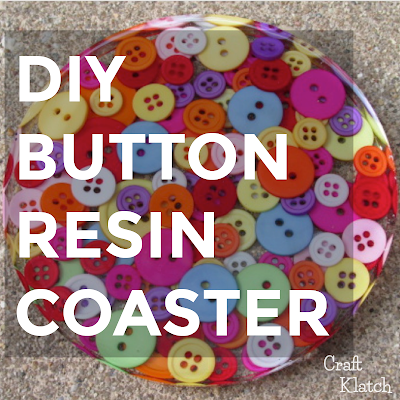
Learn how to make a Button Resin Coaster!

The buttons I used are from Oriental Trading and they come in a big bag. I’m still working on that same bag. You should check them out at www.orientaltrading.com.

You will need:
The links below help support this channel, as I may earn a small commission at no extra cost to you.
– Buttons: https://amzn.to/2YFIFPK
– Mold: https://amzn.to/2FcRd7J
– Resin (use whatever resin brand you like):
Easy Cast: https://amzn.to/2yjYmBC
Art Resin: https://amzn.to/2yk9X3z
Clear Cast: https://amzn.to/2z4rxGw
FX Poxy: https://amzn.to/2AF3Pkk ~ According to the manufacturer, this one is heat resistant to 500 degrees F.
Here is the video tutorial on how to make this coaster:
Directions:
1. Prepare your resin according to the package directions.
2. Pour a small amount of resin into the mold.
3. Add buttons, a few at a time, making sure they are sinking into the resin.
4. Add additional resin as needed to make a level surface.
5. Let it set for at least 12 hours and then you can unmold it!!
That’s it! Thanks for stopping by and Happy Crafting!
Mona

If you have a bunch of buttons, as I do, you’ll need a place to store them! Check out How To Repurpose Candle Jars into stylish craft room storage!
