Have you tried string art? It’s so easy and you can make this beautiful string art heart DIY for Valentine’s Day! It’s a cheap and easy Valentine’s Day gift or Valentine’s Day decoration!
I was asked by one of my YouTube subscribers to do more string crafts and this is what I came up with!
You can find the full video tutorial at the end of this post!
Supplies for String Art Heart
*This blog uses affiliate links. As an Amazon Associate I earn from qualifying purchases, at no additional cost to you.
- Candy heart mold
- Alternative heart mold
- Other potential heart mold
- Liquid starch
- Embroidery floss
- Twine
- Glue that dries clear
String Art: Valentine’s Day String Heart Craft Tutorial
Step 1
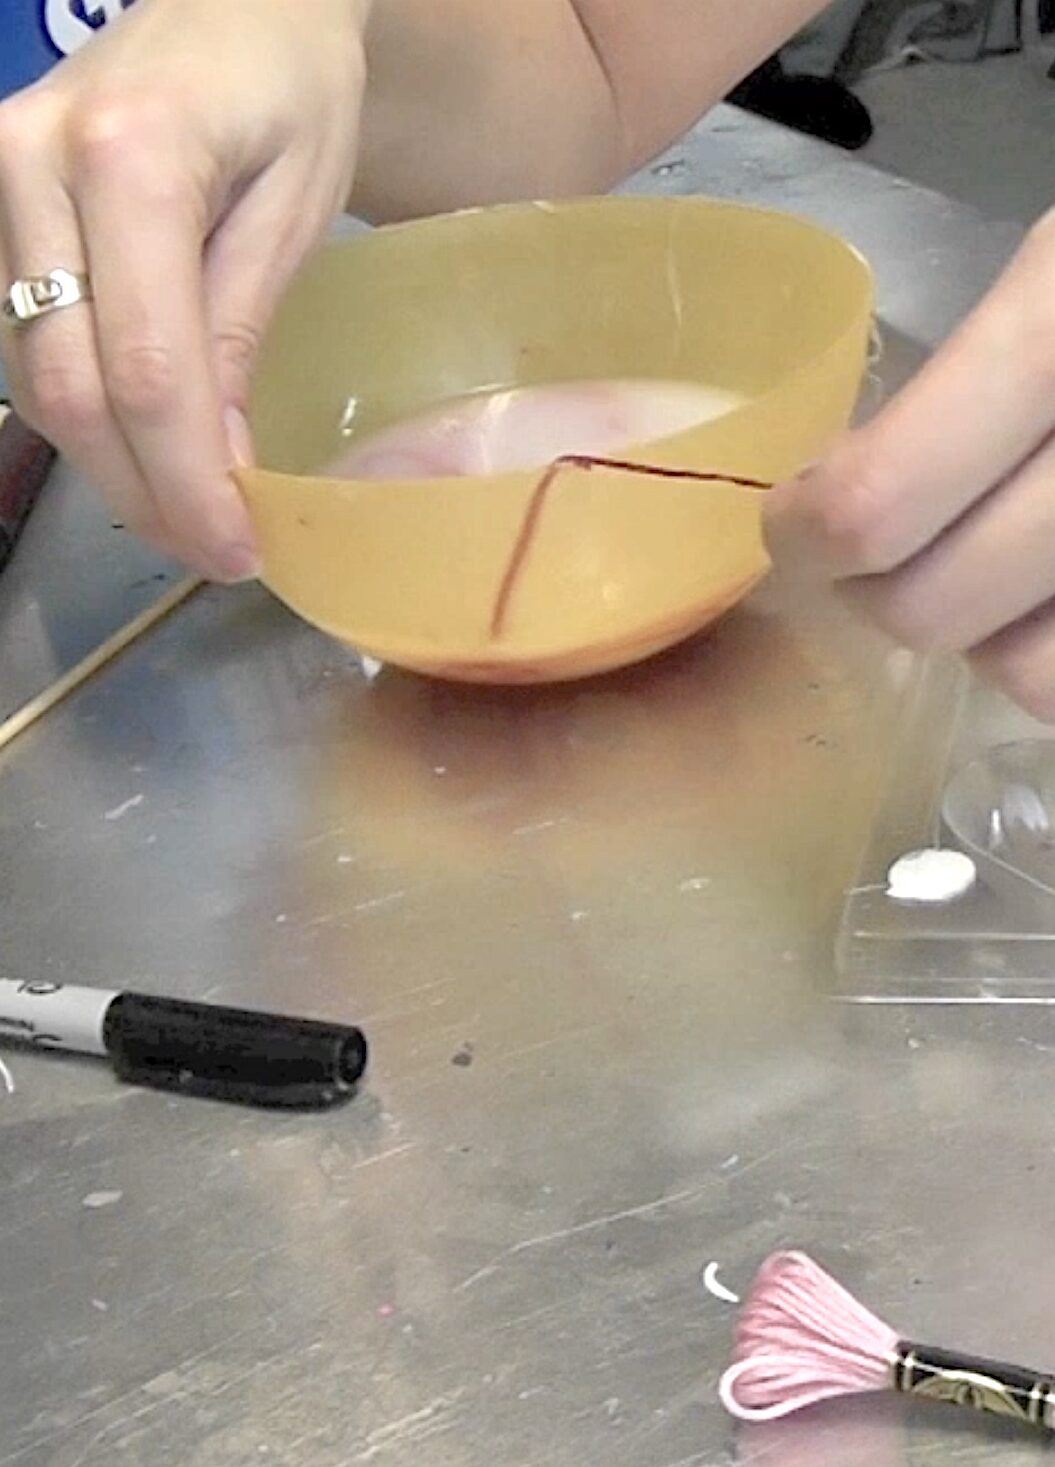
Carefully unwind your embroidery floss into the starch. Just make sure to keep one end of the embroidery floss out of the starch, or you’ll never find it again.
Step 2
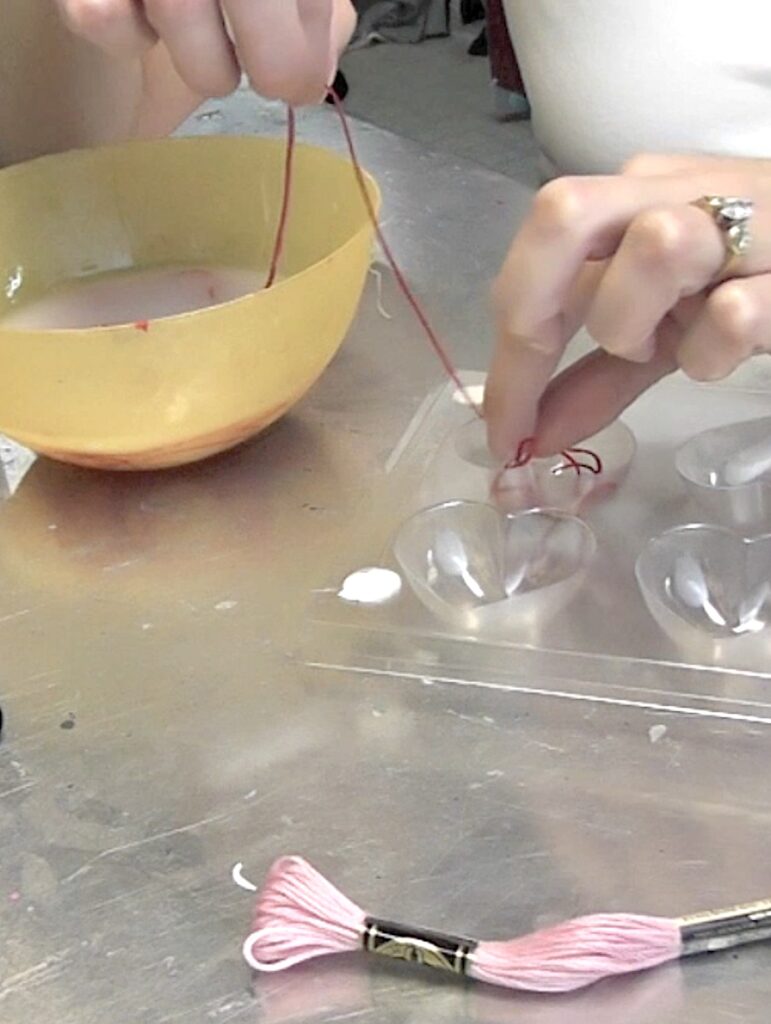
While you are pulling the embroidery floss out of the starch and winding it into the mold, make sure you are using your other hand to pinch off any excess. You don’t want the starch to pool in the bottom of the mold.
Repeat with a second heart.
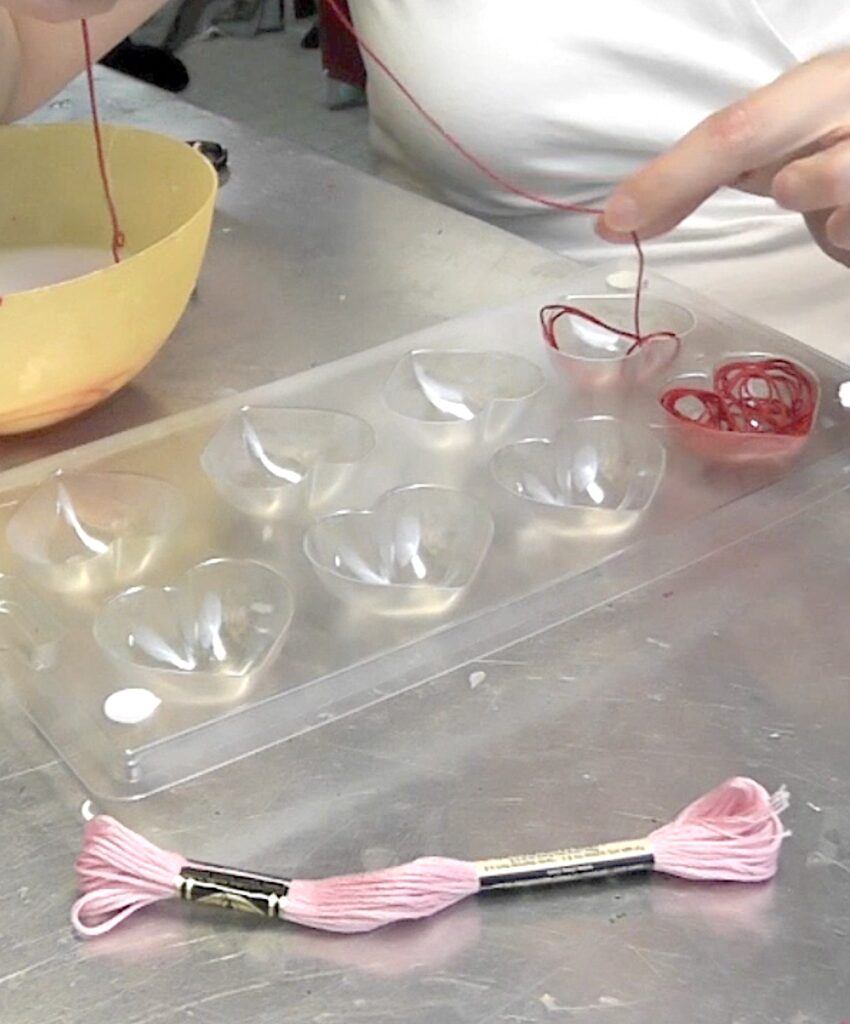
**The heart can be solid but I wanted to leave some openings.
Step 3
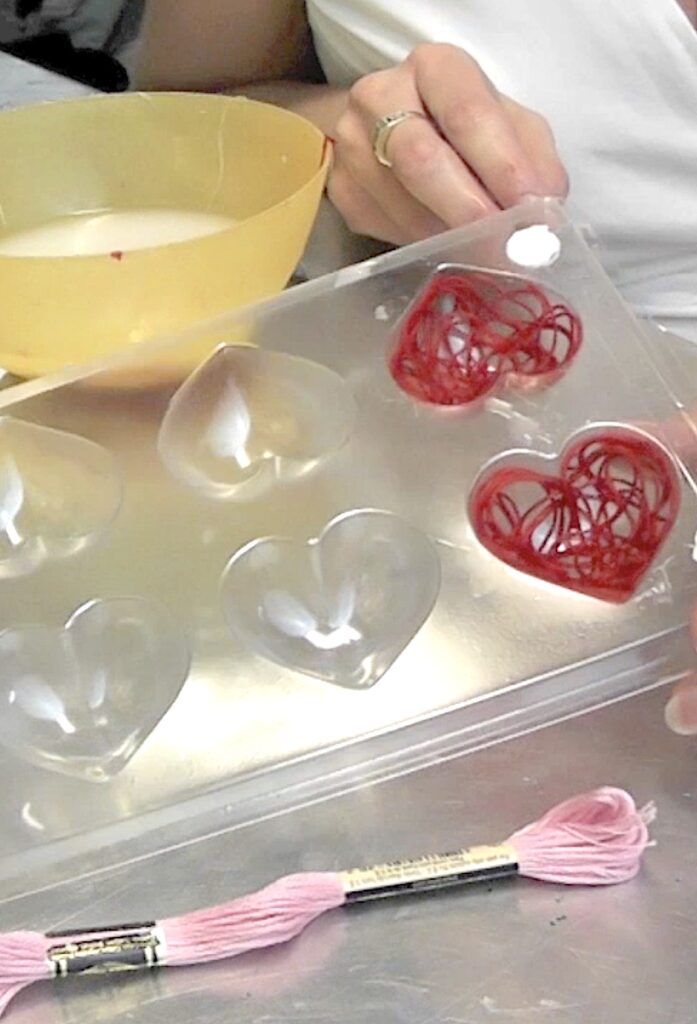
Allow the hearts to completely dry.
Step 4
When dry, they should easily pop right out of the molds. Be careful when handling them, they are on the delicate side. Use clear drying glue to stick the two halves together.
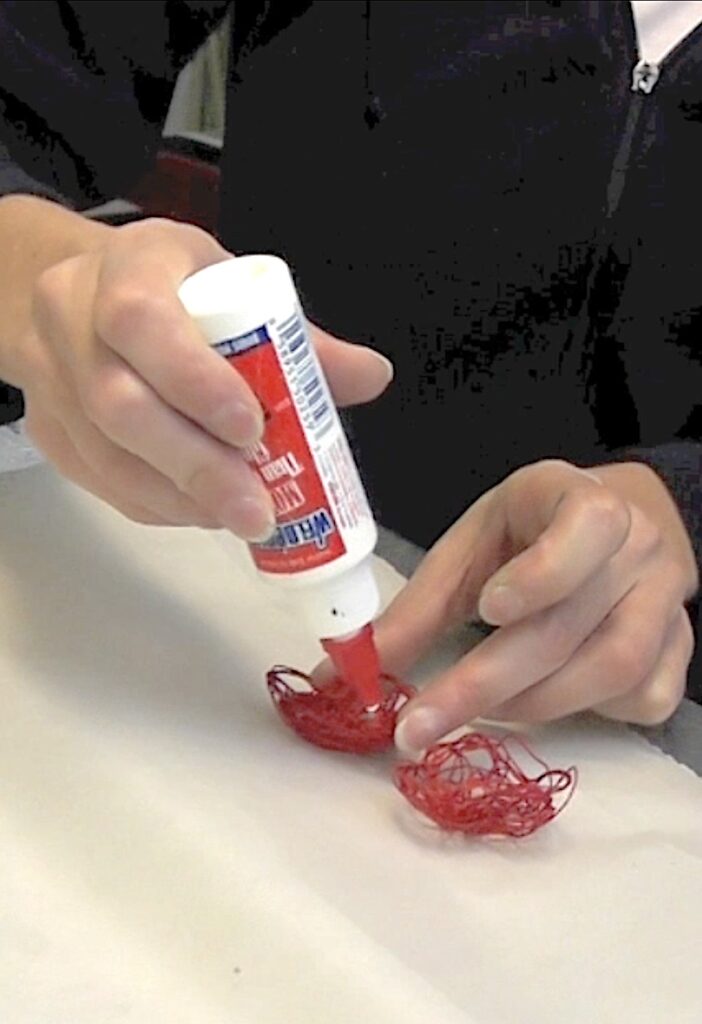
DO NOT use hot glue. I originally tried hot glue and when I tried to pull off the glue strings, it pulled my heart apart. Elmers or any clear drying glue should work just fine.
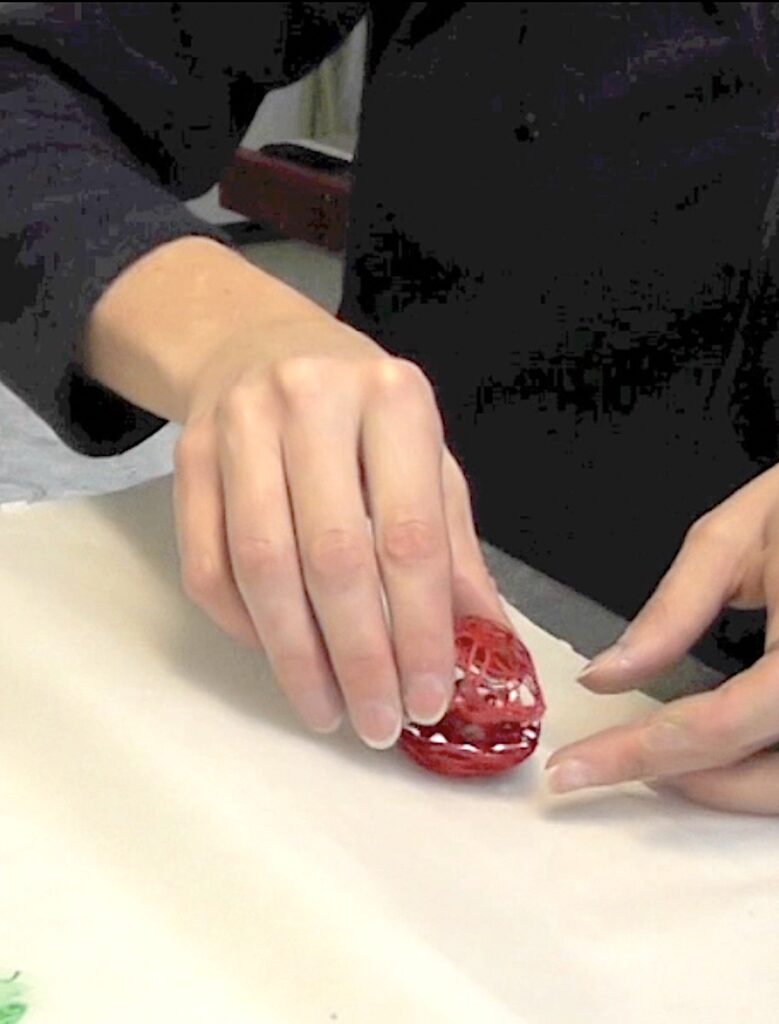
Step 5
When the glue is dry, feed the twine or fishing line through the openings at the top of the heart. Then, you can tie the ends of the heart and hang it.
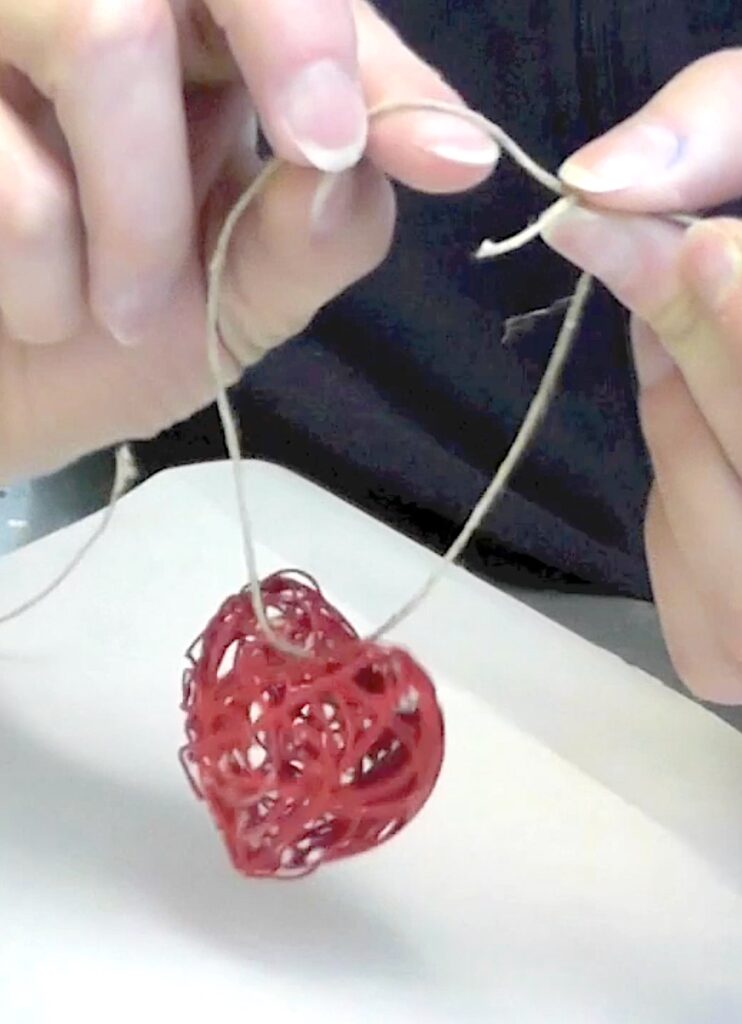
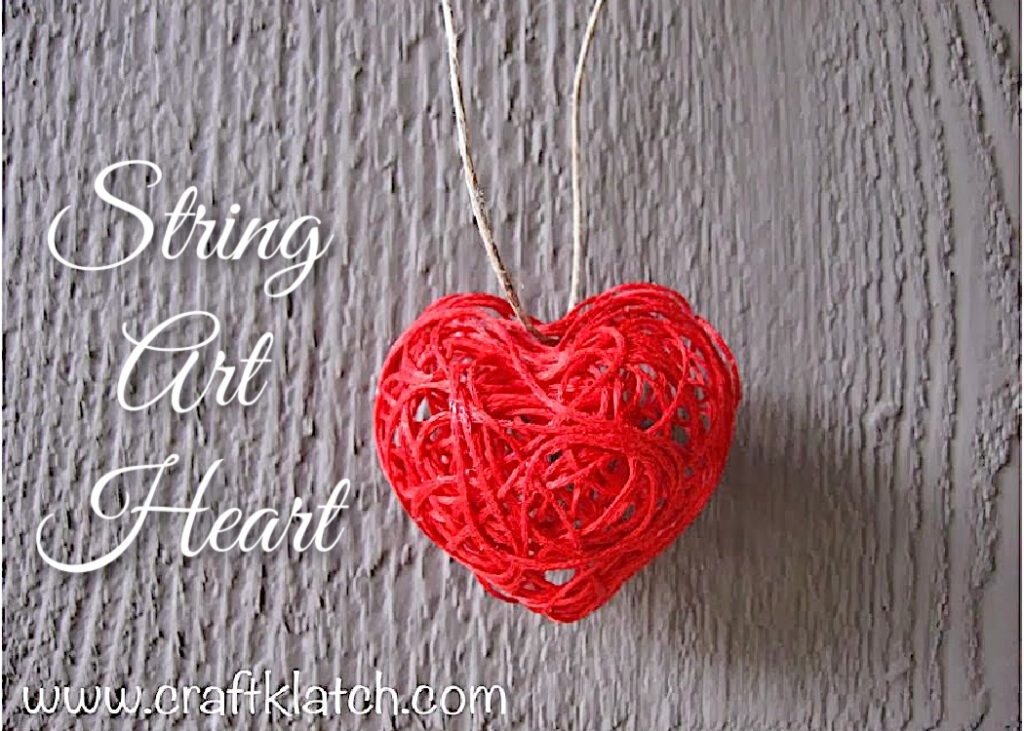
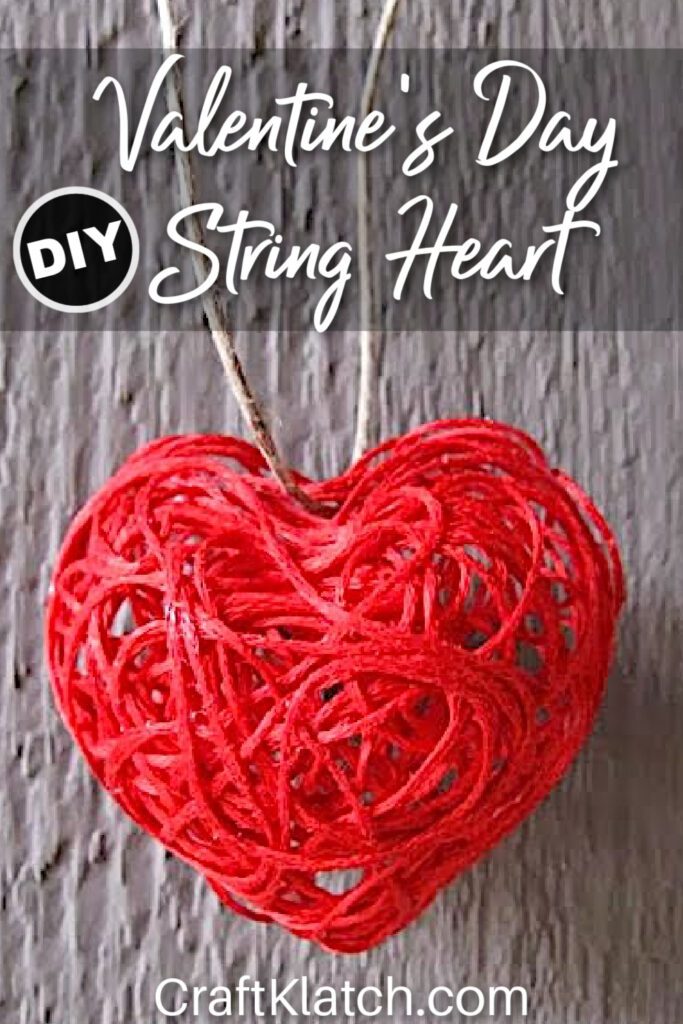
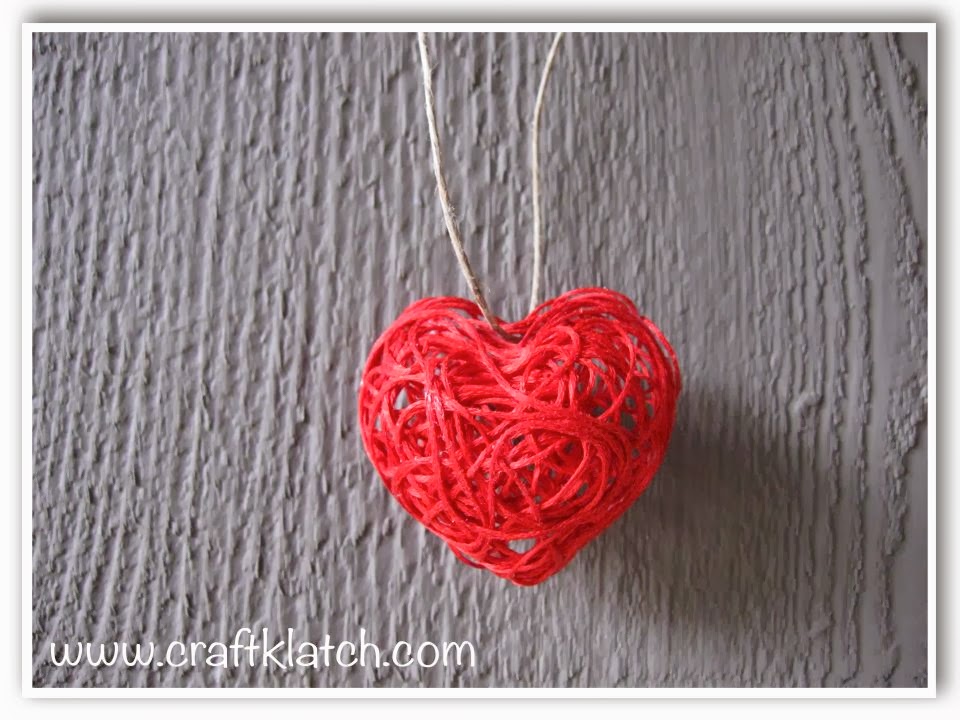
Here is the string art heart! All done!
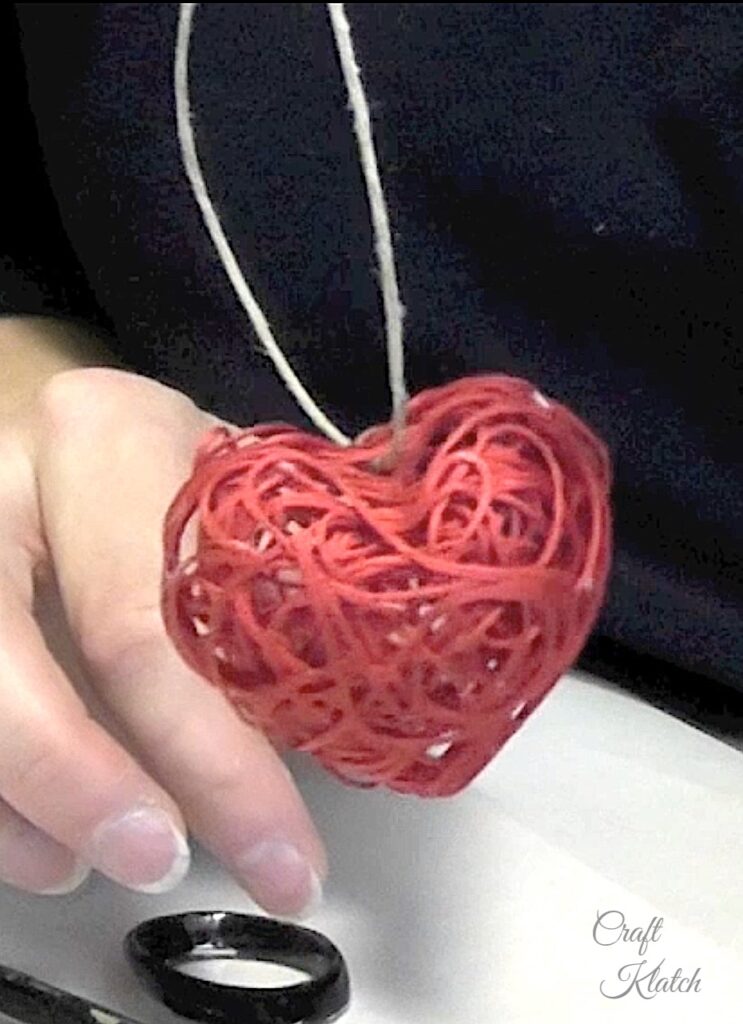
Have fun with it! I’d LOVE to see what you make! Be sure to share it over on my Craft Klatch Facebook Group! It’s Free! ❤️
These string art hearts are great on their own. They can be used individually, as a garland, an ornament…let me know how you would use them!
More Fun Valentine’s Day Heart Crafts
If you are looking for other fun heart crafts, I have a bunch!
- Resin Heart Art
- Newspaper Heart Resin Coaster
- Resin & Paint Heart Paperweights
- Resin Metal Glitter Heart
- Secret Wish Heart
For a different take on the string heart, I made a Love Sign with different string hearts.
Other Amazing Heart Ornaments and Stuff!
If you love decorating with hearts but might not want to make your own, here are some fun options!
String Art: Valentine’s Day String Heart Craft Tutorial [Simple and Easy]
As promised, here is the video tutorial for the string heart!
Thanks for stopping by! Remember: Life’s too short not to shimmer, so grab your glue gun and your glitter!™ Stay safe!
Mona
Be sure to PIN IT for later!


This is really pretty – I love its simplicity! Thanks for the tutorial! 🙂
So cute! Thanks for the tut!
xoxo laurie
Thanks Laurie!
I will need the tutorial. I am so not crafty but my daughter would love this on a necklace. Happy to have found your blog from Craft O Maniac. Would love for you to share on Thursdays Treasures fooddonelight.com/thursdays-treasures-week-68/
Hi Christie-
Thank you for stopping by! I'm trying to figure out how to make it into a necklace. It's too delicate the way it is, so I'm trying to think of the best way to make it more permanent.
I will absolutely try to remember about Thursday! I'd love to share!
Thanks
Mona
How beautiful!
Thank you so much Audra!
Mona
That's beautiful!
Thanks Diana!
Mona
That is super cute! Love this idea.
But….I can't see the video. Maybe it's just me?
Hi Erin! Thanks for stopping by. Sometimes it takes an extra few seconds for the tutorial to load, not sure why. Here's the direct link to the video:
youtube.com/watch?v=EcxPjhCqRqk
Thanks for the kind words! Mona
Hey from tessacotton! Love your creation. I would be so thrilled if you would link up to my new, Valentines Day themed linky party!
tessacotton.blogspot.com/2013/01/valentines-day-linky-party.html
Thanks Tessa. I'm linked up!
Mona
So cute! Thanks for sharing with the Clever Chicks Blog Hop this week; I hope you’ll join us again!
Cheers,
Kathy Shea Mormino
The Chicken Chick
The-Chicken-Chick.com
Absolutely love it!!!
Cris
Love this! About how long does it take for the starch to dry then the glue to dry. Am wanting to do this at a classroom party but need to know how long it would take. Thanks so much!
Hi Mike! Thank you so much, I'm glad you like it!
I let the starch dry overnight, just to make sure it was fully dry, but I don't think I needed to. Of course, it depends on the humidity level where you are. The key is to make sure when you are taking the embroidery floss out of the starch that you are pinching it to drain as much of the starch out before putting it in the mold. That cuts down on the drying time and the starch won't pool in the bottom of the mold. If you are someplace warm and you can put them out in the sun, they could dry in as little as an hour depending. The glue dries pretty quickly and both halves are so light they don't have the tendency to pull apart. If you use a fast drying glue, it could be minutes.
Hope that helps!
Mona
Thank you so much for the video tutorial!! I love this string heart very much. It will make a super cute pendant!
So super cute!! I would not have thought about using a candy tray!
🙂
hugs x, Crystelle
Crystelle Boutique
Cute idea. I want to try it for turkey tummies using yarn … wish me luck!
That sounds super cute!!
Here is thought; Turn the candy mould upside down and use the protruding rear side of the shape. this allows for smooth straight edges to glue two sides together easy.
This comment has been removed by the author.
Would Mod Podge work instead of liquid starch? Or a glue mixture? We are snowed in🤣🤣🤣
Hi Kitra –
Mod Podge would not work. A watered-down glue might, but I’m not sure! I hope you have dug yourself out! Stay warm!