If you are looking for fall decor ideas, I have one for you! Traditionally, there are a lot of pumpkins and cornucopias that adorn a Thanksgiving table. This year, make it a little different. I’ll show you how to make a turkey for Thanksgiving decor!
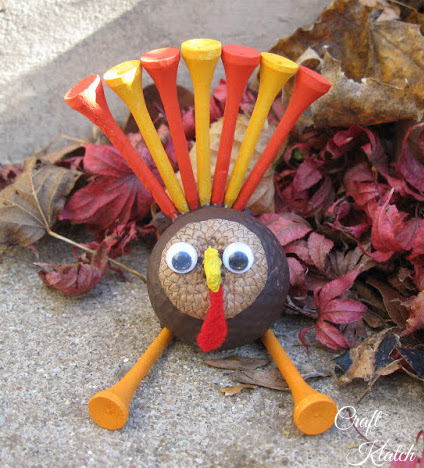
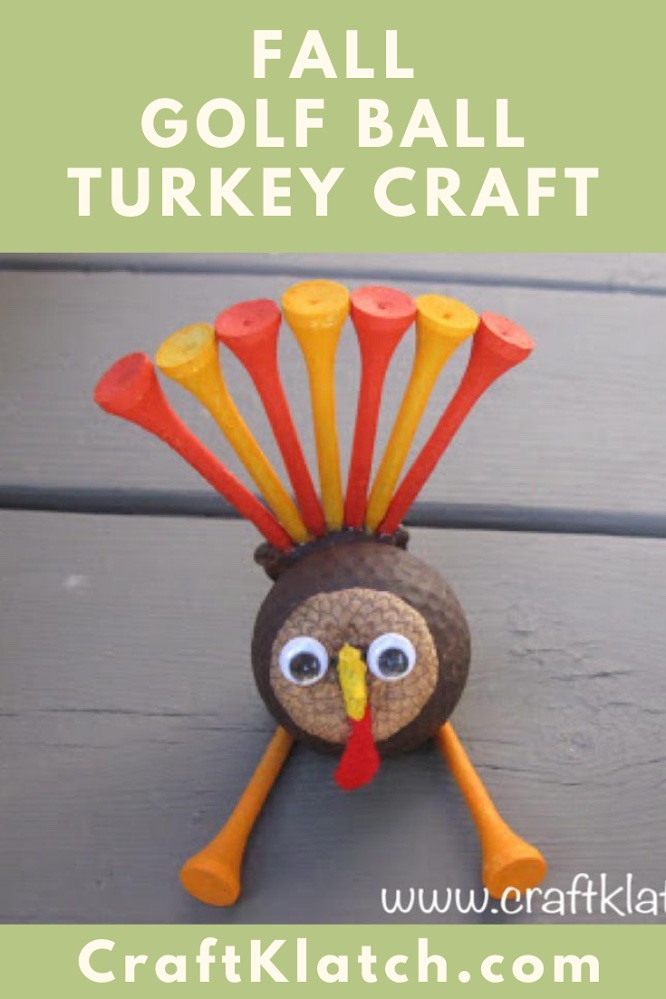
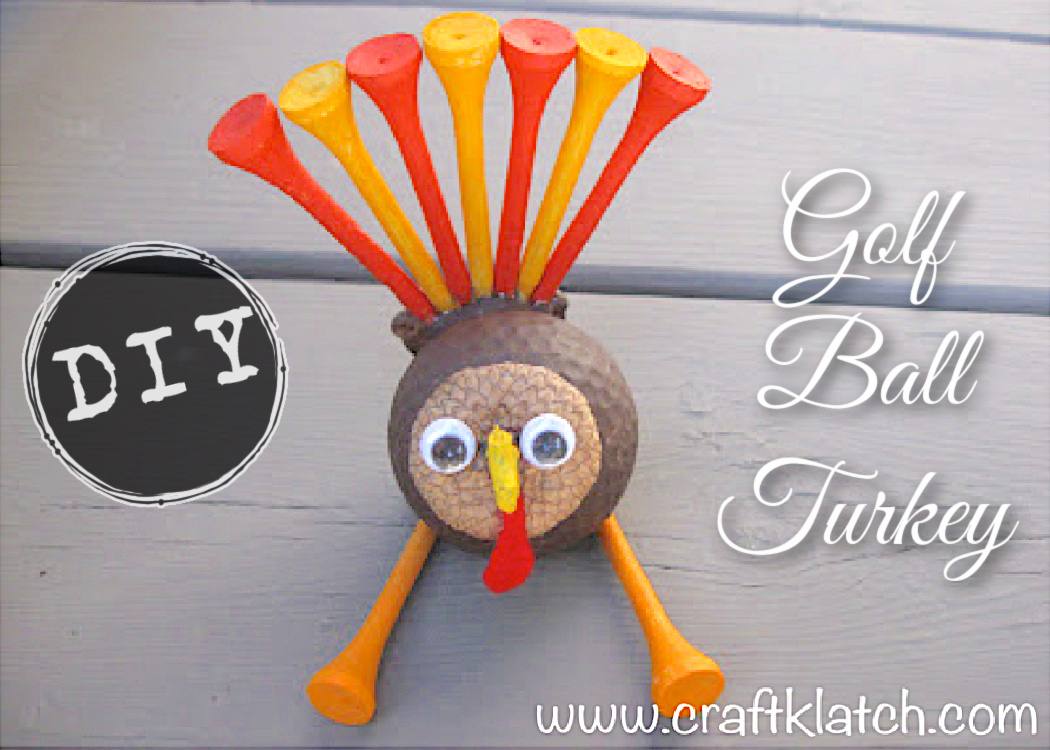
This cute turkey craft was made from a repurposed golf ball! Think how cute your Thanksgiving table settings will be with these little turkeys, either as part of the centerpiece or at each place setting.
Gobble! Gobble! Your guests will be impressed and you will have a great party favor!
This is a great fall craft for kids, but if they are very young they might need a little adult help with the hot glue. They will have a great time helping out with the decorations and painting all the different turkeys.
If you need more Fall and Halloween inspiration, you can find plenty in my 103 Fall and Halloween Crafts, Food, and DIYs post.
How To Make a Turkey for Thanksgiving Supplies You Will Need
*This blog uses affiliate links. As an Amazon Associate I earn from qualifying purchases, at no additional cost to you.
- Golf ball
- 9 golf tees
- Acorn cap
- A small piece of red felt
- 2 googly eyes
- Acrylic paint – red, yellow, orange, and brown
- Hot glue
- Parchment paper – hot glue does not stick to parchment paper *I used acrylic paint to make this because it is so cold outside here. Otherwise, I might have spray painted all of the pieces – makes it quicker!
How To Make A Turkey for Thanksgiving Video Tutorial:
How To Make A Turkey For Thanksgiving Directions:
1. Paint everything:
- The golf ball a dark brown.
- Two golf tees orange.
- Three golf tees yellow.
- Four golf tees red.
- Also, paint the stem on the acorn cap yellow.
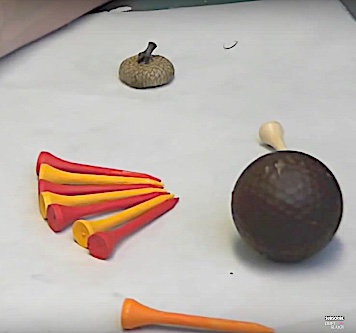
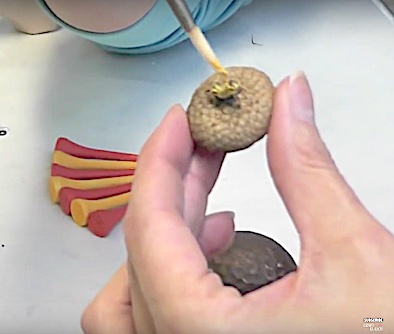
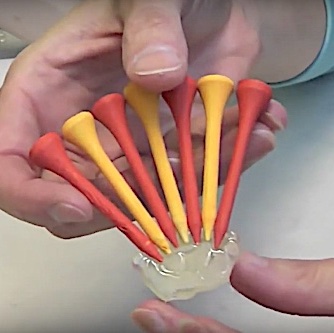
2. Working on the parchment paper, line up the yellow and red golf tees, alternating the colors to make the shape of the tail. Make sure your hot glue is good and hot and put it on the bottoms of the tees, to create the tail. Allow to cool.
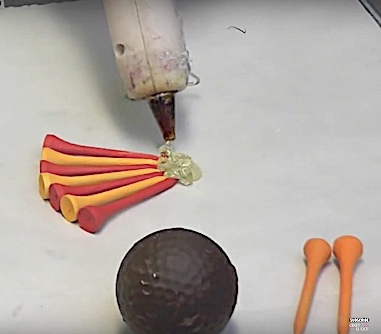
3. Take the orange tees and lay them down. Put hot glue on the thin ends of both tees and place the golf ball on top. The orange tees become his legs. Allow to cool.
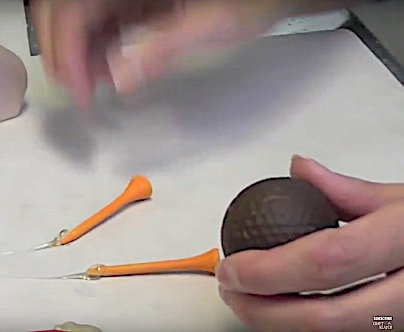
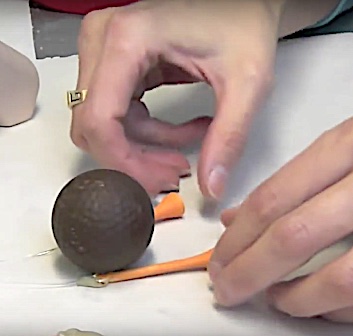
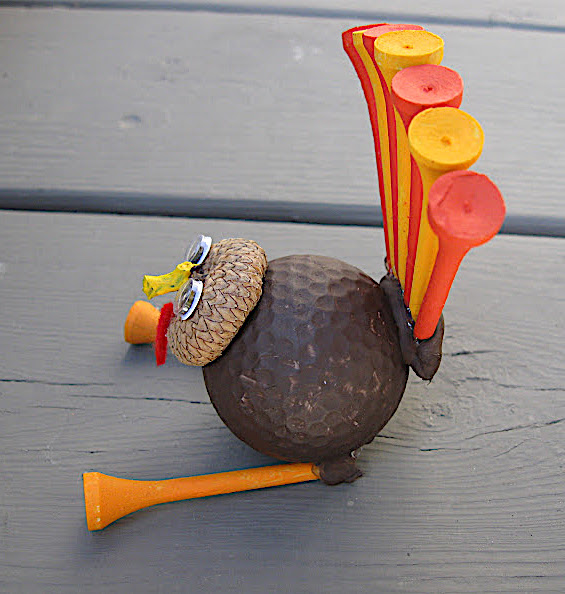
4. Peel the tail off of the parchment paper and glue to the back of the golf ball. Hold in place until cool.
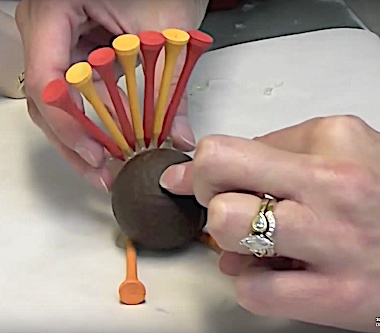
5. Fill the acorn cap with hot glue and hold it onto the golf ball and hold until cool.
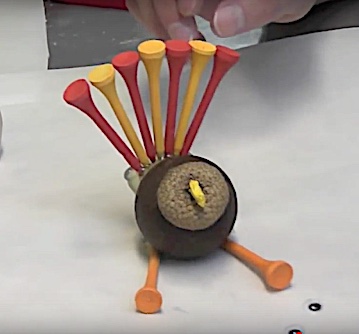
6. Glue on the google eyes and cut a waddle (teardrop shape) out of red felt. Glue the waddle under the beak.
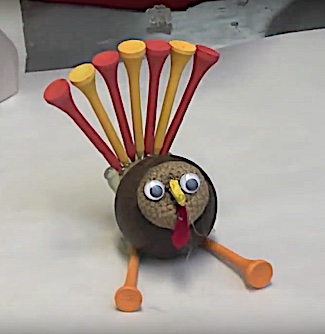
7. Trim off any excess hot glue. Paint any hot glue (that is showing) brown.
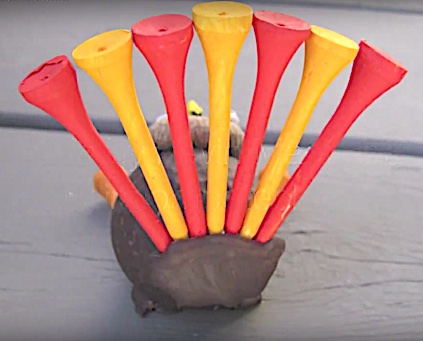
That’s it! Place him around your dinner table and see the smiles! Just one more thing to be thankful for!
Here is the side view, so you can see how the tail is attached and how I painted the hot glue brown.
If you enjoyed this craft, I have 30 Golf Ball Crafts that vary from fun and whimsical to home decor! Some are crafts for adults and others are great crafts for kids.
Here are some FAQ about my golf ball crafts and Fall:
What is the best golf ball?
In terms of brands, it does not matter. Any old golf ball will do. Greg and I back a golf course and he convinced me, years ago, to go with him to look for golf balls. Neither of us golf, but we have neighbors and sons-in-law that do. We give most of them away, but I always save some for my crafting! It became a bit of a pastime for us. It’s like an easter egg hunt for adults! I’d be digging through tall grass and in the mud. Then we’d have to clean them up. That was another chore unto itself!
Are used golf balls good?
Absolutely! That is all I use. If they are scuffed or discolored, 99% of the time it doesn’t matter because I paint them anyway. If they have deep gouges or have been run over by a lawnmower, I usually can’t use them….maybe if I made a Frankenstein golf ball they would work…hmmm… Anyway, new or used, use whatever you can get your hands on.
When should you start decorating for fall?
That’s a tough question to answer. If you check out Michaels or Hobby Lobby, they would have you start decorating the day after the Fourth of July, or maybe sooner! Summer is my favorite time of year, so I hang on as long as I can. I tend to be late when I decorate for fall. But, I say, decorate when you get that autumnal feeling! If you are the type that is a day after the Fourth of July decorator, then embrace it and do it!
I love hearing about other people’s traditions. We always go to my sister’s house and they always have tons of good food and we end up rolling home! We are very traditional with the turkey, stuffing and I make a Festive Pumpkin Pie – be sure to check it out!
Turkey Ideas!
Now that you know how to make a turkey for Thanksgiving, you can start crafting. Incase you don’t have time to make a whole flock of them, here are other great turkey decorations!
Let me know in the comments below what you do on Thanksgiving. Do you keep it traditional? Do you have a signature dish? Which dish do you look most forward to? Do you go totally untraditional? If so, what do you do?
Other Turkey Crafts!
I’ve made a bunch of turkey crafts! You should check them out!
- Turkey Coasters
- Thanksgiving Dinner & Turkey Coasters
- Easy Turkey Recycling Craft
- Turkey Pumpkin For Thanksgiving
- Thanksgiving Wood Coasters
Have fun and be thankful! Happy Thanksgiving! Thanks for letting me show you how to make a turkey for Thanksgiving!
Remember: Life’s too short not to shimmer, so grab your glue gun and your glitter!™ Stay safe!
Mona

Be sure to PIN IT for later!

Thanks for linking up to last week's Pin Me Party! I hope you join us again this week.