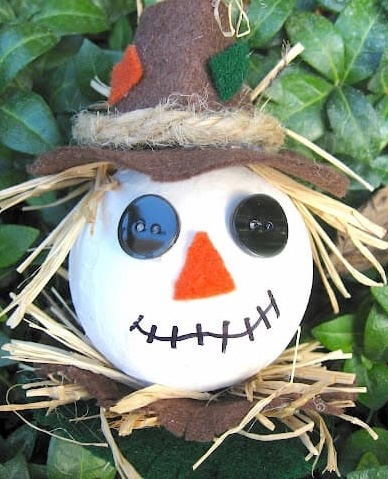
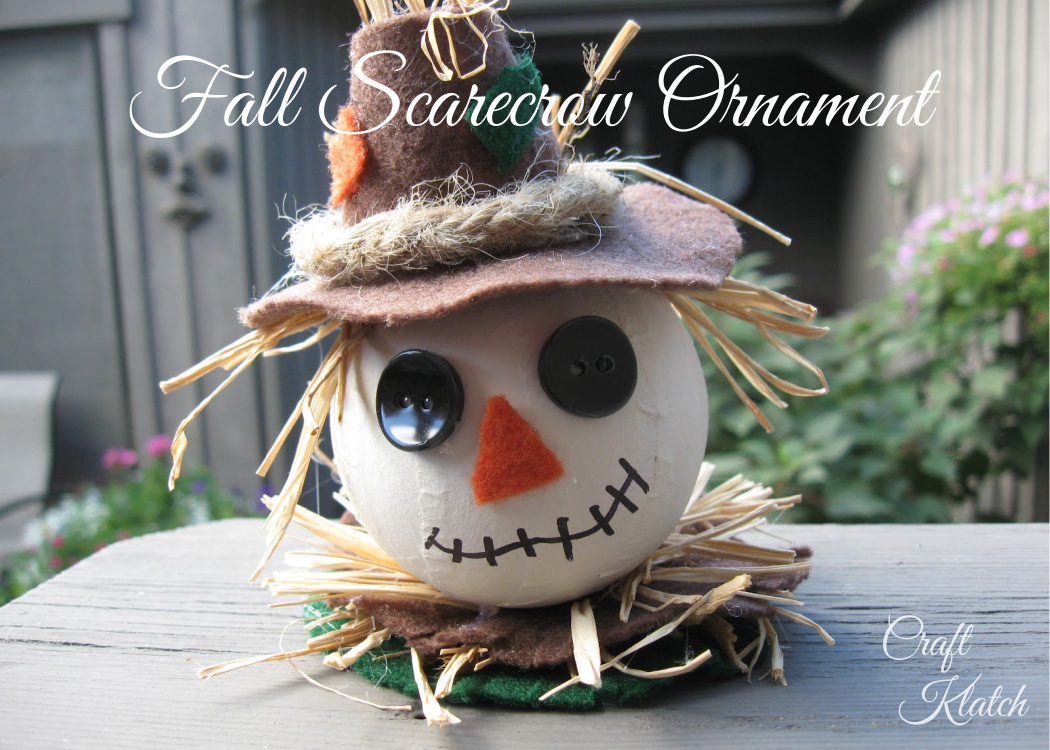
Learn how to make a scarecrow ornament with this fun scarecrow craft tutorial. Add charm to your fall decor with easy step-by-step instructions!
Crafting often brings unexpected inspiration, and this project is no exception! One of my YouTube subscribers, CookieBend, challenged me to create a scarecrow ornament. I’d never even thought about a scarecrow ornament before, but was thrilled to take on the challenge.
I’m thrilled with how it turned out!
This adorable scarecrow craft is perfect for adding a whimsical fall touch to your home decor, and it’s so much fun to make.
I think this scarecrow ornament will become one of your favorite Fall decorations!
This project has been featured in Redfin’s article Fun and Easy Thanksgiving Crafts for Kids to Brighten Your Home.
Materials Needed for the Scarecrow Craft
*Disclosure: This blog uses affiliate links from Amazon and other retailers. I earn a small amount from qualifying purchases at no additional cost to you.
- Paper mache ornament
- Acrylic paint (parchment color)
- Raffia
- Felt in fall colors (green, brown, orange)
- Two black button (or spray paint any matching buttons black)
- Rope
- Black permanent marker
- Hot glue gun (for adults)
- Elmers glue (for kids)
Step-by-Step Instructions: How to Make a Scarecrow Ornament
Step 1: Paint the Base
Begin by painting your paper mache ornament with parchment-colored acrylic paint. It’s a nice natural color for the base of the scarecrow. Let it dry completely.
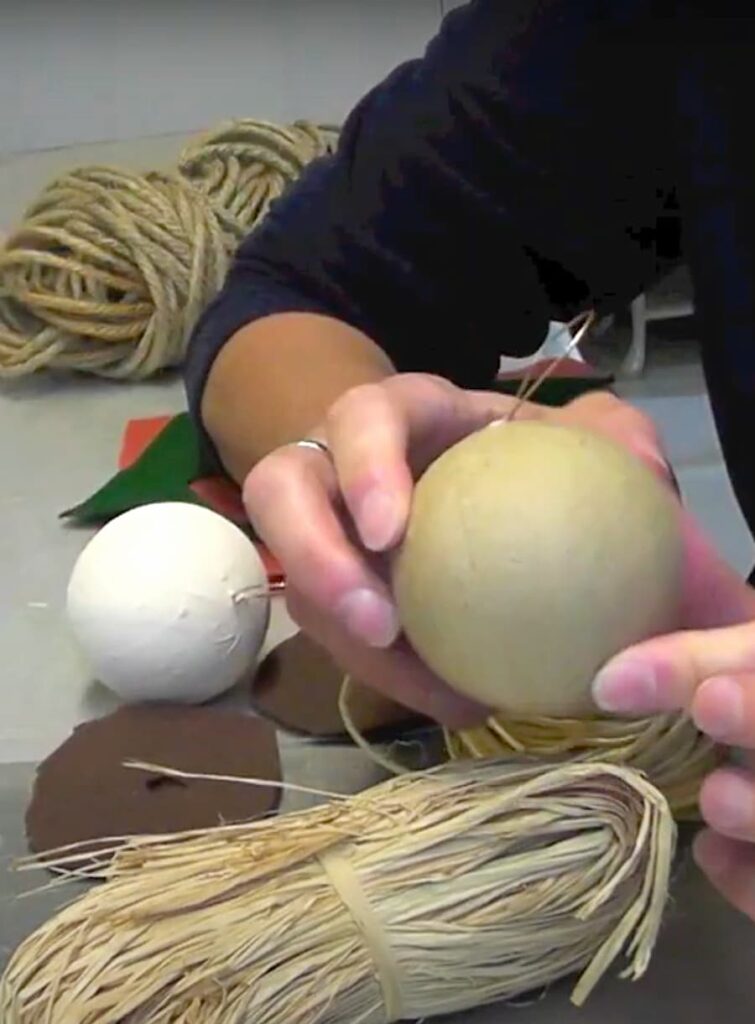
The picture shows the natural color it comes. The one in the background has been painted a parchment color. An off-white or cream would be fine too.
Step 2: Create the Hat
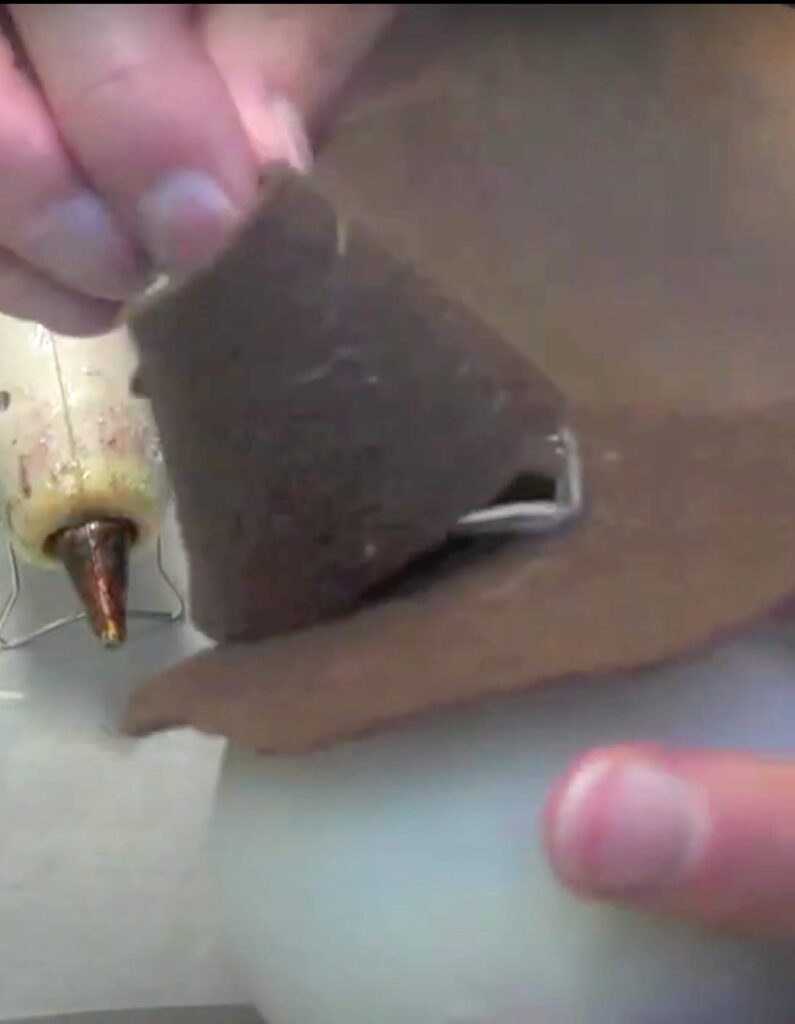
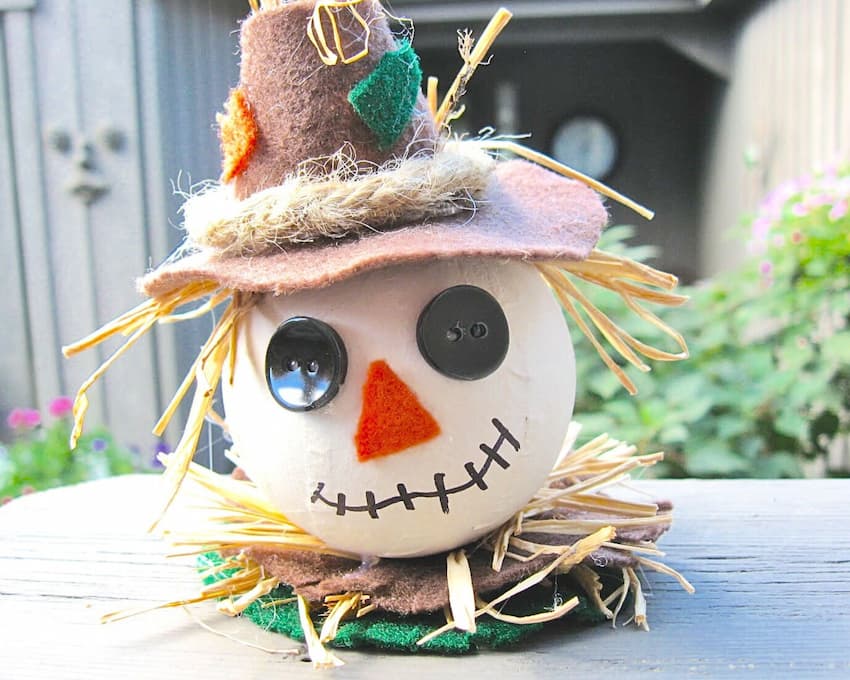
Cut a circle and a rectangular strip from the felt to form the hat. Cut a small hole in the middle of the circle, so the loop from the ornament can go through. Glue the circle onto the top of the ornament as the base/brim of the hat, then wrap the rectangular piece around the top to form the top of the hat.
Step 3: Attach the Collar
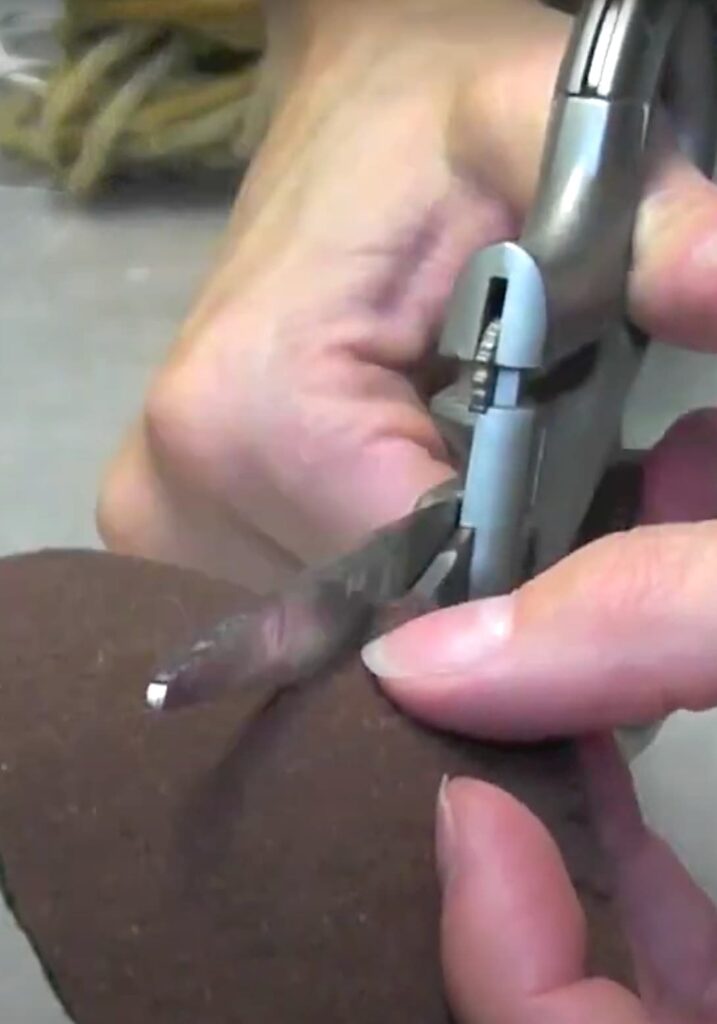
Cut two felt circles in different colors for the collar. Fringe the edges to give it a playful, rustic look.
Glue one felt circle to the bottom of the ornament, as the first layer of the collar. Set the second collar piece aside for now.
Step 4: Add the Face and Raffia for Straw
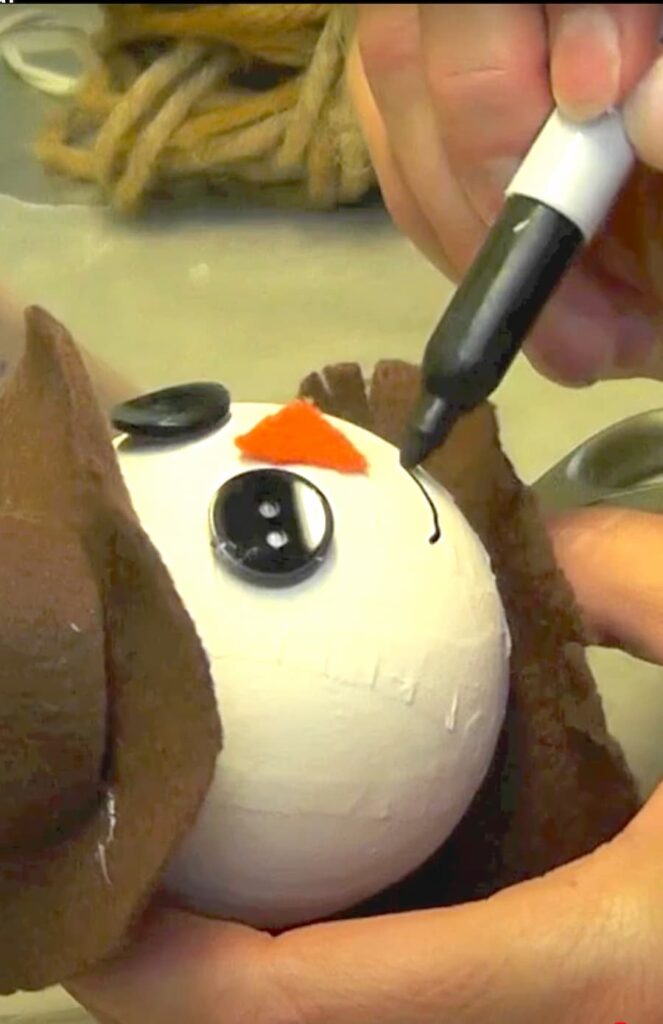
This is when the scarecrow craft starts to take on a personality.
For the face:
- Glue on two black buttons for eyes. I used matching buttons, but they don’t have to match.
- Cut a small triangle from the felt for the nose and glue it on.
- Use a permanent marker to draw the stitched smile for the scarecrow’s face.
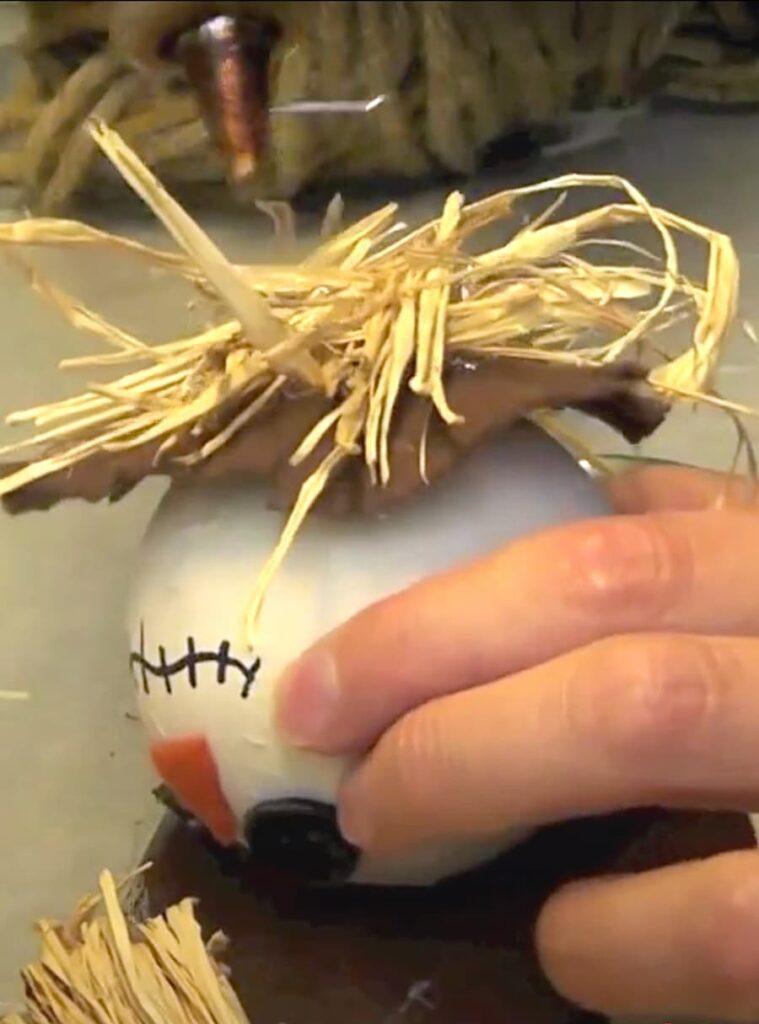
Other embellishments:
- Glue pieces of raffia under the collar and the top of the hat to create a straw-like effect. Let the raffia stick out at different angles for a charmingly messy look.
- Glue the second felt circle under the original collar piece, to sandwich the raffia between,
- Cute two small irregular felt pieces in contrasting colors and glue them to the hat as patches.
Step 5: Add Rope Details
When thinking about how to make a scarecrow, remember to use natural looking materials, whether the colors or materials. A natural rope is the perfect addition.
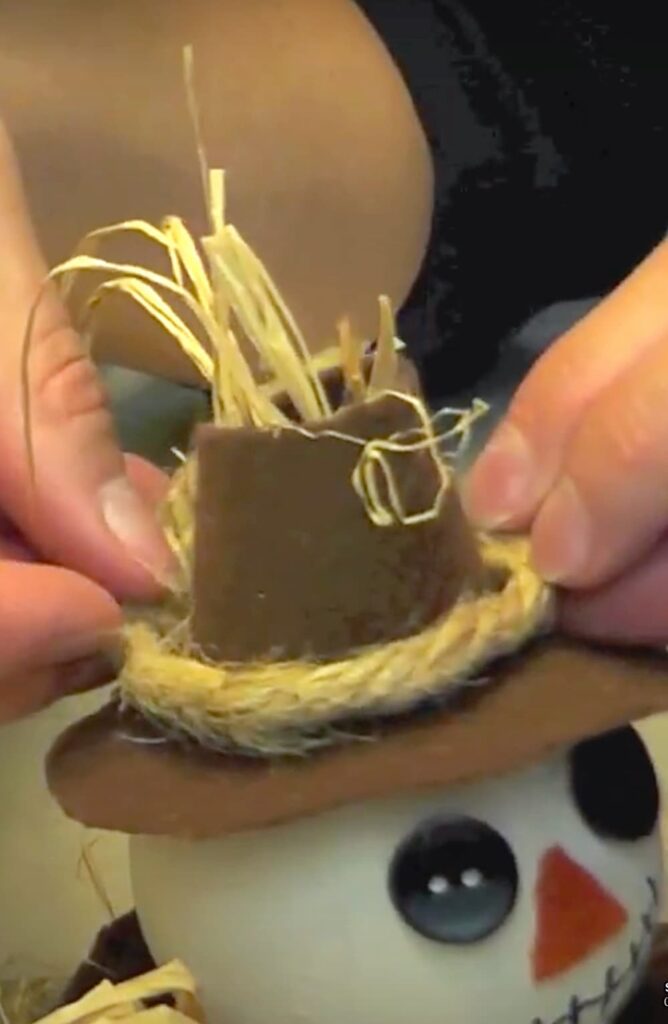
Wrap a piece of rope around the base of the hat and secure it with glue for a rustic finishing touch.
Display and Enjoy Your Scarecrow Craft!
Your scarecrow ornament is ready to hang once everything is securely glued and dried! Whether you display it in a tree, in your window, or as part of a fall centerpiece, this scarecrow craft is sure to bring smiles.
This scarecrow craft was so fun to create, thanks to CookieBend’s idea! If you give this project a try, I’d love to see your creations. Share them on my Facebook page, and let’s celebrate the crafting season together.
More Scarecrow Craft Ideas!
This is not my only scarecrow craft! If you want to see other ideas on how to make a scarecrow, I have a more and they are all so different from each other!
- Gnome Scarecrow Makeover
- Scarecrow Coaster
- Centerpiece Scarecrow Craft from Recycled Materials
- 103 Fall and Halloween Crafts
Happy Fall! Stay cozy and remember:
Life’s too short not to shimmer, so grab your glue gun and your glitter!
Mona
